
Glute bridges are a simple bodyweight exercise for strengthening your glutes, but performing them correctly isn’t always as easy as it looks.
One common mistake is lifting your hips by excessively arching your lower back instead of controlling the movement through your hips.
The goal isn’t to lift your hips as high as possible. It’s to fully extend your hips while keeping your pelvis and lower back controlled.
You don’t need equipment, heavy weights, or complicated progressions to begin. Just enough floor space and a little attention to your technique.
Not Feeling Your Glutes? Try This First
Before changing exercises, check these four things:
- Adjust your feet. If your hamstrings dominate or cramp, try moving your feet slightly closer to your hips.
- Brace your abs. Keep your ribs from flaring upward as your hips rise.
- Squeeze your glutes. Lift until your hips are extended without forcing an arch in your lower back.
- Pause at the top. Hold for one or two seconds, then lower slowly.
Try a few repetitions with those adjustments.
You don’t necessarily need to feel an intense burn for the exercise to work. What matters is performing the movement with sufficient control and an appropriate level of effort.
How to Do a Glute Bridge Correctly
Step 1: Set Up Your Position
Lie on your back with your knees bent and feet flat on the floor.
Place your feet approximately hip-width apart, with your heels a comfortable distance from your glutes.
As a starting point, aim for your shins to be roughly vertical at the top of the bridge.
Keep your arms relaxed beside your body, with your head and shoulders resting on the floor.
Step 2: Brace Your Core
Gently tighten your abdominal muscles before lifting.
Think about keeping your ribs connected to your pelvis rather than letting your chest rise.
You can also try a small posterior pelvic tilt—gently tucking your pelvis to reduce the natural arch in your lower back.
Don’t force your lower back into the floor. The purpose is to establish control before moving.
Step 3: Lift Your Hips
Press your feet firmly into the floor and contract your glutes.
Raise your hips smoothly.
Keep your knees approximately aligned with your feet, without letting them collapse inward.
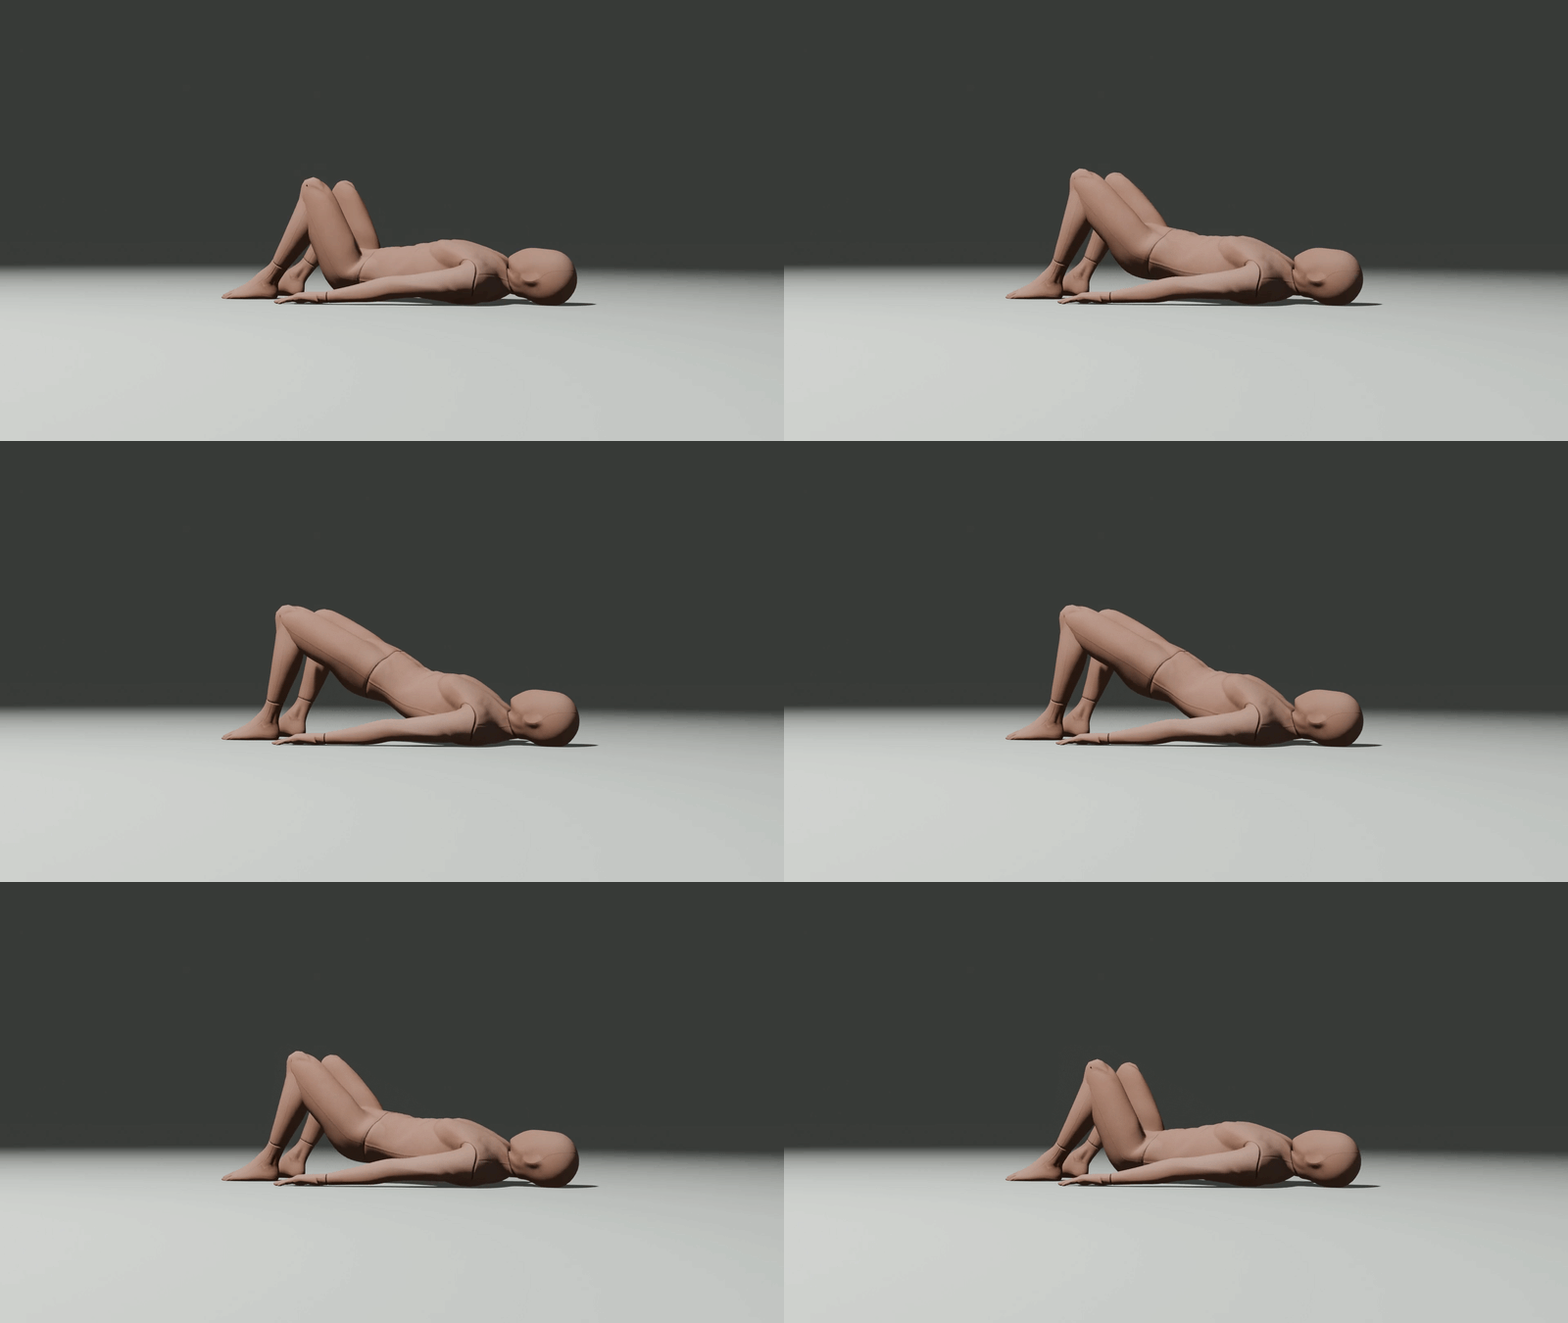
Continue until your hips are extended and your body forms an approximately straight line from your shoulders to your knees.
Stop when your hips reach that position. You don’t need to continue lifting by arching your lower back.
Step 4: Pause and Lower
Hold the top position briefly while keeping your glutes contracted.
Your abs should remain gently braced, and your lower back shouldn’t need to arch further.
Lower your hips slowly until you return to the starting position.
Repeat without bouncing or rushing.
Remember: Feet planted, abs braced, hips extended, controlled lowering.
Why Do Glute Bridges Hurt or Strain Your Lower Back?
Your lower-back muscles help stabilize your torso during glute bridges, so feeling some muscular effort there isn’t necessarily a problem.
However, if you repeatedly arch your back to lift higher, you may be moving through your spine instead of getting additional extension at your hips.
This can make the movement uncomfortable.
Mistake 1: Lifting Too High
When you reach the top of a glute bridge, your shoulders, hips, and knees should form an approximately straight line.
If you keep pushing upward beyond that position, your lower back may begin extending to create the extra height.
Fix: Stop when your hips are fully extended and your glutes are contracted.
Mistake 2: Letting Your Ribs Flare
If your chest rises dramatically as your hips lift, you may be losing control of your torso.
Fix: Gently brace your abdominal muscles and keep your ribs from flaring upward.
Think about moving your hips without dramatically changing the position of your chest.
Mistake 3: Rushing the Repetitions
Fast repetitions can make it difficult to recognize when you’re using momentum or losing pelvic control.
Fix: Lift smoothly, pause briefly, and lower under control.
Mistake 4: Forcing an Uncomfortable Range
Not everyone needs to achieve exactly the same hip height.
Your anatomy, flexibility, and current strength can affect how the position feels.
Fix: Start with a comfortable range of motion and gradually improve your control.
If you experience sharp pain, radiating symptoms, or persistent discomfort, stop the exercise. Don’t try to correct pain simply by performing more repetitions. Seek guidance from a qualified healthcare professional when appropriate.
Common Glute Bridge Problems and How to Fix Them
Use this table when something doesn’t feel right during your set.
| Problem | What to try |
|---|---|
| Mostly feeling your hamstrings | Move your feet slightly closer to your hips |
| Hamstrings cramping | Reduce the range, reset, and adjust your foot position |
| Lower back arches at the top | Brace your abs and stop lifting earlier |
| Knees collapse inward | Keep them approximately aligned with your feet |
| Heels lift from the floor | Reposition your feet and keep them planted |
| Hips feel uneven | Slow down and check your pelvis stays level |
| Exercise feels too easy | Add a pause or try a harder variation |
Where Should Your Feet Be?
There isn’t one perfect foot position for everyone.
If your feet are far away from your hips, your hamstrings may need to contribute more.
Moving your feet closer can change the leverage and make it easier for some people to focus on the glutes.
Start with your shins approximately vertical at the top, then experiment with small adjustments.
Keep your entire foot on the floor. You can think about pressing through your heels, but you don’t need to lift your toes.
What Muscles Do Glute Bridges Work?
Glute bridges primarily train hip extension—the action of straightening your hips from a bent position.
| Muscle | Role |
|---|---|
| Gluteus maximus | Primary muscle producing hip extension |
| Hamstrings | Assist hip extension |
| Gluteus medius and minimus | Help stabilize the hips and pelvis |
| Abdominals | Help control trunk and pelvic position |
| Lower-back muscles | Help stabilize the torso |
Are Glute Bridges Good for Building Glutes?
Yes, provided the exercise challenges your muscles enough.
For someone new to strength training, bodyweight glute bridges may be a useful starting point.
As you become stronger, though, the regular variation may eventually feel too easy.
Instead of performing endless repetitions, consider progressing to longer pauses, single-leg variations, or additional resistance.
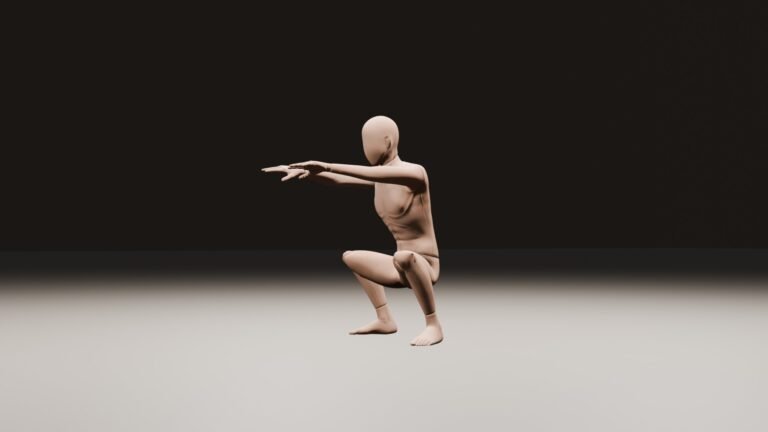
You can also use glute bridges alongside bodyweight squats and lunges to train your lower body through different movements.
Glute Bridge Progressions: What Should You Try Next?
You don’t need a complicated progression program.
Start with the standard bridge and increase the difficulty when you can perform controlled repetitions consistently.
| Variation | Why try it? |
|---|---|
| Standard glute bridge | Learn hip extension and pelvic control |
| Paused glute bridge | Increase the time spent maintaining tension |
| Glute bridge march | Challenge pelvic stability while shifting support |
| Single-leg glute bridge | Increase the demand on one supporting leg |
| Loaded glute bridge | Add resistance as bodyweight becomes too easy |
Paused Glute Bridge
Perform a normal bridge, but hold the top position for approximately three seconds.
Maintain glute tension without allowing your lower back to arch.
This is a simple first progression because you don’t need any additional equipment.
Glute Bridge March
Lift your hips into a bridge.
Keeping your pelvis as level as possible, briefly raise one foot from the floor.
Replace it and repeat with the other leg.
The challenge isn’t lifting the foot high. It’s preventing your hips from dropping or rotating excessively.
Single-Leg Glute Bridge
Start with one foot planted and the other lifted.
Drive through the supporting foot to extend your hip.
Keep your pelvis controlled and avoid twisting your body to gain additional height.
This variation can feel significantly harder, so start with fewer repetitions and progress gradually.
Glute Bridge vs. Hip Thrust: What’s the Difference?
These exercises share a similar purpose, but the setup changes the movement.
| Glute bridge | Hip thrust |
|---|---|
| Upper back supported on the floor | Upper back usually supported on a bench |
| Simple setup | Requires a stable elevated support |
| Convenient for bodyweight training | Often used with additional resistance |
| Good starting point for hip extension | Useful for progressing hip-extension strength |
Neither exercise is automatically better.
Glute bridges are especially convenient for beginners and home workouts because they require very little setup.
Hip thrusts become an attractive option when you want to train with heavier loads or use a different range of motion.
If you’re new to either exercise, learning to control your pelvis during a floor bridge is a reasonable place to start.
How Many Glute Bridges Should You Do?
For beginners, I’d suggest starting with 2–3 sets of approximately 8–15 controlled repetitions.
Rest around 45–90 seconds between sets, or as long as necessary to maintain good technique.
You can practise glute bridges two or three times per week, depending on your other training and recovery.
Example Beginner Lower-Body Workout
| Exercise | Sets | Repetitions |
|---|---|---|
| Bodyweight Squats | 3 | 8–15 |
| Lunges | 2 | 8–10 per leg |
| Glute Bridges | 3 | 10–15 |
Squats and lunges involve both the knees and hips, while glute bridges provide a more focused hip-extension movement.
This doesn’t need to be your entire leg-training program forever. It’s simply a manageable starting point.
When Should You Progress?
If you can complete three sets of 15 repetitions comfortably, with consistent technique and little effort, try making the exercise harder.
A longer pause at the top is an easy first step.
Later, you might try glute bridge marches or single-leg bridges.
Don’t increase the difficulty until you can control your pelvis without compensating through your lower back.
Frequently Asked Questions
Should You Feel Glute Bridges in Your Hamstrings?
Some hamstring involvement is normal because they assist with hip extension.
If they dominate or cramp, experiment with bringing your feet slightly closer to your hips and reducing the range of motion.
Are Glute Bridges Safe for Your Lower Back?
They can be appropriate for many people, but no exercise is automatically safe for every individual or guaranteed to prevent injury.
Avoid forcing an exaggerated lower-back arch, use a manageable range, and stop if the movement causes pain.
Should You Squeeze Your Glutes at the Top?
Yes. Contracting your glutes can help you focus on extending your hips.
However, don’t use the squeeze as a reason to push your hips beyond a controlled position.
Can You Do Glute Bridges Every Day?
You may be able to perform easy practice frequently, but daily training isn’t necessary for improvement.
Two or three sessions per week are a reasonable starting point for many beginners.
Can Glute Bridges Replace Squats?
Not completely.
Both train your glutes, but they emphasize different movement patterns.
Glute bridges focus on hip extension, while squats involve coordinated movement through both the knees and hips.
Final Advice: Make Your Glutes Do the Work
Glute bridges are worth learning because they provide a simple way to train hip extension without needing gym equipment.
But don’t judge your repetitions by how high your hips travel.
Keep your feet planted, control your ribs and pelvis, contract your glutes, and stop before you begin arching your lower back for extra height.
If something feels awkward, start by adjusting your foot position or slowing down.
A smaller, controlled bridge is more useful than a higher bridge performed by excessively bending your back.
Once regular repetitions feel comfortable, progress toward paused, marching, or single-leg variations.
For a complete beginner routine that combines different movement patterns, see our How to Start Bodyweight Training.