
The Prerequisites for Advanced Pull-Up Training
Jumping into heavy weighted pull-ups or explosive muscle-ups without a rock-solid foundation is the fastest way to tear shoulder labrums or develop severe elbow tendinitis.
Before adding external weight or explosive momentum, ensure you meet these baseline metrics:
- 10–12 Strict Unassisted Bodyweight Pull-Ups (full lockout to chest-at-bar).
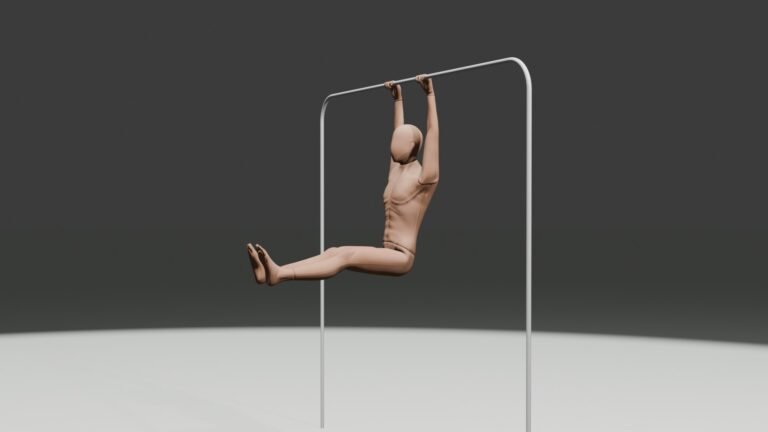
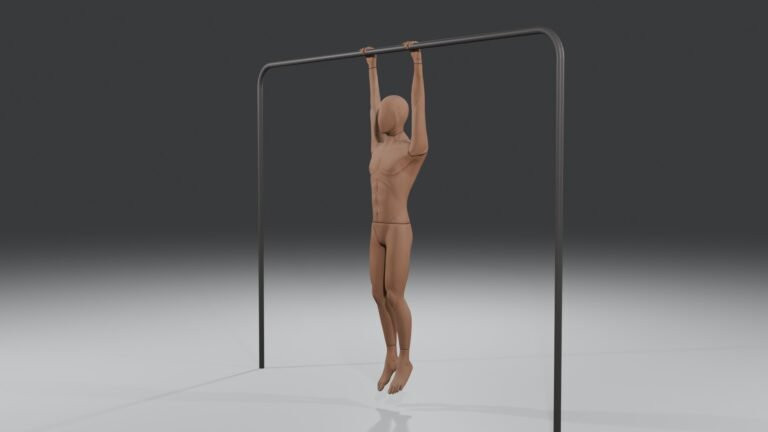
- 45-Second Active Dead Hang without grip failure.
- Zero Joint Pain in shoulders, wrists, or elbows.
Still building your foundation? If you cannot complete 10 strict bodyweight reps yet, start with our Beginner Pull-Up Progression Guide or double your reps using The Greasing the Groove Method.
For back anatomy, fundamental mechanics, and basic programming, visit our central Ultimate Pull-Up Guide.
Part 1: The Weighted Pull-Up (Building Max Strength)
Once bodyweight reps become easy, bodyweight alone is no longer enough to trigger maximal strength adaptations. Weighted pull-ups provide systematic progressive overload.
How to Safely Load Weight
- Dip Belt + Plates: The gold standard for heavy loading. Keep the weight plates hanging between your thighs; squeeze your legs together to prevent the weight from swinging.
- Weighted Vests: Excellent for moderate weight (10–30 lbs) and dynamic bodyweight movements, but limited for heavy maximum strength work.
- Dumbbell Between Feet: Useful for quick gym sets, but grip slip creates distraction during heavy working sets.
Weighted Progressive Overload Protocol
Instead of adding weight every workout, use a Linear Wave Periodization approach:
| Phase | Goal | Sets x Reps | Intensity (% of Max Added Load) | Rest Interval |
| Week 1 | Base Strength | 4 sets x 6 reps | 70% | 2.5–3 Minutes |
| Week 2 | Strength Peak | 4 sets x 4 reps | 80% | 3 Minutes |
| Week 3 | Heavy Single/Double | 5 sets x 2 reps | 90% | 3–5 Minutes |
| Week 4 | Deload / Reset | 3 sets x 5 reps | 50% (Bodyweight / Light) | 2 Minutes |
Part 2: Explosive Pull-Ups (Building Power Speed)
To transition from pulling under the bar to getting above the bar (muscle-ups), you must convert slow absolute strength into explosive rate of force development (RFD).
Key Explosive Variations:
- Chest-to-Bar Pull-Ups: Drive elbows back violently until your collarbone or lower sternum contacts the bar.
- High Pull-Ups (Rib-to-Bar): Pull down with maximum velocity aiming to touch your waist/belly button to the bar.
- Clapping Pull-Ups: Drive upward with enough velocity to briefly release your grip from the bar at the peak of the movement.
Execution Tip: Explosive pulling requires a subtle “C-shape” hollow body arch. As you initiate the pull, drive your hips slightly forward so your body pulls slightly around the bar rather than straight up underneath it.
Part 3: The Bar Muscle-Up (Skill Mastery)
The muscle-up is not just a pull-up—it is an explosive high pull combined with a rapid transition and a straight-bar dip.
Step 1: The First Pull & Hollow Arch:Master the momentum vector.
Hang from the bar and jump into a mild arch position (swinging slightly forward). As your body swings back, aggressively pull your hips up and back away from the bar in a curved arc.
Step 2: The Fast Wrist Transition:The crucial bottleneck.
As the bar approaches your chest, quickly shift your wrists over the top of the bar (false grip or quick palm rotation) while leaning your shoulders forward over the bar.
Step 3: Straight-Bar Dip Finish:Locking out above the bar.
Once your chest is over the bar, press aggressively downward through your palms until your elbows lock out completely above the bar.
Advanced Programming & Periodization
To avoid central nervous system (CNS) burnout, split your heavy strength days from your explosive skill days:
- Day 1 (Monday): Heavy Weighted Strength Focus
- Weighted Pull-Ups: 4 sets x 4–6 reps
- Inverted Weighted Rows: 3 sets x 8 reps
- Active Scapular Holds: 3 sets x Max Time
- Day 2 (Wednesday): Explosive Power & Skill Focus
- High Explosive Chest-to-Bar Pulls: 5 sets x 3 reps (Maximum speed)
- Bar Muscle-Up Transition Drills: 4 sets x 2–3 reps
- Straight-Bar Dips: 3 sets x 8 reps
- Day 3 (Friday): Hypertrophy & Joint Health
- Neutral Grip Pull-Ups: 3 sets x 8–10 reps (For joint recovery mechanics, see Chin-Ups vs. Pull-Ups vs. Neutral Grip)
- Gymnastics Ring Rows: 3 sets x 12 reps
- Core Hollow-Body Holds: 4 sets x 45 seconds
Once you can pull +50% of your body weight on weighted pull-ups, you are ready to start the one-arm pull-up progression ladder.
Essential Gear for Heavy Pulling
- Heavy-Duty Leather Dip Belt: Look for steel chains and reinforced stitching rated for at least 100+ lbs.
- Liquid Chalk: Enhances friction and prevents bar slip without the messy dust of standard block chalk.
- Gymnastics Rings: Highly recommended for heavy weighted accessory sets to protect delicate wrist and elbow joints from rigid bar strain. (Read our guide on the Best Home Pull-Up Setup & Gear for mounting options).
Frequently Asked Questions (FAQ)
Q: How much weight should I add to my weighted pull-ups to start?
A: Start conservatively with 10% to 15% of your total body mass (e.g., a 180 lb athlete starts with 15–25 lbs). Build technique and tendon adaptation before chasing heavy single-rep maximums.
Q: Why can I do 15 strict pull-ups but still can’t do a muscle-up?
A: Strict pull-ups build slow vertical endurance, whereas muscle-ups require explosive velocity and technical transition timing. Focus on high explosive chest-to-bar pulls and aggressive wrist transitions over the bar.
Q: Will heavy weighted pull-ups hurt my elbows or shoulders?
A: Heavy loading increases joint torque significantly. If you experience inner elbow ache (medial epicondylitis), pause heavy loading immediately and follow our recovery protocol in How to Fix Elbow & Shoulder Pain During Pull-Ups.