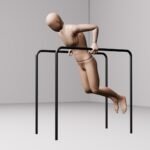

If you want to master a core and upper-body skill that is both incredibly practical and visually impressive, you need to learn the bar pullover.
A bar pullover is a classic calisthenics movement where you perform a pull-up, drive your hips to the bar, and rotate your entire body over the top to transition into a support position. It bridges the gap between basic pulling movements and advanced transitions.
Instead of awkwardly jumping onto a high platform to start your workouts, easily pulling yourself over the bar allows you to flow into straight bar dips or muscle-up negatives effortlessly. Plus, let’s be honest, it’s the ultimate playground skill you used to do as a kid to impress your friends, and unlocking it again as an adult is both highly rewarding and fun.
How to Do a Bar Pullover: The Step-by-Step Form Guide
To execute a clean bar pullover, you must combine explosive pulling strength with precise timing. Follow these steps to get your body over the bar safely.
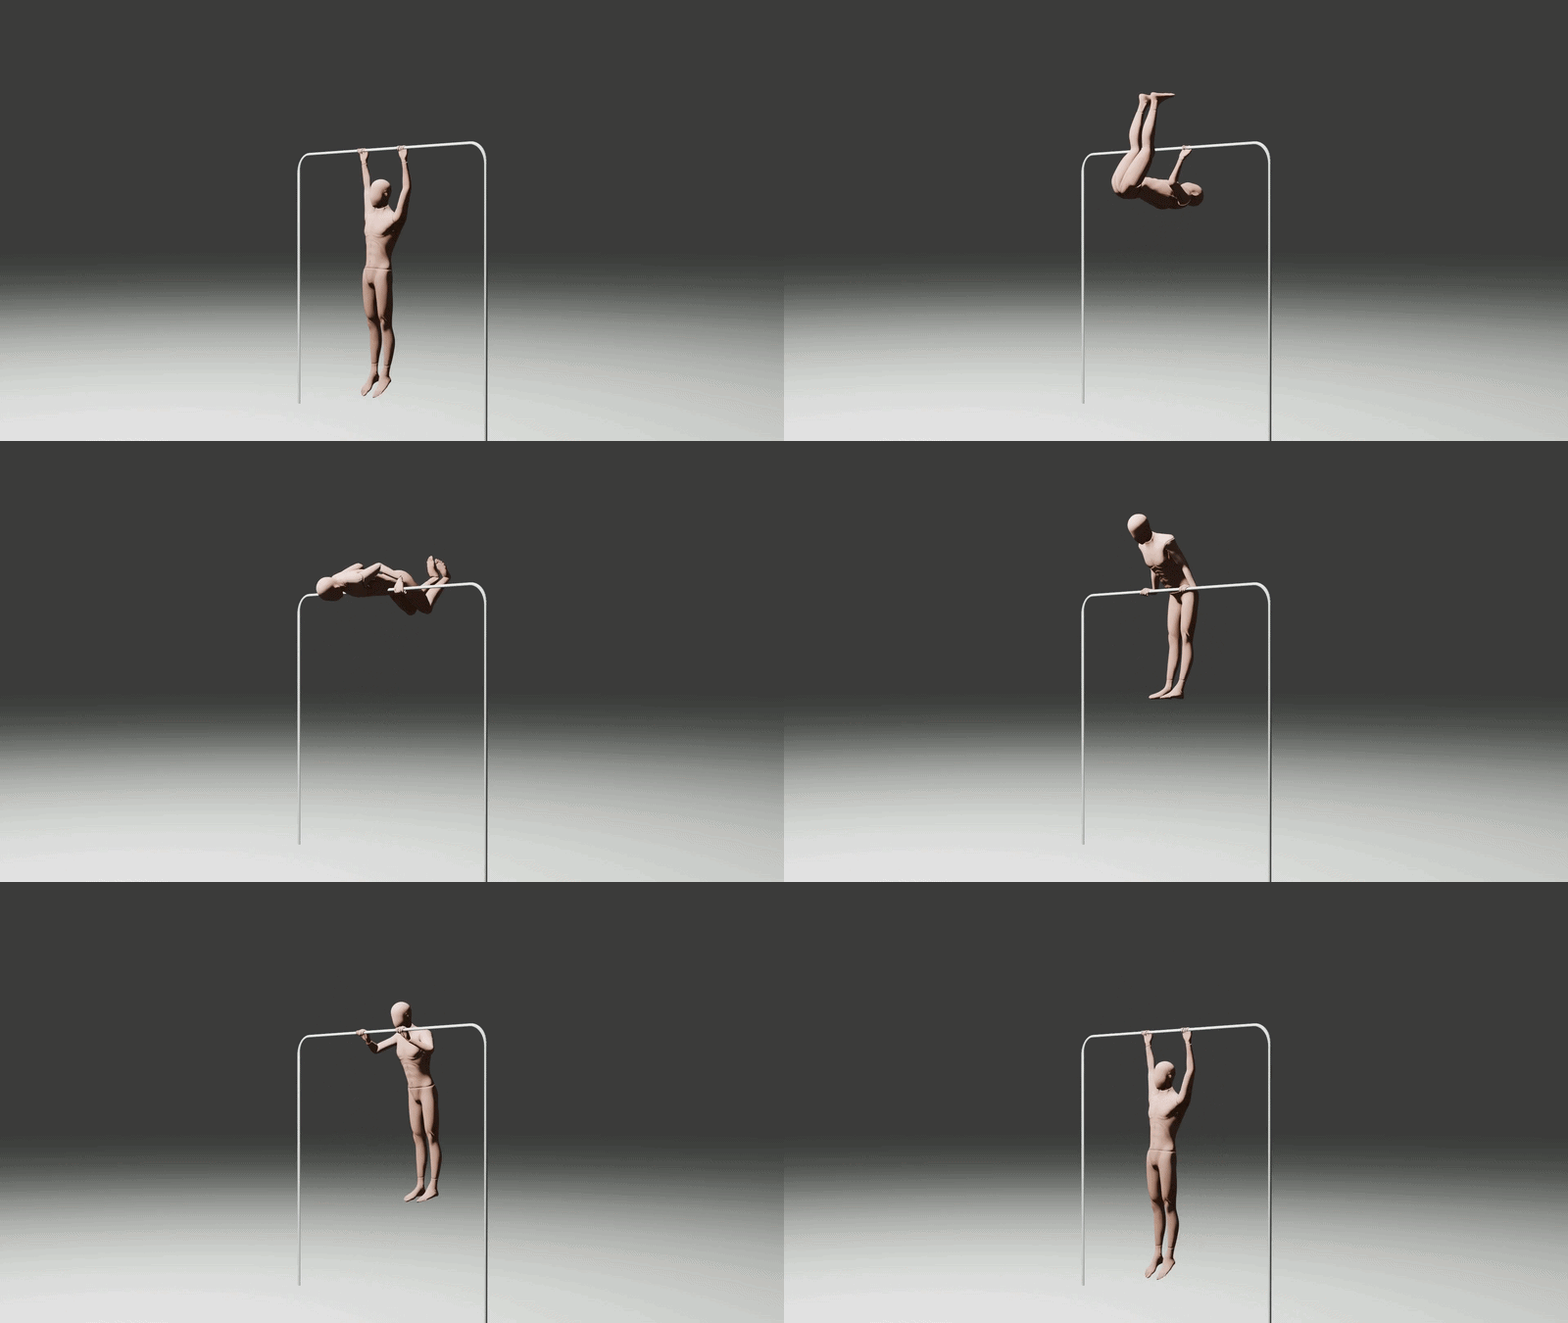
Step 1: The Setup and False Grip
Hang from the bar using an “over grip” or “false grip.” Instead of hanging solely by your fingertips, wrap your hands so the heels of your palms rest on top of the bar with your knuckles pointing almost straight up. This grip makes the transition drastically easier once you are upside down.
Step 2: The Explosive Pull and Kick
Perform a powerful pull-up, keeping a strong 90-degree bend in your elbows. As you pull, lean your upper body back slightly. To generate momentum, kick one leg up and over (like kicking a ball over a fence) and immediately follow with the other leg, driving your hips directly toward the bar.
Step 3: The Belly-to-Bar Transition
Keep pulling hard until your belly button or upper thighs physically touch the bar. Keep your knees as close to the bar as possible; letting your legs extend too far creates a long lower-body lever arm, making your lower half feel like dead weight.
Step 4: The Tucked Rotation and Push
As your feet swing over the bar, tuck your chin, look directly at your toes, and follow the rotation. Once your center of mass shifts over the top, aggressively rotate your wrists forward and push down against the bar to finish in a straight-arm support position.
Connecting Pulling Power With Core Control
The bar pullover is one of the most accessible bar skills, teaching your hips to travel over the bar. However, executing it smoothly requires a reliable baseline of pull-up strength and hanging leg raise control. See how all the fundamental pushing, pulling, and core exercises fit together in our how to start bodyweight training guide before taking on dynamic bar skills.
Technical Tips to Master the Rotation
Getting upside down is easy, but completing the circle is where most get stuck. Use these technical cues to dial in your form.
Fixing the Mid-Air Stall
A very common mistake is losing momentum and getting stuck completely upside down at the top of the movement. If you stall with the bar resting on your hips, don’t panic. Gently rock your body to regain a small amount of momentum, pull your chest toward the bar, and shift your wrists forward. Once you learn the exact millisecond to switch from a pull to a push, the rotation becomes completely effortless.
Leveraging the Toes-to-Bar Method
If you are already a master at the toes-to-bar exercise, you can use that exact same core compression to your advantage. Explosively pull your toes to the bar, pull up hard with your arms, and let gravity handle the rotation. The key is maintaining a tight, compressed body shape until your hips clear the steel.
Troubleshooting Common Bar Pullover Mistakes
If you are struggling to make it over the bar, you are likely falling into one of these three common traps. Here is how fix your form instantly:
1. Leaving Your Head Up
If you keep your head up and look at the sky, your body will naturally stall at the halfway point, causing you to fall backward.
The Fix: Keep your chin tightly tucked to your chest and keep your eyes locked onto your knees or feet throughout the entire rotation. Where the head goes, the body follows.
2. Pulling with Straight Arms
Attempting this movement with straight arms makes it practically impossible to get your hips high enough.
The Fix: You must treat the first half of the movement like a normal, strict pull-up. Keep your elbows bent at a sharp 90-degree angle until your midsection meets the bar.
3. Letting the Hips Drift Away
If your hips are too far from the bar, you will simply spin underneath it and drop back down to the floor.
The Fix: Pull horizontally as well as vertically. Your ultimate goal should be to touch the bar with your belly button during the peak of the pull.
Safety Guidelines and Environmental Awareness
Because this exercise flips your spatial orientation completely upside down, taking the proper safety precautions ensures a seamless training session.
Spatial Awareness and Clearances
Before attempting a pullover, ensure there is ample clearance above and behind the bar. Your head and back will rotate over the top structure, meaning low ceilings or nearby gym equipment pose an immediate hazard.
Checking Equipment Stability
If you want to train at home, verify your home pull-up bar is completely secured. Doorway friction bars are highly risky for pullovers due to the rotational forces involved. Ensure your pull-up frame is bolted down or securely mounted to a wall stud before executing any upside-down swinging movements.
Prerequisite Strength and the Calisthenics Progression Path
Because a bar pullover requires exceptional core strength and significant pulling power, you should build a reliable foundation before attempting it. You should be highly comfortable with basic core exercises like hanging leg raises and have a rock-solid, stable dead hang baseline of at least 45 to 60 seconds to ensure your grip doesn’t slip during the rotation.
The Pulling Strength Hierarchy
In calisthenics, your pulling power should follow a structured hierarchy. You cannot expect to master a dynamic, rotational skill like the bar pullover if you haven’t yet earned the raw structural strength required by the foundational movements that come before it.
Think of your calisthenics journey as a pyramid, each layer supports the next.
Why This Specific Hierarchy Works
From a biomechanical and sports-science standpoint, this step-by-step ladder is the safest, most effective blueprint for elite upper-body strength for three primary reasons:
- It Protects Your Joints and Tendons: Calisthenics movements put immense strain on your connective tissues. Starting with passive hangs and rows gives your tendons and ligaments time to thicken and adapt before subjecting them to intense, explosive movements, preventing common injuries like golfer’s elbow.
- It Manages “Leverage” and Gravity: In weightlifting, you add iron to make things harder. In calisthenics, you change your body position relative to gravity. While a pull-up utilizes a short, vertical lever, a pullover forces your core to pivot your mass horizontally, and a front lever stretches your entire body into a long, gravity-defying horizontal line. Each step systematically builds the required mechanical strength.
- It Prevents the Transition “Stall”: Many athletes try to jump straight from standard pull-ups to muscle-ups, hitting a frustrating wall because they don’t understand how to shift over the bar. Placing the bar pullover right before the muscle-up acts as the perfect pedagogical bridge—it teaches your wrists how to rotate and your brain how to shift your center of mass effortlessly.
1. The Dead Hang (The Grip Foundation)
Before you can pull your weight up, you have to be able to hold it. The passive dead hang exercise builds basic tendon durability in your elbows, decompresses your spine, and develops the crushing forearm endurance needed to stay on the bar during a 360-degree flip.
2. Inverted Rows (Horizontal Pulling)
Rows introduce your nervous system to scapular retraction (pulling your shoulder blades back). By keeping your feet on the ground and pulling your chest to a low bar, you build up the initial strength in your upper back, rhomboids, and biceps without moving 100% of your body weight.
3. Chin-Ups (Bicep Dominance)
Performed with an underhand, supinated grip, the chin-up is the first true vertical pulling milestone. Because this grip places your biceps in a mechanically advantageous position, it serves as the perfect entry point for lifting your entire body weight clear of the floor.
4. The Strict Pull-Up (The Calisthenics Gold Standard)
Switching to an overhand, pronated grip moves the primary load away from the biceps and onto the Latissimus Dorsi (the lats). Mastering the strict pull-up forces your upper back to wide-out, establishing the raw explosive vertical power required to break the plane of the bar.
5. Weighted Chin-Ups (Absolute Strength Building)
Once bodyweight reps become easy, adding external weight (via a dip belt or vest) forces your motor units to recruit more muscle fibers. This phase spikes your absolute raw strength, making your standard body weight feel incredibly light when you transition back to calisthenics skills.
6. The Bar Pullover (The Rotational Transition)
This is where raw strength meets core compression. The bar pullover introduces a new element: leverage. You must maintain a 90-degree arm bend while your core acts as a lever to swing your lower body around the bar, transforming you from a vertical puller into an agile gymnast.
7. The Muscle-Up (The Explosive Milestone)
The natural evolution of the pullover. Instead of swinging your legs over the bar, the muscle-up requires you to pull so explosively that you can transition your wrists at chest height and push yourself straight up into a support position, entirely clearing the bar vertically.
8. The Front Lever (The Ultimate Static Hold)
The pinnacle of calisthenics pulling power. The front lever requires you to hold your entire body completely straight and parallel to the ground while hanging from the bar. It demands elite levels of straight-arm scapular strength and absolute core rigidity.
Addressing Tight Lower Body Muscles
During the initial leg kick and hip drive, tight posterior chain muscles can severely hinder your speed. Taking a few minutes to learn how to loosen tight hip flexors and stretching out tight hamstrings will allow your hips to compress closer to the bar effortlessly.
How to Scale and Modify the Pullover
If a full, strict bar pullover is out of reach, you can use these adjustments to bridge the strength gap.
The Single-Leg Kick Assist (Low Bar Modification)
If you have access to a low bar (chest or waist height), you can practice the pullover with your feet starting on the ground. By jumping lightly off one foot and aggressively kicking the other leg up and over, you drastically reduce the pulling requirements while engraving the mechanical pattern of the wrist rotation into your muscle memory.
The Dynamic Knee-Tuck Pullover
If your straight-leg flexibility is holding you back on a high bar, pull your knees tightly to your chest as soon as you initiate the pull-up. Shortening the physical length of your body makes you much lighter, allowing your core to swing your lower half over the bar with significantly less resistance.
Real-World Case Study: How Foundation Skills Accelerate the Learning Curve
To understand exactly how the bar pullover operates, it helps to look at a real-life example of an athlete trying to learn it from scratch.
Imagine an intermediate fitness enthusiast who can easily complete 12 clean, chest-to-bar pull-ups. On paper, they have more than enough upper-body strength to pull themselves over the bar. However, during their first few attempts at a bar pullover, they constantly stall upside down, their hips drift away from the bar, and they repeatedly fall back down in frustration.
The Missing Link: Core Compression
The issue isn’t their arms; it’s their lack of pelvic control. To fix this, the athlete stops attempting the full pullover for two weeks and shifts their focus strictly to building baseline compression strength by practicing strict hanging leg raises and toes-to-bar variations.
The Breakthrough
By mastering the hanging leg raise, the athlete learns exactly how to curl their pelvis upward and compress their thighs toward their chest against gravity. The next time they approach the bar pullover, the pieces click perfectly:
- Their pull-up strength effortlessly handles the vertical lift and holds the critical 90-degree elbow bend.
- Their newly developed leg raise strength easily snaps their hips directly to the bar, preventing their lower body from acting as dead weight.
- Because their hips stay glued to the steel, momentum takes over, allowing them to flip their wrists and sit on top of the bar effortlessly on their very first try.
Why You Should Add Bar Pullovers to Your Routine
Mastering this skill offers tremendous benefits for your overall athletic development.
Massive Core and Lats Development
Keeping your body compressed while moving through a 360-degree rotation forces your abs, hip flexors, lats, and forearms to work in perfect synchronization. It builds a unique type of functional, dynamic strength that floor exercises simply cannot replicate.
The Ultimate Gateway to the Muscle-Up
The bar pullover teaches your nervous system the exact wrist transition and upper-body shifting required to conquer the muscle-up. Once you understand how to move your weight around the bar rather than just under it, advanced vertical movements become a natural next step.