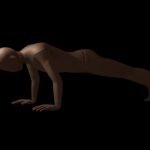

When it comes to building foundational core strength, developing body awareness, and improving posture, few movements rival the classic front plank.
However, its simplicity is deceptive. The true secret to unlocking the muscle-building benefits of the plank lies entirely in your form. Holding a sloppy position not only wastes your time but can actively stress your joints. This comprehensive guide will teach you exactly how to master the elbow plank, avoid painful mistakes, and scale your strength up to an elite 3-minute hold.
What is a Plank? (Elbow Plank vs. Straight-Arm Plank)
The plank—specifically the front elbow plank—is a static, isometric core exercise where you support your entire body weight using only your toes and forearms.
Your objective is to lock your body into a perfectly straight, rigid line parallel to the ground. Unlike dynamic ab exercises that involve twisting or crunches, the plank builds anti-extension strength, meaning it teaches your core muscles to resist gravity and protect your spine from sagging.
What Muscles Does the Plank Work?
The plank is a true full-body compound stabilizer. While your abdominals bear the brunt of the load, it forces muscle groups from your shoulders down to your calves to fire simultaneously:
- Primary Muscles: Rectus Abdominis (the visible six-pack muscles) and the Transverse Abdominis (the deep, internal core wall).
- Secondary Muscles: Obliques (side abs) and the Erector Spinae (lower back stabilizers).
- Stabilizing Pillars: Glutes, Quadriceps, Deltoids (shoulders), and Pectorals (chest), which must remain under continuous tension to maintain a straight line.
Step-by-Step Form Guide: How to Hold a Perfect Plank
To maximize abdominal recruitment and prevent shoulder fatigue, set up your plank using these precise steps:
- Set the Base: Drop to your knees, lean forward, and place your forearms flat on the exercise mat. Bend your elbows at a strict 90-degree angle, ensuring your elbows are vertically aligned directly underneath your shoulders.
- Optimize Hand Placement: Keep your hands slightly wider than your elbows. This subtle outward angle naturally opens up the chest and helps relax the upper neck and trapezius muscles.
- Step Into the Extension: From this kneeling position, press into your toes and lift your knees and hips off the floor. Slide your legs straight back until only your forearms and toes touch the ground.
- Lock the Line: Clench your glutes, brace your abs as if you are about to be punched in the stomach, and look down at the floor between your hands to keep your neck neutral.
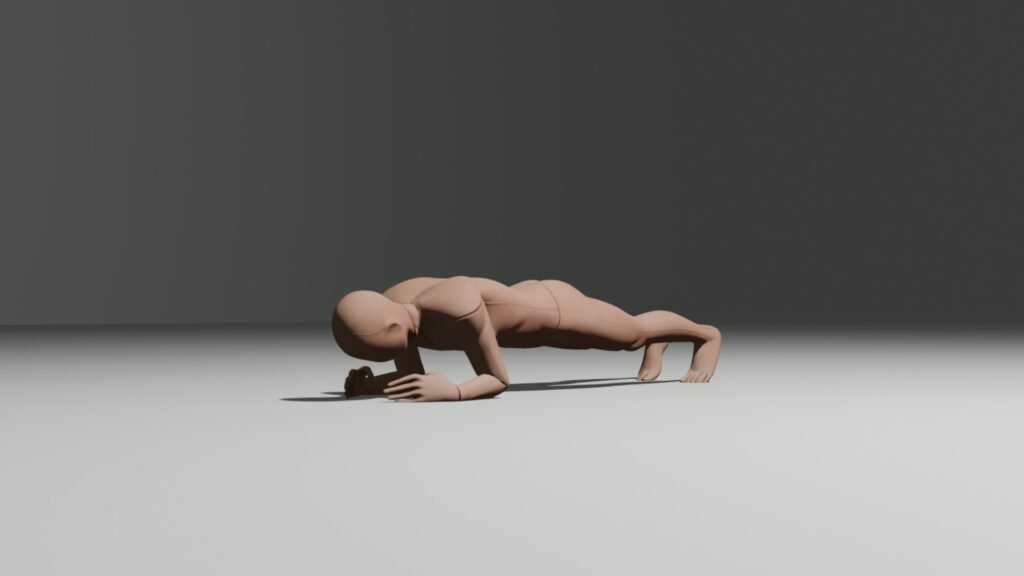
The Failure Rule: Your head, shoulders, back, hips, and heels must form one unbroken, level line. The exact second your hips sag toward the floor or your lower back arches, your core has failed. Stop the set immediately, rest for 1 to 2 minutes, and restart.
Breathing Mechanics: How to Breathe Properly During a Long Plank Hold
The absolute biggest mistake people make when passing the 60-second mark on a plank is holding their breath or taking shallow, panicked gasps in their throat. Hypoxic breathing raises your blood pressure, triggers a premature panic response in your nervous system, and forces your muscles to lock up and fatigue early.
To master long endurance holds, you must practice braced diaphragmatic breathing:
- The Technique: Inhale deeply through your nose, expanding your breath into your lower belly and the sides of your ribs—not your upper chest.
- The Contraction: As you exhale forcefully through pursed lips, imagine pulling your belly button toward your spine while keeping your abdominal wall completely rigid.
- The Benefit: This method allows oxygen to keep flowing to your working muscle fibers while maintaining the intense intra-abdominal pressure needed to support your spine. If you can control your breath, you can instantly add 15 to 30 seconds to your current personal record.
Combining Plank With Other Bodyweight Exercises
a strong plank gives you static core stability, but complete athletic strength requires building a foundation across both static holds and dynamic movements. discover how planks connect with push-ups, pull-ups, and squats in our how to start bodyweight training guide.
The Neurogenic Shake: Why Do My Abs Vibrate Violently During a Plank?
Within 20 to 30 seconds of holding a rigid plank, it is completely normal for your entire torso to start shaking uncontrollably. Many beginners assume this means they are weak or doing the exercise wrong, but it is actually a fascinating neurological response called a neurogenic tremor.
When you hold an isometric position, your muscle fibers are under constant, unyielding tension without any phase of relaxation. To keep you upright, your brain sends rapid-fire electrical signals to your motor units. As those muscle fibers fatigue, they begin alternating between contracting and relaxing at lightning speed to share the workload. The violent shaking is simply the physical manifestation of your central nervous system actively adapting, recruiting new muscle fibers, and getting stronger.
3 Common Plank Mistakes That Ruin Your Progress
If you find your arms or shoulders wearing out long before your abs do, or if your lower back aches, you are likely falling victim to one of these common form errors:
- 1. Dropping the Hips or Arching the Lower Back: As your core tires, gravity will pull your midsection toward the floor. This shifts all the mechanical load away from your abs and onto the lumbar spine, which can cause lower back pain. If you can’t fix it, stop the set.
- 2. Piking the Hips Too High: Driving your butt up toward the ceiling relieves the tension on your abdominal wall, turning the exercise into a shoulder-rest position. Keep your hips tucked and level with your shoulders.
- 3. Tensing the Upper Body and Shoulder Blades: Over-rounding your shoulders and tensing your neck forces your arms to give out early. Keep your upper body relaxed, actively press away from the floor through your elbows, and let your shoulder blades rest naturally.
Plank Pitfalls: Why Does My Lower Back Hurt After Planking?
If you finish a set of planks and immediately feel a dull ache, tightness, or pinching in your lower back, your form has collapsed. Lower back pain during a plank is a definitive sign of lumbopelvic hip complex fatigue.
When your deep core (transverse abdominis) tires out, it stops supporting your midsection. To keep you from falling, your hip flexors clamp down and pull your pelvis into an anterior pelvic tilt (arching your lower back). This shifts the entire mechanical load off your abs and crushes your lumbar spine.
How to Fix Lower Back Plank Pain Instantly:
- Squeeze Your Glutes: Actively clenching your butt muscles forces your pelvis into a neutral position, instantly taking the pressure off your lower back.
- Shorten the Lever: If the pain persists, don’t push through it. Drop your knees to the floor immediately. A clean, pain-free kneeling plank builds far more functional strength than a painful, sagging full plank.
How to Get a 3-Minute Plank Hold: The Progression Plan
Reaching a continuous 3-minute plank hold is an outstanding benchmark of elite fitness. However, jumping straight into a max-effort hold will cause your form to break down completely. If you are an absolute beginner, follow this step-by-step progression path:
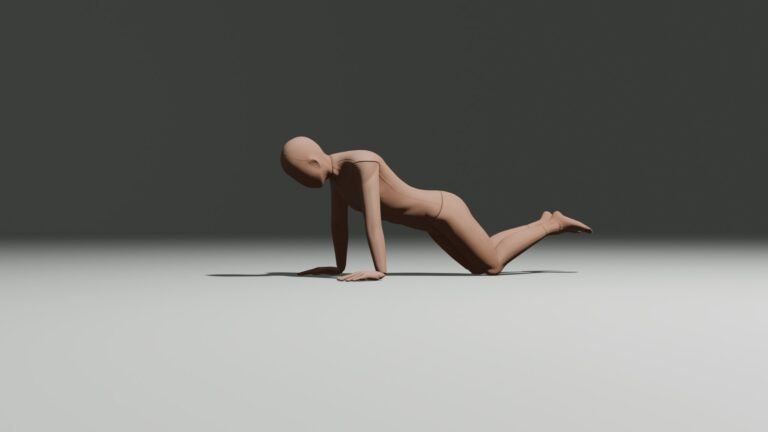
- Level 1: Kneeling Elbow Plank: Set up on your elbows, but keep your knees resting on the floor. This shortens the lever length and removes roughly half your body weight from the hold.
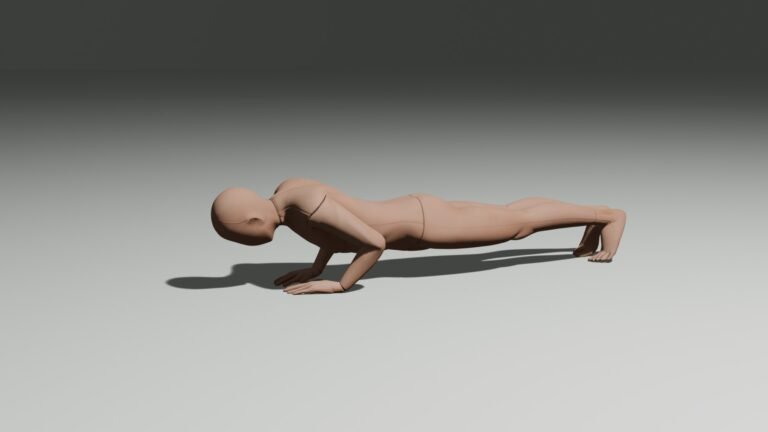
- Level 2: Straight-Arm Plank: Hold the top of a push-up position with your arms locked out fully straight. This variation reduces the mechanical angle, making it slightly easier than an elbow plank.
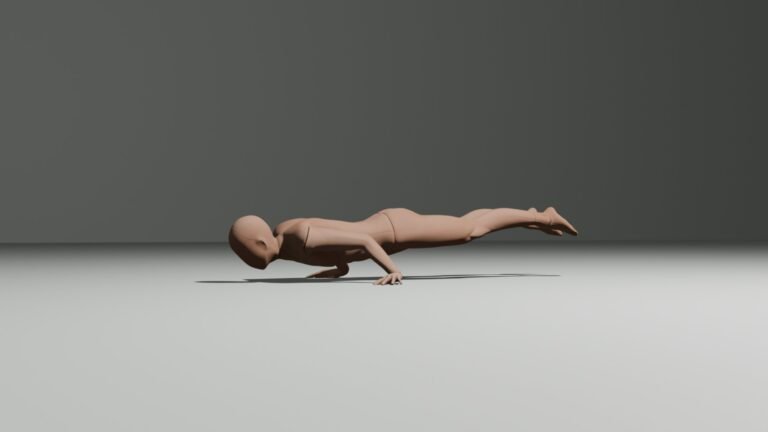
- Level 3: The Full Elbow Plank: Move down to your elbows and toes, working to build your hold time consistently week over week.
To bridge the gap to 3 minutes, practice progressive overload. If you can hold a clean plank for 45 seconds, aim for 50 seconds in your next session. Remember, muscle growth and strength adaptation occur during rest days, so never skip recovery.
How to Make the Plank Harder Using Weights
Once you can effortlessly complete a clean, unweighted 2-minute elbow plank, simply adding more time yields diminishing returns. To continue building dense muscle and power, you need to introduce external resistance:
Weighted Planks with Plates
Have a training partner carefully place a weight plate flat across your upper back and shoulder blade area. Warning: Never allow a partner to place weights on your lower back or lumbar spine.
Weighted Vests and Sandbags
Wearing a fitted weight vest distributes the load evenly across your torso. Alternatively, draping a heavy sandbag across your upper back introduces a shifting, unstable load that forces your deep core stabilizers to work twice as hard to keep your body balanced.
Do Planks Burn Belly Fat? The Truth About Spot Reduction
One of the most common myths in the fitness industry is that performing abdominal exercises like planks will melt away fat directly from your stomach.
Science has proven time and again that spot reduction is a myth. Your body draws energy from fat stores across your entire system based on genetics and a caloric deficit, not from the specific area you are exercising.
However, planks do flatten your stomach in a different way. The plank heavily targets the transverse abdominis, which acts as your body’s internal corset. By strengthening this deep muscle wall, you pull your stomach inward tightly, creating a visually slimmer, firmer midsection and improving your overall silhouette, even before your body fat drops.
Top Alternative Calisthenics Core Exercises
To build a well-rounded midsection, you should complement your plank training with dynamic and alternative calisthenics movements:
- Sit-Ups (Varied Angles): A classic dynamic movement. You can perform full sit-ups, half crunches, or twisting side sit-ups to target the rectus abdominis and obliques through a functional range of motion.
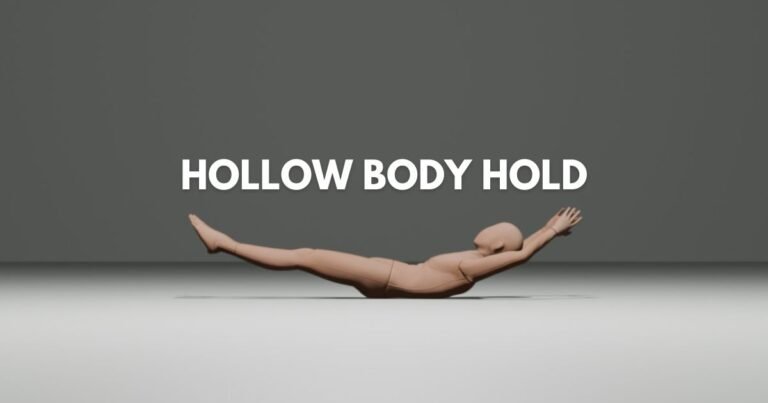
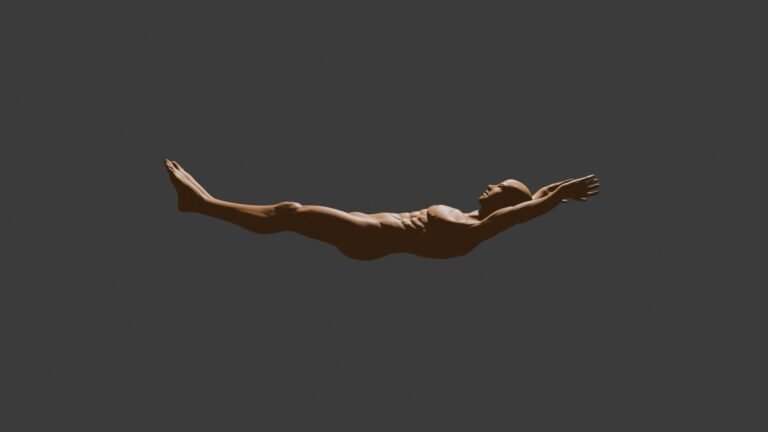
- Hollow Body Holds: The inverted version of the plank. Lying on your back and lifting your shoulder blades and legs off the floor isolates the front core beautifully.
- The Ab Wheel Rollout: A highly challenging, relatively cheap piece of home equipment. Rolling out from your knees completely taxes your core’s anti-extension strength and builds massive upper ab power. We recommend getting this ab wheel from Amazon.
- Hanging Leg Raises: Done while hanging from a pull-up bar. Beginners can start by raising bent knees to their chest, intermediates can progress to straight legs, and advanced athletes can shoot for full “toes-to-bar” extensions. This heavily builds lower ab and hip flexor strength while improving your grip endurance.
- Dragon Flags: A legendary, elite calisthenics movement popularized by Bruce Lee. Gripping a sturdy anchor point behind your head while lying down, you drive your entire torso and legs straight up into a vertical column, then lower your body back down as a single, stiff, unbending unit without letting your lower back touch the floor.
Side Plank vs. Front Plank: Which One Do You Need?
While the front plank is the ultimate test of your anterior (front) core strength, it completely ignores lateral stability. To build a truly bulletproof midsection, you must understand the difference between the two variations:
- The Front Plank: Primarily targets the rectus abdominis, deep transverse abdominis, and forearms. It trains your body to resist sagging (anti-extension).
- The Side Plank: By turning your body sideways and supporting your weight on just one forearm and the side of one foot, you instantly shift the entire workload to your obliques (side abs) and the quadratus lumborum (a deep lower back muscle essential for spine stability). It trains your body to resist lateral bending (anti-lateral flexion).