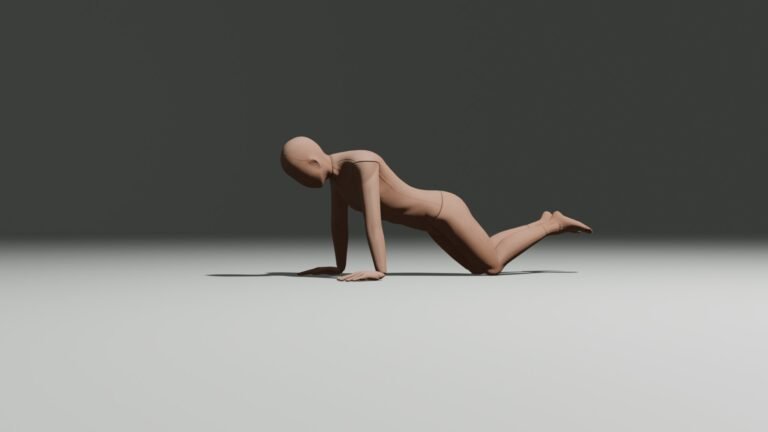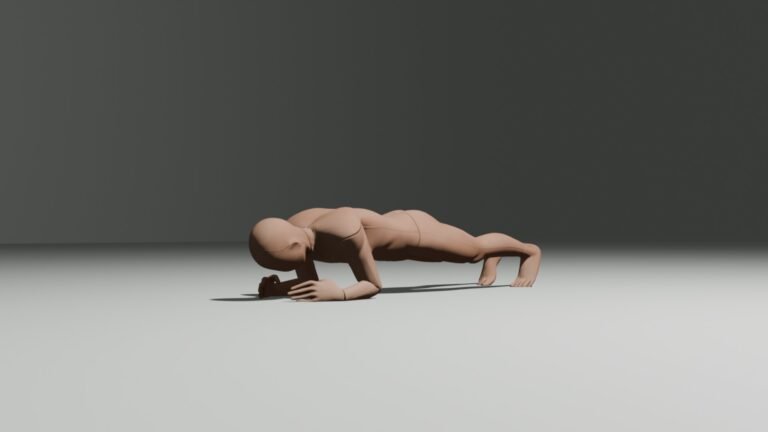

Pike push-ups are a bodyweight shoulder exercise that bridges the gap between regular push-ups and more demanding overhead pressing movements.
They look straightforward: raise your hips into an inverted V, lower your head toward the floor, and press yourself back up. In practice, they’re considerably harder than they appear.
When I first tried pike push-ups, I already had experience training my shoulders with dumbbell overhead presses. I expected the movement to feel manageable, but it was surprisingly difficult.
The biggest difference was learning to control my bodyweight in an unfamiliar position. My wrists also needed time to become comfortable with the exercise.
What eventually helped was changing my body angle. By moving my feet closer to or farther from my hands, I could adjust the difficulty without changing exercises.
Quick answer: To perform a pike push-up, place your hands approximately shoulder-width apart, raise your hips into an inverted V, and lower your head forward and down toward a point just ahead of your hands. Press back up while keeping your hips elevated. Begin with a manageable body angle and gradually increase the difficulty.
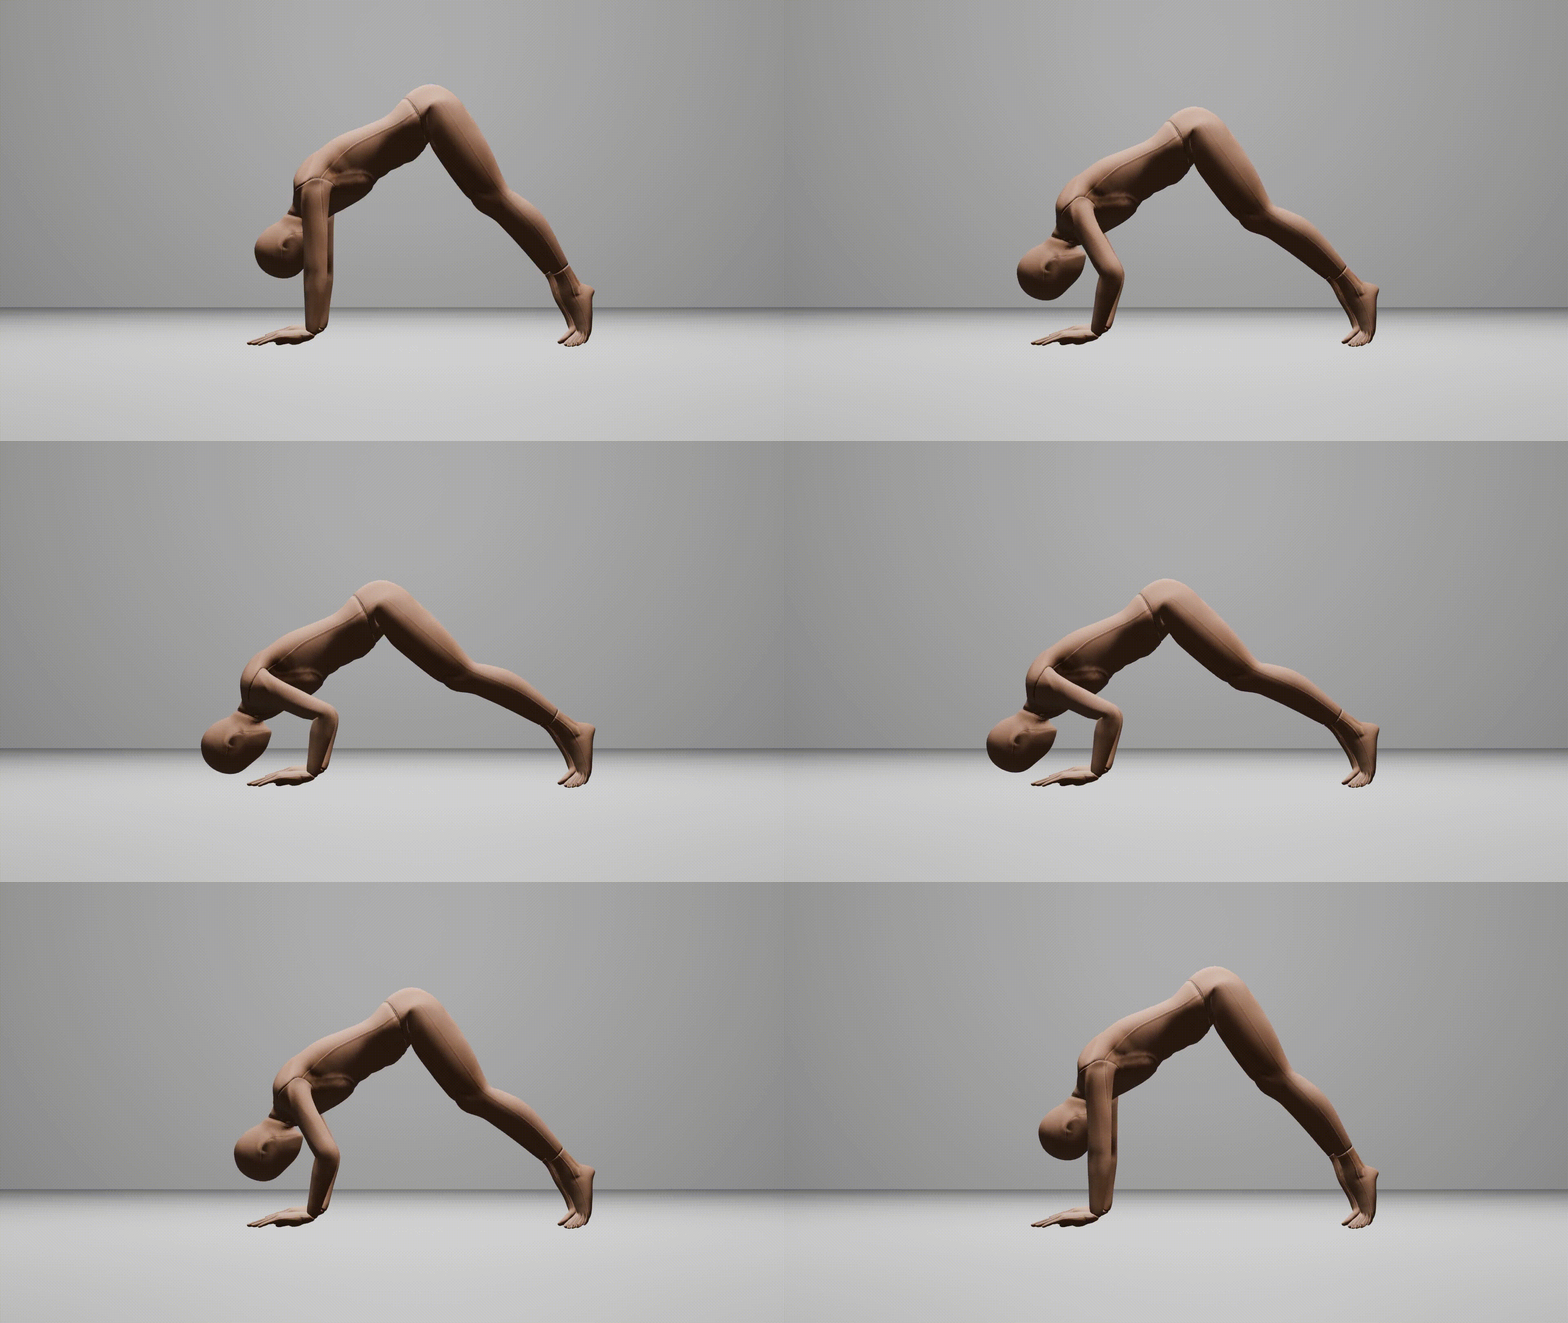
Quick Pike Push-Up Form Check
Use these cues during your workout:
- Hands: Approximately shoulder-width apart, fingers spread naturally.
- Hips: Raised high, forming an inverted V with your body.
- Shoulders: Lean slightly forward as you lower rather than moving straight down.
- Head: Travel toward a point just ahead of your hands, creating a triangle between your head and hands.
- Elbows: Bend backward and outward at a comfortable angle, without excessive flaring.
- Press: Push the floor away and return to the raised-hip position under control.
Most useful tip: Don’t measure difficulty by repetitions alone. Changing how far you lean forward can make the same number of pike push-ups significantly harder.
Common Problems and What to Try
| Your problem | Practical solution |
|---|---|
| Can’t complete a repetition | Move your feet farther back, reduce the forward lean, or elevate your hands |
| Wrists feel uncomfortable | Warm up gently, reduce loading, or try stable push-up handles |
| Hips keep dropping | Brace your core and reset your pike position |
| Exercise feels like a regular push-up | Raise your hips and adjust your shoulder angle |
| Head moves directly between your hands | Try a controlled forward-and-down path |
| Can’t lower very far | Use a comfortable range and build control gradually |
| Can do 10 reps but aren’t progressing | Increase the difficulty through body angle or range of motion |
| Want to progress toward handstands | Combine pike pressing with separate handstand and balance practice |
Table of Contents
How to Do Pike Push-Ups With Proper Form
Pike push-ups use a pressing movement similar to an overhead press, but instead of lifting a weight above your head, you move your body relative to the floor.
The position of your hips, shoulders, hands, and feet affects how demanding the exercise becomes.
Step 1: Position Your Hands
Begin in a high plank position or on your hands and knees.
Place your hands approximately shoulder-width apart or slightly wider.
Spread your fingers and create a stable base against the floor. Your fingers can point forward or slightly outward if that feels more comfortable.
Avoid forcing your wrists into a position that causes pain.
Step 2: Raise Your Hips Into a Pike
Walk your feet toward your hands while raising your hips.
Your body should form an inverted V.
Keep your abdominal muscles engaged and your spine reasonably neutral.
Your legs can remain straight if your mobility allows it. A slight knee bend is fine if tight hamstrings make the position difficult.
You don’t need to force your heels onto the floor.
Step 3: Adjust Your Body Angle
This is one of the most important parts of the exercise.
Move your feet closer to or farther from your hands until you find an angle that allows controlled repetitions.
A more upright torso and greater forward weight shift generally increase the demand on your shoulders.
A shallower pike often feels easier.
However, foot distance and difficulty aren’t perfectly interchangeable. Your flexibility, weight distribution, and arm position also influence the movement.
Start at an angle you can control, then experiment with small changes.
Step 4: Lower Your Head Forward and Down
Begin bending your elbows while allowing your head and shoulders to travel forward and downward.
Aim your head toward a point slightly ahead of your hands.
Viewed from above, your head and two hands should roughly form a triangle near the bottom of the repetition.
Keep your neck in a natural position rather than stretching your chin forward.
Lower as far as you can comfortably control. If your head approaches the floor, don’t bounce or rest your bodyweight on your head or neck.
Step 5: Press Back Up
Push firmly through your palms and extend your elbows.
As you press, move your shoulders back toward the starting pike position.
Keep your hips elevated rather than allowing your body to flatten into a regular push-up.
Finish with your arms extended comfortably and your shoulders actively supporting your weight.
Step 6: Repeat Without Losing Your Position
Perform another repetition while maintaining approximately the same body angle and range of motion.
If your feet drift backward, your hips drop, or your pressing path changes significantly, the later repetitions may become easier without you noticing.
Reset your position when necessary.
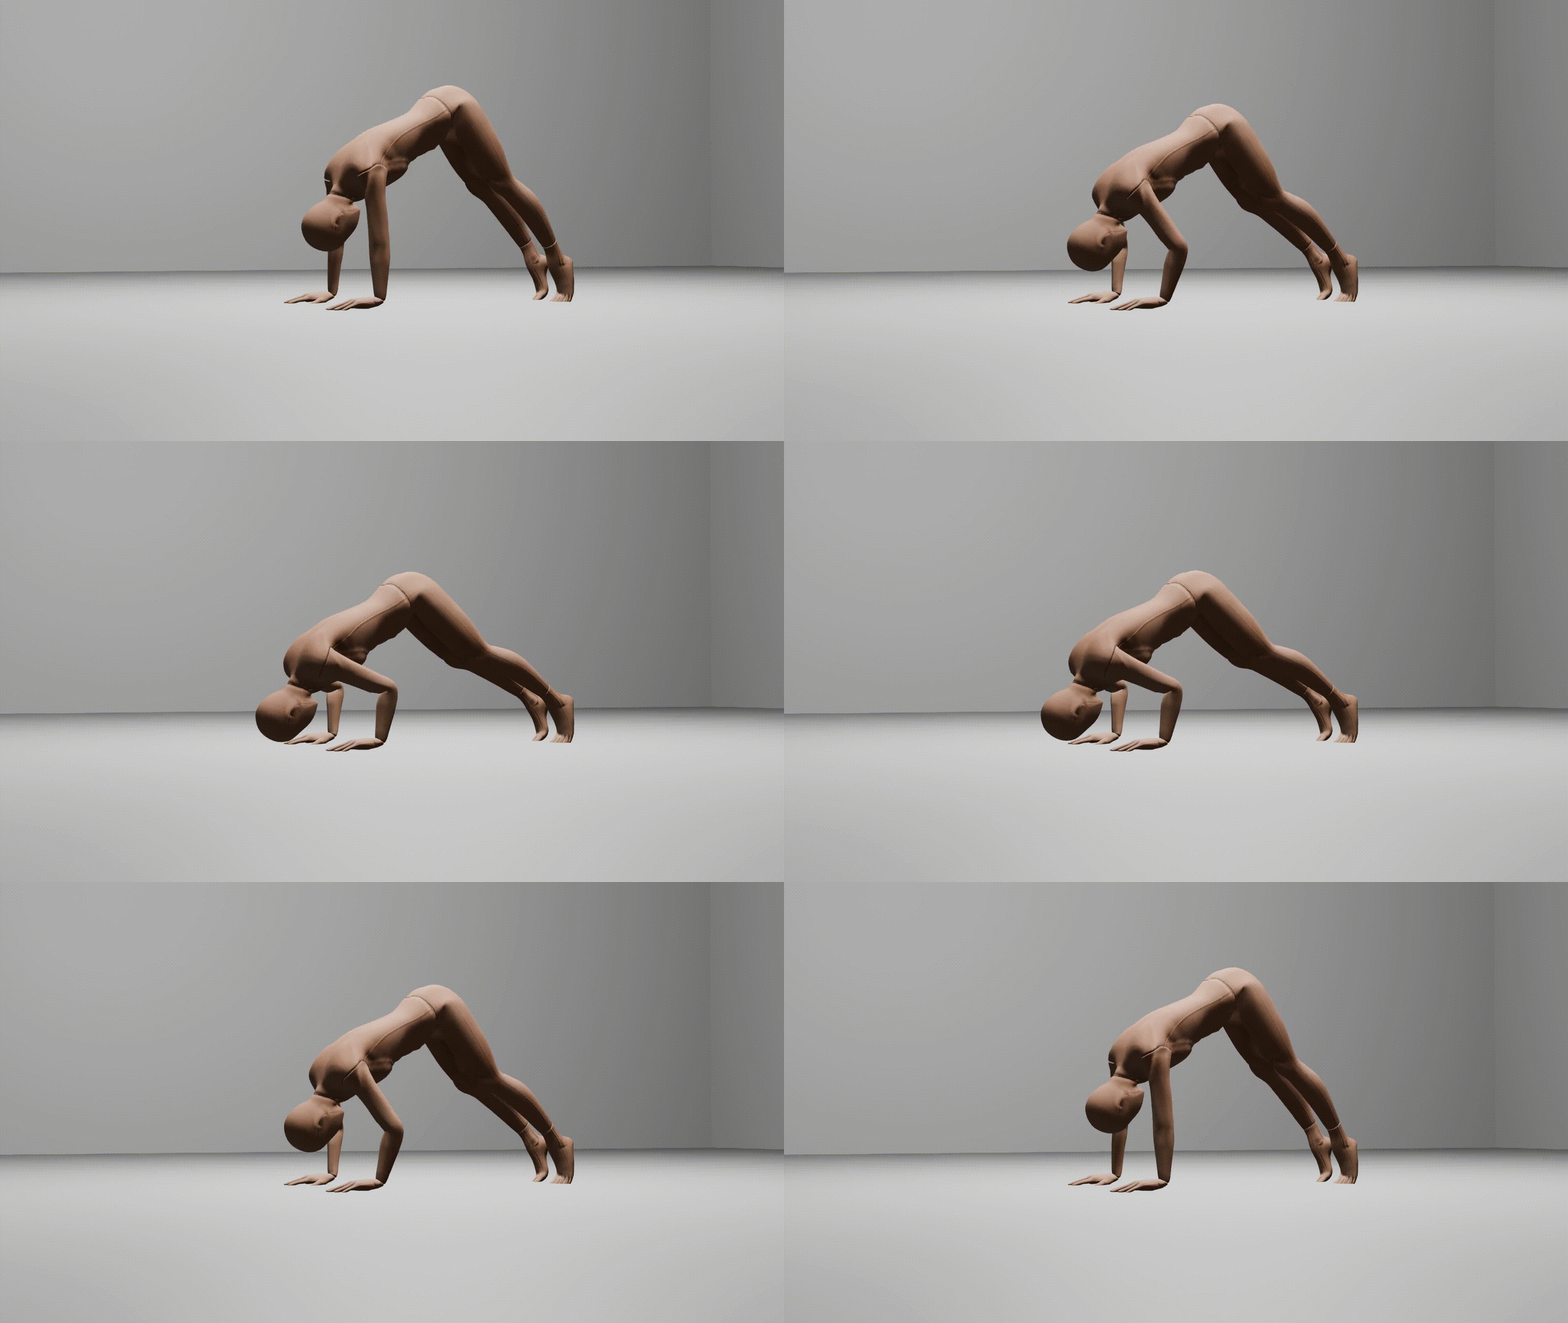
Why Are Pike Push-Ups So Hard?
Pike push-ups can be surprisingly demanding, even for people with experience in weightlifting.
I noticed this immediately.
Before focusing on calisthenics, I had already developed shoulder strength through exercises such as dumbbell overhead presses. That gave me a useful foundation, but it didn’t make pike push-ups easy.
1. You’re Pressing From an Unfamiliar Position
During a dumbbell overhead press, you normally remain upright while moving external weights.
During a pike push-up, your body is inverted at an angle, and your hands support a substantial portion of your weight.
This changes the coordination and stabilization demands.
Strength from overhead pressing can help, but the exercises aren’t identical.
2. Body Angle Changes the Resistance
In regular weightlifting, you can increase or decrease resistance by changing the weight.
With pike push-ups, resistance is harder to measure.
Moving your feet closer, changing your shoulder lean, or elevating your feet can alter how much work your shoulders must perform.
This is why two people doing 10 pike push-ups might be training at very different difficulty levels.
3. Wrist Position Can Be Challenging
Floor pike push-ups place your hands under load while your wrists are extended.
Some people find this uncomfortable, especially when they’re unfamiliar with supporting their bodyweight through their hands.
This was one of the difficulties I noticed when I first started.
I’ll explain how to prepare your wrists and adjust your setup below.
What Muscles Do Pike Push-Ups Work?
Pike push-ups primarily challenge your shoulders and triceps.
They also involve several muscles that help control your shoulder blades and stabilize your body.
| Muscle group | Role |
|---|---|
| Anterior deltoids | Produce much of the shoulder pressing movement |
| Triceps brachii | Extend your elbows as you press upward |
| Upper chest | Assists the pressing movement |
| Serratus anterior | Helps control your shoulder blades |
| Trapezius | Contributes to shoulder-blade positioning and movement |
| Core muscles | Help maintain the pike position |
Shoulders
The front portion of your deltoids plays a major role in pike push-ups.
As your torso becomes more vertical and your shoulders move farther over your hands, the exercise generally becomes more shoulder-focused.
This makes pike push-ups useful for developing strength relevant to overhead pressing.
Triceps
Your triceps straighten your elbows as you push yourself upward.
They contribute significantly to completing the pressing movement.
Upper Chest
Your chest muscles also assist the movement, although the pike position changes the emphasis compared with a standard push-up.
Core and Shoulder-Blade Muscles
Your core helps control your torso and hip position.
Meanwhile, muscles including the serratus anterior and trapezius help manage your shoulder blades as your arms support and move your body.
For more general chest and arm training, see our How to Do Push-Ups Guide.
How to Warm Up Your Wrists Before Pike Push-Ups
I strongly recommend preparing your wrists before weight-bearing calisthenics exercises.
When I first started pike push-ups, the pressure on my wrists felt uncomfortable. That made me pay more attention to wrist mobility and gradually getting comfortable supporting my weight through my hands.
A short, gentle warm-up is a sensible habit before pike push-ups, handstands, planche training, and other demanding floor exercises.
However, stretching isn’t a guarantee against injury. Wrist tolerance also depends on the amount of loading, your recovery, your technique, and individual factors.
A Simple Wrist Warm-Up
You can begin with the following sequence:
| Movement | Starting amount |
|---|---|
| Gentle wrist circles | 20–30 seconds |
| Open and close your hands | 10–15 repetitions |
| Gentle wrist flexion and extension | 5–10 repetitions |
| Light weight shifts with hands supported | 5–10 controlled shifts |
| Easy pike holds or easier push-up repetitions | 1–2 short sets |
1. Move Your Wrists Through a Comfortable Range
Start with wrist circles and gentle flexion and extension.
The movement should feel controlled, not forced.
If stretching, use light pressure rather than pulling aggressively into the end of your range.
2. Introduce Some Weight-Bearing
Place your palms on a wall, bench, or floor, depending on what feels comfortable.
Gradually shift a small amount of weight onto your hands, then move back.
You can make this more demanding over time, but there’s no need to start with your full bodyweight.
3. Practice an Easier Version First
Before your demanding pike push-up sets, try a few comfortable repetitions using a shallower angle or less forward lean.
This introduces the specific movement you’re about to train.
Will Your Wrists Become Stronger Over Time?
Your ability to tolerate weight-bearing exercise may improve with gradual, consistent exposure.
But that doesn’t happen automatically, and everyone responds differently.
If you experience sharp pain, worsening symptoms, numbness, or persistent discomfort, don’t try to stretch through it. Reduce or stop the aggravating activity and seek appropriate professional advice when needed.
Pike Push-Up Progressions: From Easier to Harder
The best progression isn’t necessarily the one that adds the most repetitions.
For pike push-ups, small improvements in body position can be meaningful progress.
Here’s a practical way to scale the exercise.
| Variation | When to use it |
|---|---|
| Pike Hold | Learn the position and supported shoulder control |
| Hands-Elevated Pike Push-Up | Reduce difficulty while practicing the movement |
| Shallow-Angle Pike Push-Up | Begin floor repetitions at a manageable angle |
| Standard Pike Push-Up | Develop controlled shoulder-focused pressing |
| More Forward-Leaning Pike Push-Up | Increase shoulder demand without changing exercises |
| Feet-Elevated Pike Push-Up | Increase the overhead pressing challenge |
| Pike Push-Up on Parallettes | Use a different wrist position and potentially greater depth |
| Wall Handstand Push-Up Progressions | Develop strength in a more vertical pressing position |
These variations aren’t an exact ladder. For example, a deep parallette pike push-up can be harder than some feet-elevated versions.
Choose the next step based on the movement you can control.
1. Pike Holds
Begin in an inverted V position with your hands and feet supporting you.
Hold the position briefly while pressing firmly through your hands and keeping your hips elevated.
Start with approximately 10–20 seconds if comfortable.
This lets you practice the body position before adding repeated elbow bending.
2. Hands-Elevated Pike Push-Ups
Place your hands on a sturdy, non-slip elevated surface.
Maintain a pike position and practice bending your elbows while lowering your upper body.
Adjust the height and body angle so the movement feels manageable.
This can be useful when floor repetitions are still too demanding.
3. Shallow-Angle Pike Push-Ups
Start with your feet slightly farther from your hands, producing a less vertical torso.
Perform controlled repetitions and focus on the forward-and-down head path.
As you improve, gradually change the position to increase the shoulder demand.
4. Standard Pike Push-Ups
Once you’re comfortable with the basic movement, practice floor pike push-ups with your hips high and a consistent range of motion.
A starting target could be 3 sets of 5–8 clean repetitions.
You don’t need to reach an exact number before experimenting with a slightly harder position.
5. More Forward-Leaning Pike Push-Ups
This is the progression I’ve personally found most useful.
Without changing the exercise, gradually shift more weight toward your hands and shoulders.
Your torso should become more vertical as you press.
Keep the movement controlled and avoid leaning so far that you lose your balance or collapse toward your head.
Even a modest change in the lean can make your usual sets noticeably harder.
6. Feet-Elevated Pike Push-Ups
Place your feet on a sturdy, non-slip platform.
Keep your hips elevated and adjust your hand position until you can perform the movement without losing control.
This generally increases the overhead pressing challenge, but the difficulty also depends on platform height and your torso angle.
Begin with a low elevation rather than immediately attempting the highest platform available.
7. Pike Push-Ups on Parallettes
Using push-up handles or parallettes changes your hand position and can allow your head to travel below the height of your hands.
That extra range of motion can make the exercise considerably harder.
Don’t automatically use the deepest possible movement. Start with a controlled range that matches your current ability.
My Experience: Progressing Without Adding More Reps
I usually perform pike push-ups for approximately 3 sets of 10 repetitions.
What’s interesting is that my repetition count hasn’t been the main measure of my progress.
When I first started, I used a less demanding pike angle. As I became stronger and more comfortable with the movement, I gradually moved my feet and adjusted how far forward I leaned.
Now I perform the exercise with a more pronounced forward lean, placing a greater demand on my shoulders.
The movement has become significantly harder even though I’m still often doing the same 3 × 10.
Progress Can Be Difficult to Notice
Compared with adding weight to a dumbbell overhead press, progress in pike push-ups can feel less obvious.
You’re not necessarily adding another repetition every week.
Sometimes the improvement is that you can perform the same repetitions with a more demanding body position or better control.
That’s why I recommend tracking more than just your repetition count.
A Small Milestone I Noticed
At one point, while working in a deeply bent-arm pike position, I managed to briefly lift my feet off the floor and hold myself for a second or two.
That was an encouraging moment because it showed me I had developed more control while supporting my weight through my arms.
It’s worth distinguishing this from a regular pike push-up. A bent-arm balance is a separate skill, and lifting your feet isn’t necessary to perform pike push-ups correctly.
I wouldn’t recommend beginners trying to force that position as a progression test, particularly if they haven’t developed the control to avoid falling onto their head.
The lesson I took from it was that meaningful strength improvements can appear in ways other than simply performing more repetitions.
How to Track Your Pike Push-Up Progress
If you’re not sure whether you’re improving, record a few details from your workouts.
| What to track | What improvement looks like |
|---|---|
| Repetitions | More controlled reps at the same difficulty |
| Hand-to-foot distance | A more demanding setup, with other factors kept similar |
| Forward lean | Greater controlled weight shift toward the shoulders |
| Range of motion | More depth without losing position |
| Tempo and control | Less swinging or collapsing |
| Harder variations | Moving from floor to elevated or deeper pressing |
A short side-view video can help you compare your body position over time.
For example, if you’re doing 3 × 10 now and still doing 3 × 10 a month later, compare your torso angle and movement quality before deciding you’ve made no progress.
Try to keep the other variables consistent when testing a particular change.
Pike Push-Up Workout for Shoulder Strength
You don’t need a complicated program.
For many people, two focused pike push-up sessions per week are a reasonable starting point, especially if they’re also doing dips, regular push-ups, or overhead weight training.
Adjust the volume based on your recovery.
Workout A: Learning Pike Push-Ups
| Exercise | Sets and reps |
|---|---|
| Pike Hold | 2 × 10–20 seconds |
| Easy or Hands-Elevated Pike Push-Ups | 3 × 5–8 |
| Standard Push-Ups, optional | 2 × 6–10 |
Rest approximately 1–3 minutes between demanding sets.
Main goal: Learn the pressing path and maintain a consistent pike position.
Workout B: Building Stronger Pike Push-Ups
| Exercise | Sets and reps |
|---|---|
| Standard Pike Push-Ups | 3 × 6–10 |
| More Forward-Leaning Pike Push-Ups | 2 × 3–6, if appropriate |
| Optional Core Exercise | 2 sets |
Main goal: Gradually increase the difficulty of your pressing position.
You don’t need the second pike variation if your standard sets are already challenging.
What About Training to Failure?
You don’t need to take every pike push-up set to failure.
In an exercise where losing control can put your head close to the floor, maintaining technique is particularly important.
Stop when your repetitions become substantially less controlled, your hips drop, or you can no longer support the descent confidently.
Progressive training doesn’t require exhausting yourself during every set.
Pike Push-Ups vs. Regular Push-Ups vs. Overhead Press
All three exercises develop upper-body pressing strength, but they don’t train exactly the same movement.
| Exercise | Main emphasis | Key difference |
|---|---|---|
| Regular Push-Up | Chest, triceps, front shoulders | More horizontal pressing |
| Pike Push-Up | Shoulders and triceps | More overhead-oriented bodyweight pressing |
| Dumbbell Overhead Press | Shoulders and triceps | External weight can be adjusted directly |
Can You Replace Dumbbell Shoulder Presses With Pike Push-Ups?
Pike push-ups can provide a useful shoulder-strength exercise when you don’t have access to weights.
However, they aren’t an identical replacement.
Dumbbell overhead presses make it easier to measure and adjust resistance precisely.
Pike push-ups require more attention to body angle, balance, and movement consistency.
My own experience illustrates this difference: despite already having overhead pressing strength from weightlifting, I initially found pike push-ups surprisingly difficult.
If your goal is calisthenics-specific overhead pressing, practicing pike push-ups can be particularly useful.
Do Pike Push-Ups Help With Handstand Push-Ups?
Yes. Pike push-ups develop shoulder and triceps strength relevant to handstand push-ups.
But a handstand push-up introduces additional challenges, including supporting more bodyweight vertically, controlling an inverted position, and managing balance or wall support.
A Practical Direction for Progression
You can gradually work toward:
- Controlled floor pike push-ups.
- More forward-leaning or feet-elevated pike push-ups.
- Greater-range pike push-ups when appropriate.
- Wall-supported handstand holds and controlled handstand pressing progressions.
- More advanced handstand push-ups.
This isn’t a strict checklist.
You can practice easier handstand balance drills alongside pike push-ups rather than waiting until you reach an arbitrary repetition target.
See Handstand Push-Up Guide for the more advanced movement.
What About Press to Handstand?
One of my longer-term goals is to progress from pike push-ups toward more advanced handstand skills, including the press to handstand.
However, it’s important to distinguish two movements.
A handstand push-up involves bending and extending your elbows to lower and raise your body.
A conventional straight-arm press to handstand involves lifting your legs into a handstand without jumping while keeping your elbows extended.
The second movement requires specific straight-arm strength, hip compression, flexibility, coordination, and balance.
Pike push-ups contribute useful general shoulder strength, but they won’t teach every component of a press to handstand by themselves.
If handstand development is your goal, combine pressing practice with appropriate Handstand Training.
Are Parallettes Worth Using for Pike Push-Ups?
You can learn and develop pike push-ups entirely on the floor.
However, push-up handles or parallettes can be useful if you want an alternative wrist position or additional range of motion.
I sometimes use them myself.
Wrist Position
When performing pike push-ups on the floor, your palms remain flat while your wrists extend under load.
Holding parallettes places your hands in a different, often more neutral position.
I find that the wrist position feels different, which can be useful depending on the session.
That doesn’t mean parallettes are guaranteed to prevent wrist pain or eliminate joint stress.
Greater Range of Motion
Parallettes raise your hands above the floor.
This gives your head more space to travel downward, allowing a deeper pike push-up if you have the strength and mobility to control it.
That can be useful for progressing the exercise.
However, extra depth also increases the demands of the movement. It isn’t automatically better for everyone.
What to Look for in Pike Push-Up Handles
If you’re considering buying a pair, prioritize:
- Stability: The handles shouldn’t rock or slide when your weight shifts forward.
- Grip size: The handles should feel comfortable in your hands.
- Weight capacity: Check the manufacturer’s specifications.
- Height: Low handles may be enough for an alternative wrist position; taller parallettes offer more clearance but may require more balance.
- Floor compatibility: Make sure the base grips your training surface.
Optional equipment: Push-Up Handles
If you’re comfortable performing floor pike push-ups and don’t need additional depth, there’s no reason to buy equipment just for this exercise.
Common Pike Push-Up Mistakes
1. Keeping Your Hips Too Low
If your body becomes almost horizontal, the movement begins to resemble a regular push-up.
What to try: Raise your hips and adjust the distance between your hands and feet.
2. Moving Straight Down Without a Forward Lean
Dropping your head directly between your hands can change the pressing path and reduce the resemblance to overhead pressing.
What to try: Allow your head and shoulders to move slightly forward as you descend, without leaning farther than you can control.
3. Letting Your Elbows Flare Excessively
A very wide elbow position may feel awkward and make the movement harder to control.
What to try: Experiment with a comfortable hand width and allow your elbows to bend backward and slightly outward.
4. Dropping Onto Your Head
Your head should never be used to support or catch your bodyweight during a repetition.
What to try: Reduce the range of motion or use an easier angle until you can lower under control.
5. Increasing the Forward Lean Too Quickly
Moving too far forward can make the exercise significantly harder and may compromise your balance.
What to try: Increase the lean gradually and keep every repetition controlled.
6. Ignoring Wrist Discomfort
Some wrist loading is normal, but pain shouldn’t be dismissed as something you must endure to make progress.
What to try: Prepare your wrists gently, adjust your loading, or experiment with a stable alternative grip. Seek professional guidance for persistent symptoms.
Frequently Asked Questions
Are Pike Push-Ups Harder Than Regular Push-Ups?
Many people find them harder because more of the pressing demand shifts toward the shoulders.
However, difficulty depends on your body angle, technique, and current strength.
Why Do Pike Push-Ups Hurt My Wrists?
The extended wrist position and weight-bearing demands can feel uncomfortable, especially if you’re not accustomed to the movement.
Try reducing the difficulty, preparing your wrists gently, and adjusting your hand position.
Pain isn’t something you should simply push through.
Should My Head Touch the Floor?
Your head may lightly approach or touch the floor during a controlled full-range repetition, depending on the setup.
However, don’t bounce or place your bodyweight onto your head or neck.
Using a slightly shorter, controlled range is preferable to collapsing at the bottom.
Should I Keep My Legs Straight?
Straight legs can help maintain a consistent pike position, but a slight knee bend is acceptable if mobility limits your setup.
Your shoulder position and movement control matter more than forcing perfectly straight knees.
How Many Pike Push-Ups Should I Do?
A practical starting range is 2–3 sets of approximately 5–10 controlled repetitions.
Adjust the body angle to match your current strength.
You don’t have to reach a particular number before trying a harder variation.
Can Pike Push-Ups Build Bigger Shoulders?
They can contribute to shoulder muscle development if they provide sufficient resistance and training effort.
As you become stronger, you’ll likely need to increase the difficulty to keep challenging the muscles.
Are Parallettes Better Than the Floor?
Neither option is universally better.
The floor requires no equipment and is convenient for learning the movement.
Parallettes provide a different wrist position and potentially more depth, but they also introduce equipment and stability considerations.
How Long Does It Take to Progress to Handstand Push-Ups?
There is no reliable universal timeline.
Your shoulder strength, current technique, balance, training consistency, and recovery all influence progress.
Developing controlled pike push-ups is useful, but you should also practice the specific skills involved in handstand pressing.
Final Thoughts: Pay Attention to the Difficulty, Not Just the Reps
Pike push-ups taught me something useful about calisthenics: progress isn’t always easy to measure.
When I started, the movement felt surprisingly difficult despite my weightlifting background.
I gradually improved by experimenting with my pike angle, leaning farther forward, and learning to control the pressing movement.
Today, I still often perform 3 sets of 10 repetitions, but the exercise is substantially more demanding because my positioning has changed.
That’s the main lesson I’d pass on.
If your pike push-up repetitions haven’t increased, it doesn’t necessarily mean you’ve stopped progressing. Look at your body angle, forward lean, range of motion, and control.
Prepare your wrists, choose a difficulty you can manage, and gradually make the movement more challenging.
And if your long-term goal is a handstand or handstand push-up, remember that pike push-ups are only one part of the process.
For a complete approach to calisthenics training, visit our How to Start Bodyweight Training Guide.
Disclaimer: This article provides general fitness education and is not individualized medical or rehabilitation advice.