
The sit-up is a classic bodyweight exercise that remains a cornerstone of functional fitness and bodyweight training. Unlike isolation movements, the sit-up trains full-range spinal flexion, building endurance across your entire abdominal wall and strengthening the hip flexors required for daily movement and athletic performance.
However, because sit-ups involve lifting your entire upper body off the floor, poor form can quickly lead to lower back strain or neck pulling.
In this complete guide, you’ll learn proper sit-up execution, how sit-ups differ from crunches, how to protect your lumbar spine, and how to program sit-ups using a structured 4-Week Progression Block.
What Is a Sit-Up? (Sit-Ups vs. Crunches)
A sit-up is a multi-joint core exercise where you lie on your back with bent knees and flex your abdominal muscles to raise your entire torso—from your shoulders down to your tailbone—off the floor until your chest approaches your thighs.
While often confused with crunches, sit-ups utilize a full range of motion that engages both the abdominal wall and the hip flexors.
💥 Sit-Up vs. Crunch: Range of Motion
Abdominal Crunch
Partial lift (shoulder blades only). Direct upper ab isolation with zero hip flexor involvement.
Full Sit-Up
Full torso lift (floor to knees). Integrates full abdominal wall + active hip flexor engagement.
| Feature | Sit-Up | Crunch |
| Torso Movement | Full lift off the mat | Shoulder blades only |
| Primary Target | Full Abs + Hip Flexors | Upper Rectus Abdominis |
| Spinal Flexion | Full Range | Short / Isolated Range |
| Functional Benefit | Functional trunk flexion & upright sitting strength | Direct abdominal muscle isolation |
| Difficulty Level | Intermediate | Beginner |
Muscle Anatomy: What Muscles Do Sit-Ups Work?
Performing sit-ups with correct technique strengthens four primary muscle groups that contribute to trunk stability and athletic performance:
- Rectus Abdominis (“The Abs”): The front wall of your core. It works hard during the initial phase of the movement to curl your shoulders off the floor.
- Hip Flexors (Iliopsoas & Rectus Femoris): Located at the front of your hips and upper thighs. As your torso rises past a 45-degree angle, your hip flexors pull your chest toward your knees.
- Transverse Abdominis (“Deep Core”): Acts as a natural weight belt, stabilizing your spine and holding abdominal tension throughout the rep.
- Obliques (Internal & External): Located on the sides of your waist, contracting statically to keep your torso centered during ascent and descent.
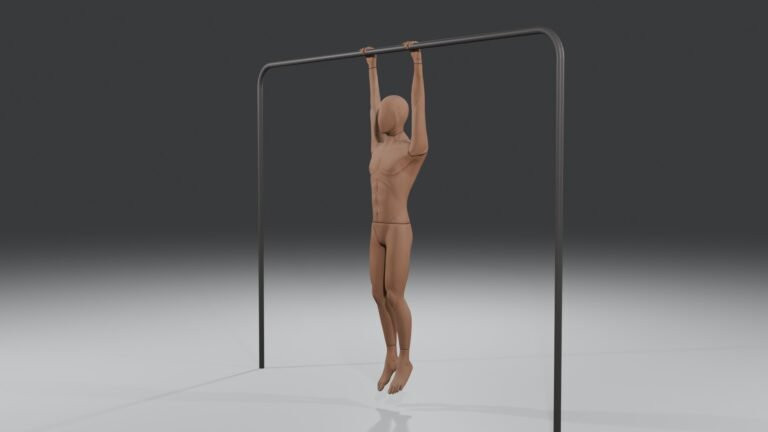
While sit-ups pull your torso up toward your legs, hanging leg raises invert the movement by pulling your legs toward your torso, providing deeper activation for the lower region of your rectus abdominis.
How to Do Sit-Ups Correctly: Step-by-Step Form
Follow these three steps to ensure your core drives the movement while protecting your lower back and neck:
Step 1: The Setup
- Lie flat on an exercise mat with your knees bent at a 90-degree angle and feet flat on the floor (hip-width apart).
- Tuck your tailbone slightly and press your lower back flat into the ground to engage your core before starting.
- Cross your arms over your chest, or touch your fingertips lightly behind your ears. Never interlock your fingers behind your neck.
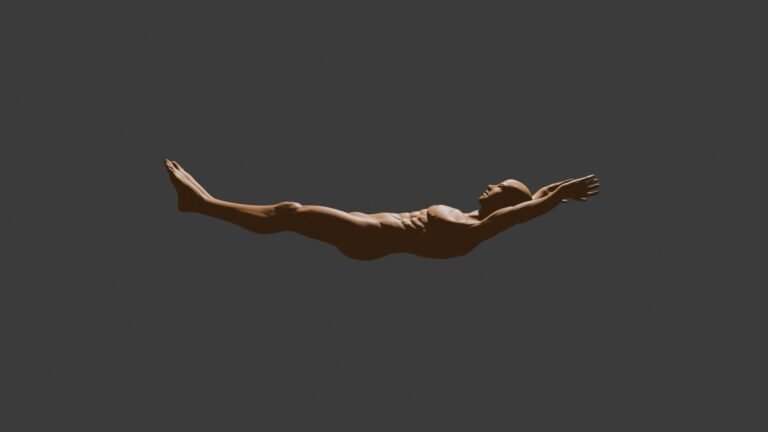
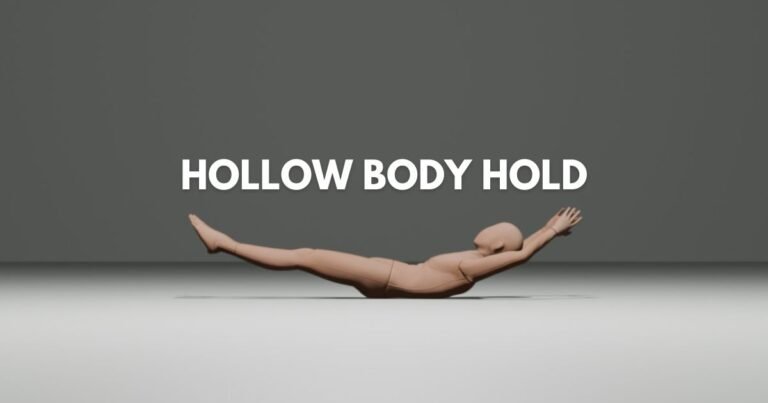
Learning to tuck your tailbone during sit-ups relies on the same abdominal compression used in the hollow body hold exercise.
Step 2: The Sit-Up (Ascent)
- Exhale forcefully and pull your belly button toward your spine.
- Smoothly curl your upper body off the floor, bringing your chest all the way up toward your thighs.
- Keep your chin slightly tucked (imagine holding a tennis ball under your chin) to keep your neck aligned with your spine.
Step 3: The Eccentric Lowering (Descent)
- Inhale as you slowly lower your torso back toward the mat in a controlled, 2-to-3-second roll.
- Unroll your spine segment by segment—touching your lower back down first, then upper back, then shoulders.
- Pause lightly at the bottom without relaxing completely before starting the next rep.
Combine Sit-Ups With Other Bodyweight Exercises
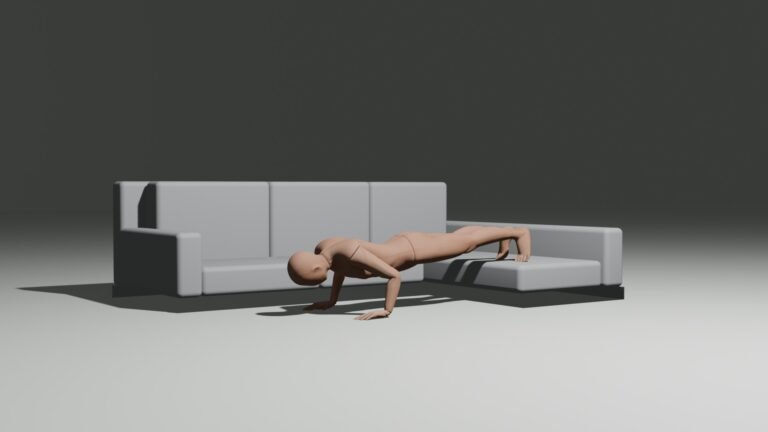
Sit-ups go well with push-ups, pull-ups, lunges and dips. Read our master guide on starting bodyweight training and learn all the other essential bodyweight exercises for a full body workout and eventually learn cool calisthenic skills.
4 Common Sit-Up Mistakes (And How to Fix Them)
⚠️ Lower Back Safety Warning: If you experience sharp pinching or aching in your lower back during sit-ups, your hip flexors may be pulling on your lumbar spine because your abs are fatiguing. Stop the set immediately and regress to crunches or planks.
1. Pulling on Your Neck
- The Mistake: Jerking your head forward with your hands to force your body upward, straining your neck and upper spine.
- The Fix: Cross your hands over opposite shoulders or keep your fingertips lightly resting beside your ears.
2. Using Momentum & Swinging Arms
- The Mistake: Throwing your arms or rocking your hips to swing yourself up.
- The Fix: Perform reps with a strict tempo: 2 seconds up, 1-second pause at the top, 2 seconds down.
3. Anchoring Feet Too Early
- The Mistake: Wedging feet under heavy dumbbells or furniture right away. While this makes sit-ups easier, it shifts almost all the work to your hip flexors and takes tension off your abs.
- The Fix: Practice unassisted sit-ups with feet flat on the floor first. Only use an anchor if you are recovering or using it for high-volume work.
4. Arching the Lower Back on Descent
- The Mistake: Collapsing backward onto the floor with a hollow, arched back.
- The Fix: Keep your pelvis tucked (hollow body tension) as you lower yourself back down segment by segment.
How to Release Tight Hip Flexors After Sit-Ups (4 Essential Drills)
Because sit-ups rely heavily on the hip flexors (psoas and rectus femoris) to pull your torso upright, high-volume core workouts often leave your hips feeling tight, short, or achy. When your hip flexors become overactive, they drag your pelvis forward into an anterior pelvic tilt—one of the leading causes of lower back pain during workouts and daily life.
To release tension, prevent lower back strain, and keep your hips mobile, perform these 4 targeted stretches and active openers immediately after your sit-up sessions:
1. The Half-Kneeling Hip Flexor Stretch
- How to Do It: Start in a half-kneeling position with one knee down on a mat and your opposite foot flat on the floor in front of you. Squeeze your glutes and tuck your pelvis slightly underneath you (a posterior pelvic tilt). Gently drive your hips forward an inch or two without letting your lower back arch.
- Extra Tip: Keep your torso completely upright. For a deeper, more complete stretch along the entire lateral chain, raise the arm on your trailing-knee side straight up toward the ceiling.
2. The Couch Stretch (Advanced Quad & Hip Opener)
- How to Do It: Place your back knee on a cushion directly against a wall or the front of a couch, with your shin running vertically up the surface. Place your front leg forward into a sturdy lunge position. Drive your torso upright and squeeze your glutes intensely.
- Extra Tip: This stretch is incredibly intense and can feel brutal at first—ease into it slowly. The couch stretch is the ultimate tool if you struggle to maintain an upright chest during squats or sit-ups.
3. The Spiderman Lunge (World’s Greatest Stretch)
- How to Do It: Step forward into a deep, long lunge and place both hands flat on the floor on the inside of your front foot. Keeping your back leg fully extended and active, lift your inside hand off the floor and rotate your chest up toward the ceiling, reaching your fingers toward the sky.
- Extra Tip: Exhale fully as you rotate. This movement is incredible for unlocking total hip mobility while simultaneously freeing up a stiff mid-back.
4. The Glute Bridge (Active Hip Extension)
- How to Do It: Lie flat on your back with your knees bent and feet flat on the floor, about hip-width apart. Driving through your heels, push your hips up toward the ceiling while aggressively squeezing your glutes at the top. Keep your ribcage down to avoid hyperextending your spine.
- Extra Tip: To truly release a tight muscle, you must strengthen the muscle on the opposite side. The glute bridge wakes up your backside, forcing the front of your hips to open up and relax naturally.
💡 Is Hip Tightness Ruining Your Core Workouts?
Doing basic stretches after sit-ups helps temporarily, but if your hips constantly cramp, click, or pull on your lower back, stretching alone won’t solve the problem—you need active hip flexor strengthening and mobility work.Check out our Ultimate Hip Flexor Mobility Guide to learn how to unlock tight hips, eliminate lower back pain, and dramatically improve your performance.
The 4-Week Sit-Up Progression Block
Building core endurance requires progressive overload and adequate recovery. Use this 4-week training block to build from basic reps to higher volume or weighted variations.
Prerequisite Check: Ensure you can hold a 30-second plank and perform 15 strict crunches with clean form before starting this block.
Resting is Key: Rest 60 to 90 seconds between sets to keep reps high-quality.
| Week | Focus | Workout 1 | Workout 2 | Workout 3 |
| 1 | Form & Control | 3 sets of 10–12 reps | 3 sets of 12 reps | 3 sets of 12 reps |
| 2 | Volume Accumulation | 3 sets of 15 reps | 4 sets of 12 reps | 4 sets of 15 reps |
| 3 | Tempo & Pause Holds | 4 sets of 12 reps (1-sec pause at top) | 3 sets of 15 reps | 4 sets of 15 reps (1-sec pause at top) |
| 4 | Mastery & Testing | 3 sets of 20 reps | 3 sets of 10 reps (Slow tempo) | Test Day: Test your maximum strict, unassisted sit-ups in a single set! |
4 Best Sit-Up Variations & Modifications
Once you master standard bodyweight sit-ups, use these variations to target different areas of your core or scale difficulty:
1. Assisted / Feet-Anchored Sit-Ups (Beginner Modification)
- How to Do It: Hook your toes under a heavy dumbbell or have a partner hold your feet down.
- Best For: Beginners building baseline core control before attempting unassisted sit-ups.
2. Butterfly Sit-Ups (Hip Flexor Relief)
- How to Do It: Press the soles of your feet together with your knees open wide (like a butterfly stretch), then sit up toward your feet.
- Best For: Reducing hip flexor strain and focusing more directly on abdominal flexion.
3. Pulse Sit-Ups (Time Under Tension)
- How to Do It: Sit up halfway, lower down 2–3 inches, and pulse back up before lowering completely.
- Best For: Increasing muscular endurance in the hardest mid-range section of the movement.
4. Weighted Sit-Ups (Advanced Overload)
- How to Do It: Hold a dumbbell or weight plate across your chest (or overhead) as you perform a standard sit-up.
- Best For: Intermediate and advanced athletes building core hypertrophy and strength.
💡 Take Your Core Strength to the Next Level: The Ab Wheel
While sit-ups build full-range abdominal flexion and hip flexor endurance, true bulletproof core strength requires anti-extension training—learning to stop your spine from arching under heavy tension.
The single most effective (and budget-friendly) piece of equipment for building this high-tension core stability at home is the Ab Wheel Rollout. Rollouts place your abdominal wall under extreme eccentric tension, forcing your abs and deep stabilizers to work twice as hard as standard floor exercises.
If you are serious about building a strong midsection, adding an ab roller to your home gym setup is one of the highest-return investments you can make under $20.
🛒 Gear Recommendation: We recommend picking up a sturdy, non-slip wheel like the Ultra-Wide Ab Roller Wheel on Amazon—its wide wheel base provides maximum stability while protecting your wrists and shoulders during deep rollouts.
Frequently Asked Questions (FAQ)
Do sit-ups burn belly fat?
No exercise can target local fat burn on a specific area of the body. Sit-ups build and strengthen the abdominal muscles beneath, but revealing your abs requires losing body fat through a caloric deficit, healthy diet, and overall activity.
How many sit-ups should I do a day?
Doing sit-ups every single day is counterproductive because abdominal muscles need rest to repair and grow. Performing 3 to 4 sets, 2 to 3 times per week as part of a structured routine provides the ideal balance of stimulus and recovery.
Is doing 100 sit-ups a day bad?
Doing 100 sit-ups every day often leads to bad form, hip flexor overuse, and lower back soreness. Rather than doing excessive reps, focus on quality reps, slower lowering phases, or weighted variations to progressively overload your core.
Why do my hip flexors hurt during sit-ups?
During the top half of a sit-up, the hip flexors take over primary lifting duties from the abs. If your hip flexors cramp or feel overworked, try Butterfly Sit-Ups or switch to Crunches to isolate your upper abs.
Next Steps for a Balanced Core
Sit-ups build functional trunk flexion and endurance, but complete midsection strength requires anti-extension and isometric holds.
To balance your core routine:
- Isolate your upper abs with The Ultimate Crunches Guide.
- Build isometric core leverage with our L-Sit Progression Guide.
- Develop bodyweight training routine with our Train At Home Without Gym Guide.