
The push-up is the ultimate foundational movement of upper-body calisthenics. While frequently dismissed as a simple beginner exercise, a strict, full-range-of-motion push-up demands high levels of chest activation, anterior shoulder power, triceps control, and core rigidity.
Whether your goal is to build an impressive chest, establish pressing power for dips and handstands, or protect your shoulder joints from injury, mastering the mechanics of the standard push-up is mandatory.
- Primary Muscles: Lower & Upper Chest (Pectoralis Major), Triceps Brachii
- Secondary Muscles: Front Shoulders (Anterior Deltoids), Core (Rectus Abdominis), Serratus Anterior
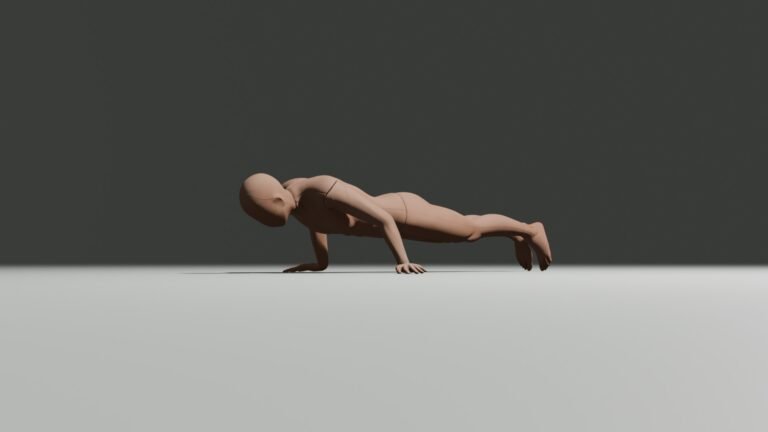
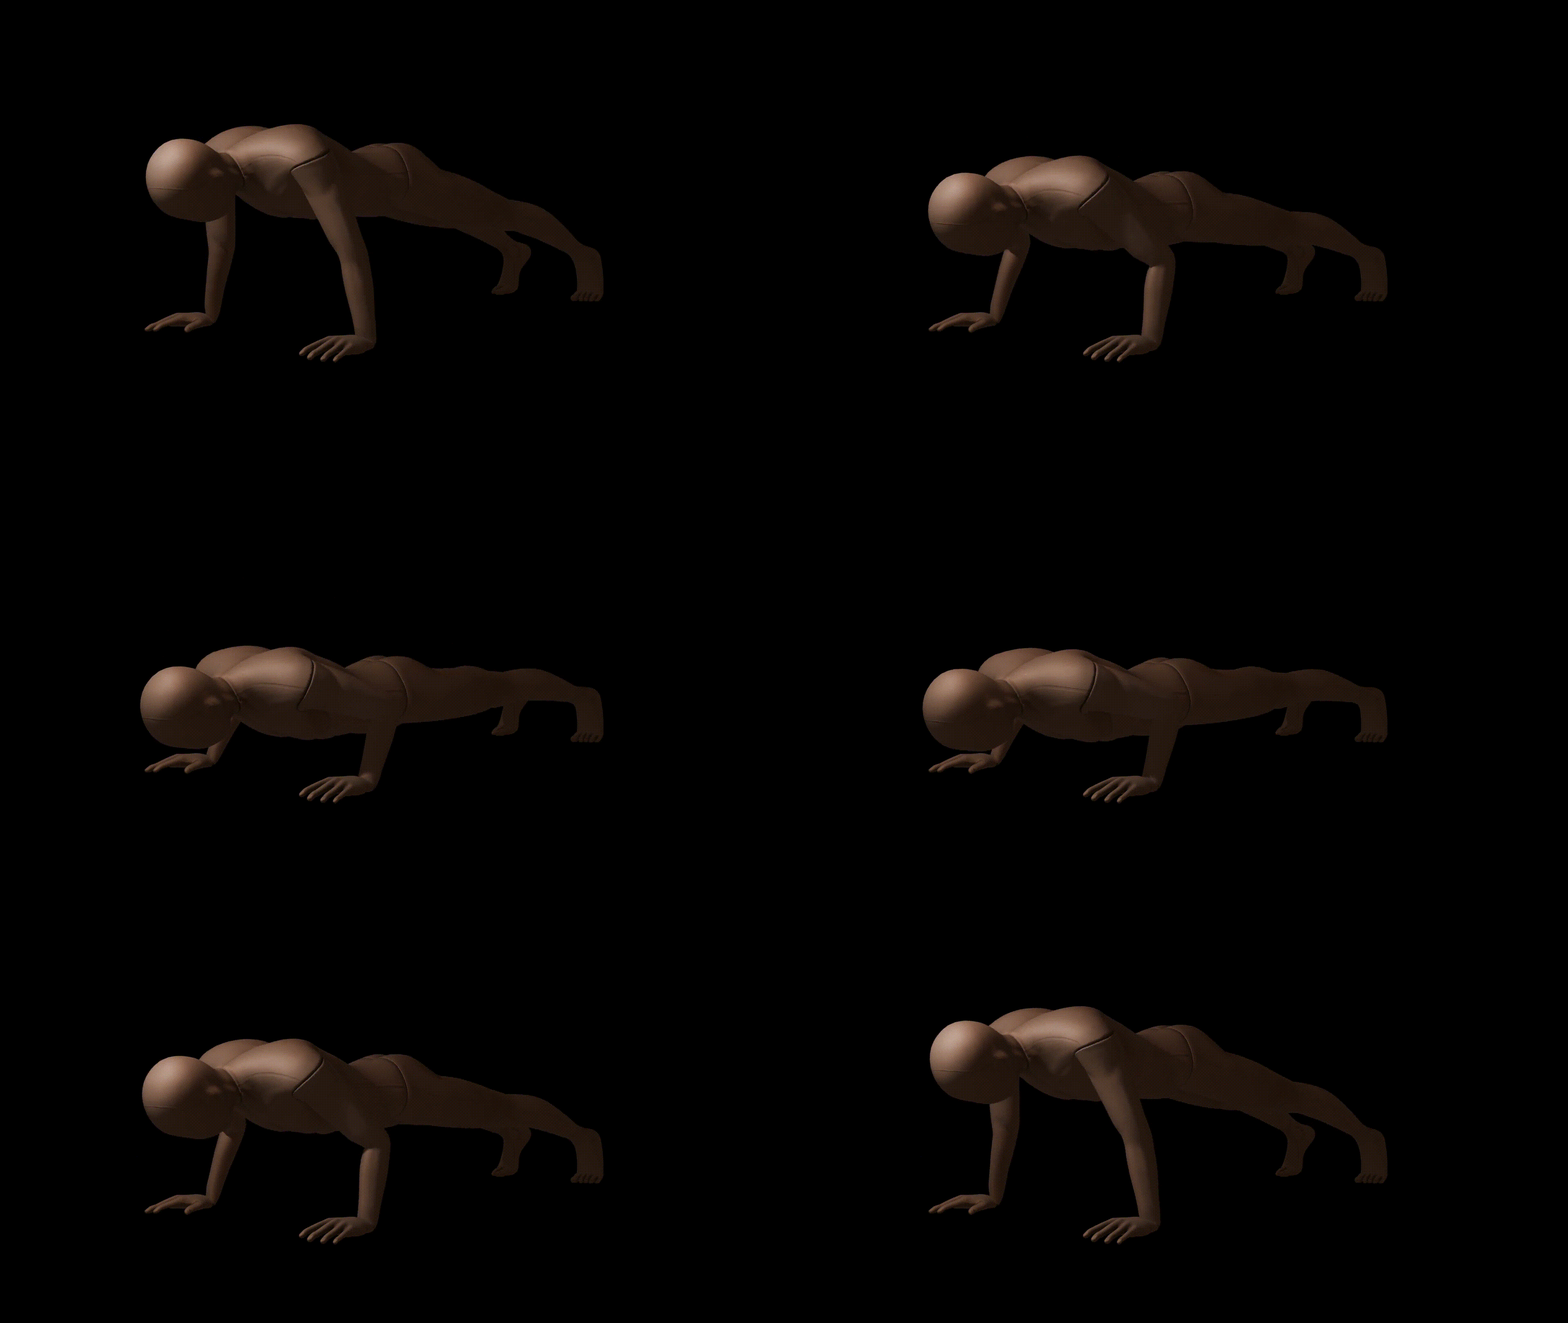
- Setup & Grip: Place hands slightly wider than shoulder-width with fingers spread. Lock your legs straight, squeeze your glutes, and brace your abdomen to form a rigid plank line from head to heels.
- Execution & Tempo: Screw your hands into the floor to externally rotate your shoulders, then lower your chest until it hovers 1 inch off the floor in 2 to 3 seconds. Press forcefully back up to full elbow extension in 1 second.
- Common Mistakes: Allowing hips to sag toward the floor, flaring elbows out at a 90-degree angle, and performing half-reps without locking out the arms.
Step-by-Step Execution Guide (The 5 Pillars of Form)
Executing a perfect push-up requires coordinating your core, shoulders, and arms through a complete range of motion.
Step 1: Hand Placement and Torque Generation
Place your hands flat on the floor slightly wider than shoulder-width apart. Point your middle or index fingers straight ahead. Before bending your arms, actively turn your hands outward against the floor (without moving them) to create external rotation torque. This “packs” your shoulder sockets safely into position and turns on your lats.
Step 2: Establish the Rigid Plank Alignment
Step your feet back with your toes touching the floor. Lock your knees completely straight, squeeze your glutes tightly together, and pull your belly button toward your spine. Your head, upper back, hips, and ankles should form a straight diagonal line.
Step 3: Controlled Eccentric Lowering
Initiate the movement by bending your elbows, allowing them to track backward at a 45-degree angle relative to your torso (forming an arrow shape when viewed from above, not a capital “T”). Lower your entire body smoothly over a 2 to 3 second count until your chest hovers approximately 1 inch off the floor or lightly touches it.
Step 4: Powerful Concentric Drive
Pause briefly at the bottom without letting your body rest on the floor. Press firmly through your palms, driving your body upward in one solid piece. Ensure your hips rise at the exact same speed as your chest—do not leave your hips behind or push your butt into the air.
Step 5: Full Lockout and Scapular Protraction
Push all the way up until your arms reach full extension. Once your elbows are locked, push slightly further into the floor to round your upper back slightly (scapular protraction). This fully engages your serratus anterior before starting your next rep.
Common Mistakes & Troubleshooting
Even experienced lifters often fall into subtle form breakdowns that lower muscle recruitment and strain joints:
1. The “T-Pose” Elbow Flare (90-Degree Angle)
- The Error: Allowing elbows to point directly out to the sides perpendicular to your body.
- Why It Breaks Down: Overrelying on front shoulders and lacking torque.
- The Fix: Tuck your elbows back toward your ribs so they form a 45-degree angle (an arrow shape) relative to your torso.
2. Sagging Hips (Banana Spine)
- The Error: Allowing your hips to drop toward the floor while pressing up, placing stress on your lower back.
- Why It Breaks Down: Weak core engagement or abdominal fatigue.
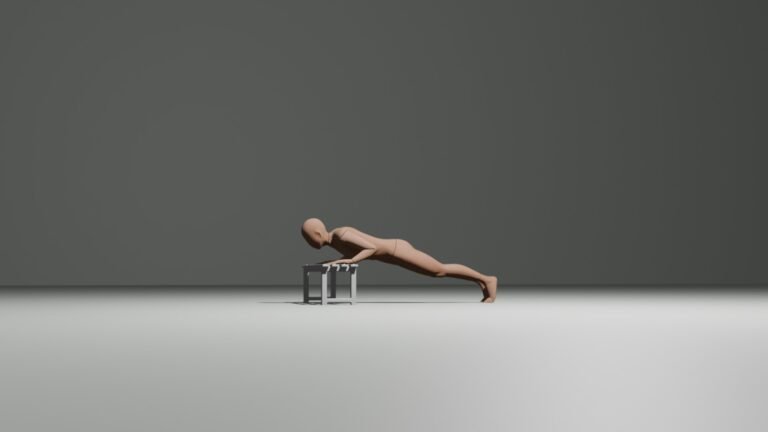
- The Fix: Squeeze your glutes continuously throughout the set. If your core fails before your chest, move to an incline push-up.
3. Neck Reaching (The “Head Bob”)
- The Error: Poking your head forward toward the floor to make it feel like you reached full depth.
- Why It Breaks Down: Wanting to shorten the range of motion when fatigued.
- The Fix: Pick a spot on the floor 6 inches ahead of your hands and keep your eyes locked on it to maintain a neutral neck.
4. Half-Reps (Incomplete Range of Motion)
- The Error: Reversing direction halfway down or stopping short of locking out your arms at the top.
- Why It Breaks Down: Chasing higher rep counts over proper form.
- The Fix: Lower your chest all the way to 1 inch off the floor and lock out your arms on every single rep.
Biomechanical Breakdown: What Muscles Do Push-Ups Work?
The push-up engages the entire anterior (front) pressing chain. It functions effectively as a moving plank while loading the chest, shoulders, and arms against gravity.
| Muscle | What It Is | Activation Level |
| Chest | Pectoralis Major & Minor | Peak High |
| Back of Arms | Triceps Brachii | High |
| Front Shoulders | Anterior Deltoid | High |
| Ribs & Shoulder Blade Stabilizer | Serratus Anterior | Moderate |
| Abs & Core | Rectus Abdominis & Obliques | Continuous |
1. Pectoralis Major and Minor (Chest)
The chest is the primary engine driving horizontal adduction—bringing your upper arms toward the center of your torso during the upward pressing phase. The lower and middle fibers of the chest absorb the majority of the load during flat push-ups, while the upper chest assists near the top lockout.
2. Triceps Brachii (Back of the Arms)
The triceps work to extend (straighten) the elbow joint. While the chest dominates the bottom portion of the movement off the floor, the triceps take over during the top half of the push, driving the final lockout at peak extension.
3. Anterior Deltoids (Front Shoulders)
The front heads of your shoulders assist the chest in driving your arms forward. They act as key stabilizers throughout the descent, protecting the shoulder joint as it moves into hyperextension at the bottom of the rep.
4. Serratus Anterior (The “Boxer’s Muscle”)
Located along the sides of your ribcage, the serratus anterior is responsible for scapular protraction—pushing your shoulder blades forward around your ribs. Fully pushing away from the floor at the very top of each rep activates this muscle, which is vital for long-term shoulder health and scapular tracking.
5. Rectus Abdominis, Obliques & Glutes (Core Plank)
To maintain a straight line from your head to your heels, your core and glutes must maintain an isometric contraction. This prevents your lower back from arching into hyperextension (lordosis) and ensures energy transfers efficiently from your lower body to your upper pressing muscles.
Push-Ups vs. Bench Press: Structural Comparisons
Both exercises build chest, shoulder, and triceps strength, but they interact with your body in fundamentally different ways.
| Feature | Standard Push-Up | Barbell Bench Press |
| Movement Type | Closed Kinetic Chain (Hands fixed, body moves) | Open Kinetic Chain (Body fixed, weight moves) |
| Scapular Motion | Free / Dynamic (Shoulder blades move freely) | Restricted (Shoulder blades pinned to bench) |
| Core Activation | High (Requires active plank stabilization) | Low to Moderate (Supported by bench) |
| Joint Impact | Natural and forgiving on shoulder sockets | Higher potential for impingement under heavy load |
| Scalability | Scaled via body angle and limb lever adjustments | Scaled by adding or removing weight plates |
The Verdict: The bench press allows for easier absolute weight loading, but the push-up allows your shoulder blades to move naturally through full protraction and retraction, making it far superior for functional shoulder health and core coordination.
The Complete Push-Up Progression Table
Use this step-by-step ladder to scale from beginner level to advanced pressing skills. Each variation links directly to its specialized cluster guide:
| Level | Push-Up Variation / Elevation | Approx. Percentage of Body Weight Lifted |
|---|---|---|
| Beginner | Wall Push-Up | ~9% |
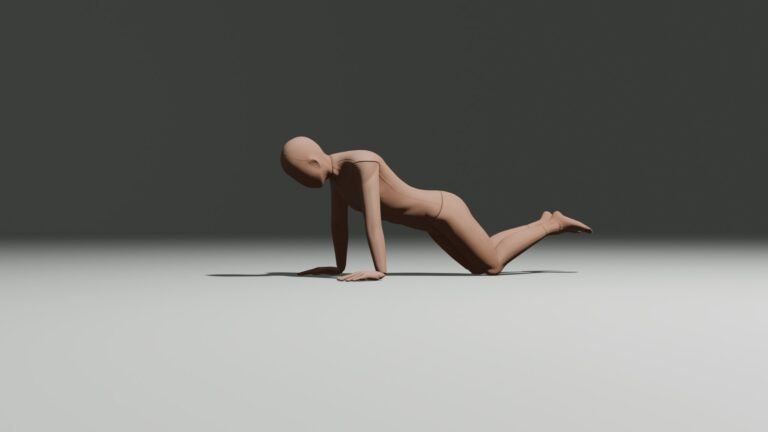
| Beginner | Knee Push-Up | ~49% |
| Beginner | Incline Push-Up | ~54% |
| Foundation | Regular Push-Up | ~64% |
| Intermediate | Diamond Push-Up | ~64%–70% |
| Intermediate | Decline Push-Up | ~70%–75% |
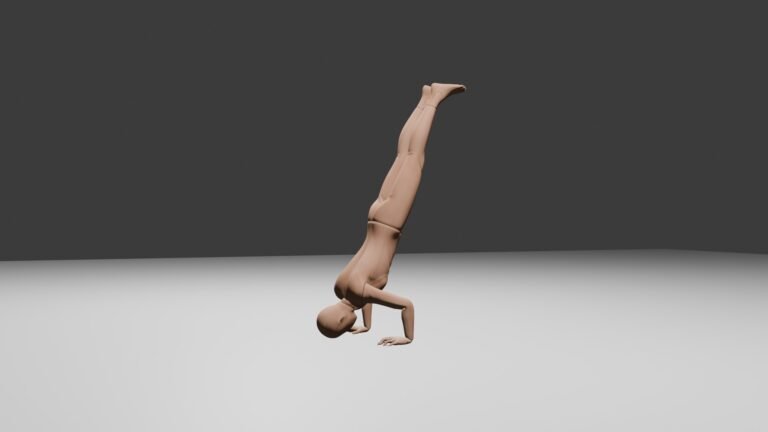
| Intermediate | Pike Push-Up | ~75%–80% |
| Advanced | Pseudo Planche Push-Up | ~80%–90% |
| Advanced | Handstand Push-Up | ~100% |
| Advanced | One-Arm Push-Up | ~100% |
| Elite | Full Planche Push-Up | ~100%+ |
When To Progress To The Next Step?
- Wall Push-Up: Complete 3 sets of 20 clean, continuous reps with full range of motion.
- Knee Push-Up: Complete 3 sets of 15 strict reps with a neutral spine and controlled tempo.
- Incline Push-Up: Complete 3 sets of 12–15 reps with hands at waist-height or lower.
- Regular Push-Up: Complete 3 sets of 12–15 strict floor reps with full chest-to-floor depth.
- Diamond Push-Up: Complete 3 sets of 10–12 clean reps with hands touching and elbows tucked.
- Decline Push-Up: Complete 3 sets of 10–12 controlled reps with feet elevated to bench height.
- Pike Push-Up: Complete 3 sets of 8–10 strict reps touching your head to the floor with elevated hips.
- Pseudo Planche Push-Up: Complete 3 sets of 8 clean reps maintaining a maximum forward lean throughout the set.
- Handstand Push-Up: Complete 3 sets of 5–8 full-range wall-assisted reps touching your head to the floor.
- One-Arm Push-Up: Complete 3 sets of 5 clean reps per arm without excessive hip twisting.
- Full Planche Push-Up: Complete 3 sets of 3–5 clean reps holding a full horizontal planche hold.
4-Week Push-Up Volume & Power Program
Rest 2 minutes between sets. Focus on form speed and smooth tempo rather than rushing reps.
| Week | Focus Area | Day 1 | Day 2 | Day 3 |
| Week 1 | Strict Base | Standard Push-Ups: 4 x 8 | Incline Push-Ups: 3 x 12 | Standard Push-Ups: 4 x 8 |
| Week 2 | Volume Expansion | Standard Push-Ups: 4 x 10 | Diamond Push-Ups: 3 x 6 | Standard Push-Ups: 4 x 10 |
| Week 3 | Strength Peak | Decline Push-Ups: 4 x 8 | Standard Push-Ups: 4 x 12 | Diamond Push-Ups: 4 x 8 |
| Week 4 | Test & Deload | Standard Push-Ups: 3 x 6 | Light Incline: 3 x 10 | Test Day: 1 Max Set to Form Failure |
Variations & Surface Equipment
Modifying your hand placement or using equipment alters muscle focus and joint angles:
1. Parallettes / Push-Up Bars
- Benefits: Relieves wrist extension pressure by keeping wrists neutral. Allows for a deeper stretch at the bottom of the movement.
2. Gymnastics Rings
- Benefits: Adds high instability, forcing your deep shoulder stabilizers and inner chest to fire continuously.
3. Deficit Push-Ups (Hands Elevated on Blocks)
- Benefits: Increases the stretch on the pectoralis major at the bottom of the rep, aiding hypertrophy.
Frequently Asked Questions
How many push-ups should I be able to do?
A solid benchmark for a healthy adult is 20 to 25 strict, full-range-of-motion push-ups without stopping. If you can complete 30+ clean reps easily, it is time to progress to harder variations like decline, diamond, or archer push-ups.
Are push-ups bad for your shoulders?
No, strict push-ups are generally safe for your shoulders because they allow your scapulae to move naturally. However, flaring your elbows wide (90 degrees) or letting your shoulders shrug up toward your ears during the descent can lead to impingement.
Should I do push-ups every day?
Training push-ups daily can work if volume is kept very low, but for muscle growth and strength, your chest and triceps need 48 hours of recovery between intense sessions to repair and rebuild.