
Toes to bar is an intermediate-to-advanced bodyweight core exercise where you hang from a pull-up bar and lift your feet upward until your toes physically contact the steel. While it looks like a simple abdominal contraction, it is actually a highly dynamic, compound skill that requires a flawless combination of grip endurance, lat pulling power, hip flexor flexibility, and deep core strength.
Across all disciplines of calisthenics, gymnastics, and athletic conditioning, this movement stands as a definitive metric of functional upper-body power. Yet, despite its popularity, a massive percentage of fitness enthusiasts struggle to perform it exactly as prescribed.
So, why do so many people find it difficult to master this movement, and if you are one of them, how can you overcome the hurdle?
Building Core Compression
Toes to bar demands significant grip endurance, hip flexor compression, and dynamic abdominal power. Trying to swing into this movement without active control will compromise your form. Check out our beginner bodyweight exercises guide to learn how foundational moves like strict hanging leg raises and hollow body holds build the baseline strength needed for advanced core skills
Anatomy of the Skill: What Makes It Work?
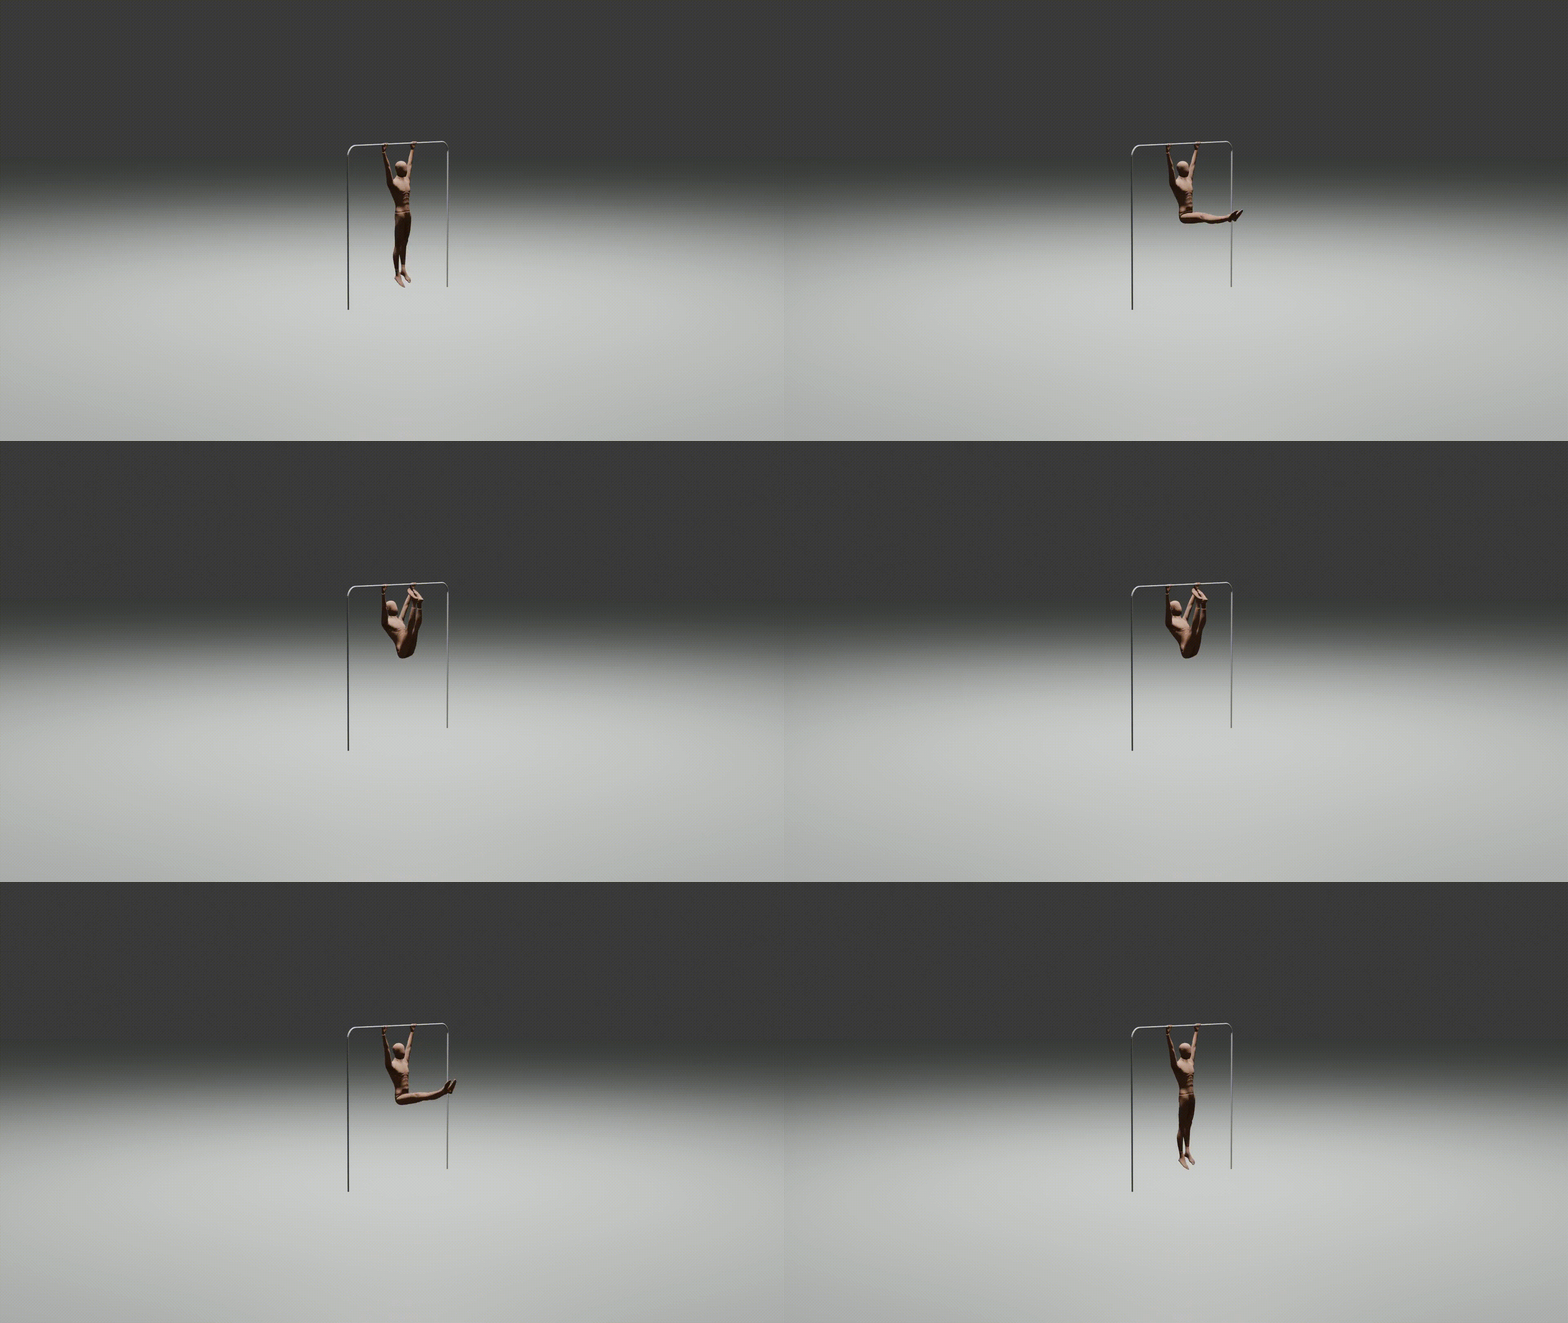
To understand why you may be struggling to connect multiple repetitions, let’s break the movement down into its raw mechanical components. Whether you are performing a strict calisthenics variation or a dynamic, swinging functional training variation, the exercise relies on two distinct phases: the swing/setup phase and the lifting phase.
The execution demands seamless cooperation between four primary muscle groups:
- Grip Strength: Your hands act as the sole anchor point. If your forearms give out, your core never gets the chance to do real work.
- The Lats (Latissimus Dorsi): Your lats are the secret engine of this exercise. They perform the crucial “press back” action against the bar to position your torso correctly.
- The Hip Flexors: These muscles initiate the aggressive lower-body folding mechanism required to raise your legs past parallel.
- The Abdominals: Your rectus abdominis and deep obliques fire intensely to compress your ribs toward your pelvis, driving your toes into the steel.
The entire movement is driven by cycling between two foundational gymnastic shapes: the arch (chest pushed forward, legs behind the bar) and the hollow body position (ribs tucked, hips flexed, body compressed).
On the “press back” portion of the movement, you fire your lats, grip, and abs simultaneously to send your hips behind the bar, allowing your toes to rise efficiently without destroying your rhythm.
The 3 Hidden Bottlenecks Holding You Back
If you find yourself stuck scaling this movement indefinitely, you are likely missing one of three critical ingredients. Recognizing and targeting these specific weaknesses is the only way to break through your plateaus.
1. The Coordination Deficit (The Timing Issue)
The lifting phase is only half the battle. Many athletes can get their toes to the bar once, but they completely fall apart on the descent. If you simply relax and drop your legs like dead weight, gravity will pull you into an uncontrollable, chaotic swing.
To maintain rhythm, the lowering phase must be incredibly active. You must explicitly focus on actively pulling your feet back and down as you descend, which naturally drives your chest forward into the next arch position. This rapid, controlled return eliminates unwanted swinging and prepares your body to bounce into the next repetition.
2. The Functional Strength Gap
You might possess decent abdominal strength on paper, but you may be unsure how to properly recruit the primary movers while suspended in midair. Generating total-body tension is the secret behind the skill.
If your lats fail to press down on the bar, your hips won’t move behind it. This forces your hip flexors to do 100% of the heavy lifting from a mechanically disadvantaged position, causing rapid fatigue and a burning sensation in the front of your thighs.
3. Poor Body Awareness (Mind To Muscle Connection)
This sounds simple, but it is a massive mental hurdle for beginners. Spatial awareness is the ability to “feel” where your body is moving through space without looking at it.
Because your torso is shifting backwards while your legs are moving upwards, a lack of bodily awareness will cause you to lose muscular tension. The moment tension is lost, your rhythm breaks, and you become a swinging pendulum.
Strict vs. Kipping Toes to Bar: Which Should You Do?
A major debate in the fitness community revolves around whether you should perform this exercise strictly or with a kip swing. Both methods have distinct structural purposes, and understanding when to use each will skyrocket your progress.
The Strict Variation: The Calisthenics Gold Standard
In strict execution, momentum is entirely eliminated. You begin from a dead stop, compress your core using raw muscular force, and lower your legs with absolute control.
- Pros: Unmatched muscle hypertrophy (growth) for the abs, zero reliance on momentum, highly protective of the lower back, and exceptional for building true gymnastics baseline power.
- Cons: Fatigues the muscles rapidly, making it difficult to perform in high-repetition timed circuit workouts.
The Kipping Variation: The Functional Fitness Version
Kipping utilizes a dynamic gymnastics swing, transferring energy from your upper body to your lower body. By aggressively snapping between the arch and hollow body positions, you create momentum that carries your legs upward.
- Pros: Highly efficient for cardiovascular conditioning, allows you to accumulate high repetitions quickly, and tests dynamic total-body coordination.
- Cons: High risk of shoulder and lower back strain if you lack a baseline of strict strength; places massive friction on the palms, leading to skin tears.
The Verdict: Never kip what you cannot pull strictly. You should be able to perform at least 3 to 5 slow, perfectly controlled strict repetitions before you ever attempt to introduce a dynamic kip swing.
How to Do Toes to Bar with Perfect Form
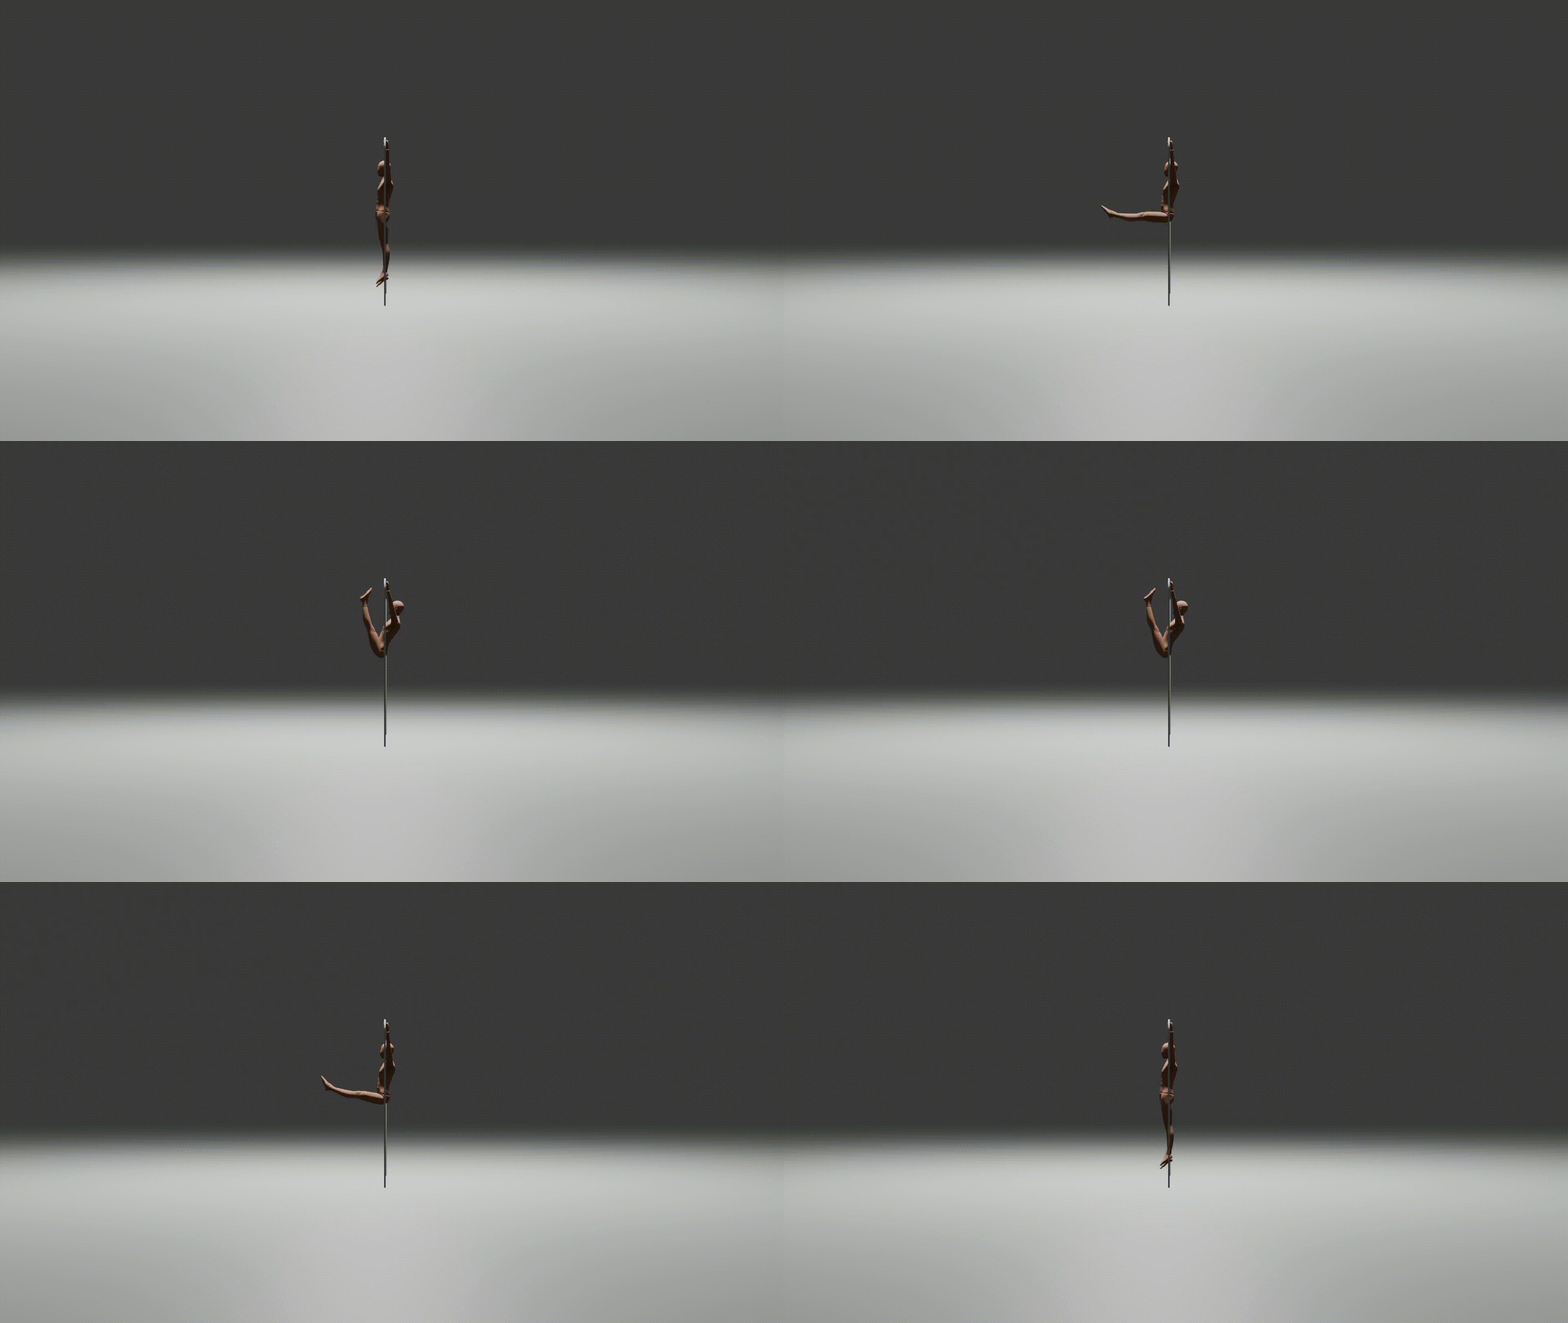
Executing strict toes to bar requires complete elimination of momentum. While a slight bend in the knees is natural as your legs pass the horizontal plane, the ultimate goal is to keep your legs as straight as possible while avoiding a heavily tucked position.
- The Starting Position: Begin in a dead hang from a pull-up bar using an overhand grip (palms facing away), with your hands set slightly wider than shoulder-width apart.
- The Engagement: Transition from a passive hang into an active hang by pulling your shoulder blades down and back. Tighten your abs to enter a slight hollow body position.
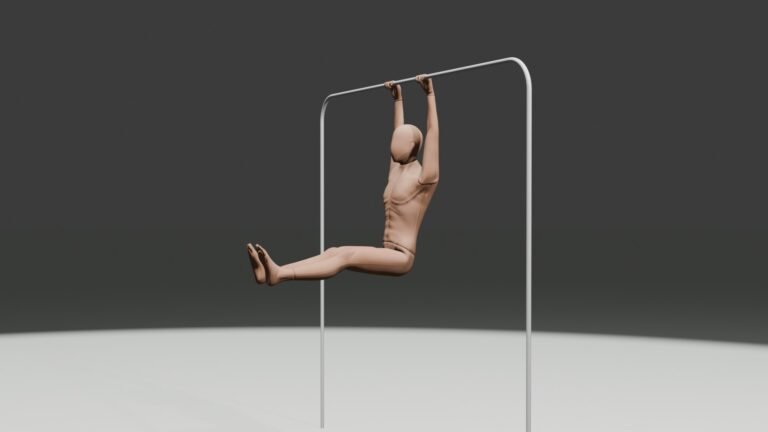
- The Lift: Contract your core and compress your hips to raise your legs upward. As your legs pass a 90-degree angle, actively push down against the bar with straight arms—using your lats to pull your torso back and make room for your legs.
- The Touch: Continue driving your feet up until your toes lightly tap the bar between your hands.
- The Controlled Descent: Do not just drop your legs. Lower them under strict control, fighting gravity all the way back down to the dead hang position to prevent a chaotic swing.
4 Common Form Mistakes and How to Fix Them
To protect your spine and ensure your muscles are doing the work, keep a lookout for these common technical errors:
- Mistake 1: Relying Exclusively on the Abs. Many athletes forget their upper body entirely. If you don’t push down on the bar with your hands, your lats won’t engage. This prevents your hips from moving backward, making it mechanically impossible to touch the bar without an extreme knee tuck.
- Mistake 2: The “Dead Drop” Descent. Letting your legs plummet to the floor out of control destroys your posture and subjects your shoulders to a violent, jerking force at the bottom. Keep your abs switched on all the way down.
- Mistake 3: Throwing the Head Back. Looking back at the ceiling while lifting your feet strains the cervical spine and breaks your hollow body tension. Keep your eyes fixed straight ahead or slightly on the bar.
- Mistake 4: Disengaging the Shoulders. Allowing your shoulders to smash against your ears (a passive dead hang) during the execution puts immense strain on the rotator cuff tendons. Keep an active shoulder pocket throughout every rep.
How to Progress Towards Toes to Bar
The progression path is a staircase where each step builds the necessary grip, lat, and abdominal compression required for the full movement. Do not skip steps; master each variation before moving forward.
- Phase 1: Floor Foundations. Build baseline compression strength where gravity is forgiving. Master standard sit-ups, hollow body holds, and lying leg raises.
- Phase 2: Hanging Leg Raises. Transition to the bar. Focus on mastering the hanging leg raises until you can comfortably perform full sets with perfectly straight legs and zero momentum.
- Phase 3: Knees to Chest / Elbows. Scale the leverage down by shortening your legs. Hang strictly and pull your knees directly into your chest, progressing until your knees physically impact your armpits or elbows.
- Phase 4: The Tucked Toes to Bar (The Snap-Down). Pull your knees to your elbows first, and then rapidly extend your feet at the very top of the repetition to touch the bar. Focus heavily on the “snap-down” portion, practicing a fast, controlled return to the starting position.
Overcoming Mobility Bottlenecks: Tight Hip Flexors and Hamstrings
Many athletes possess spectacular abdominal strength but are completely locked out of this movement due to strict mobility limitations. If your hips feel incredibly stiff, clicky, or painful during the lifting phase, tight hip flexors could be severely limiting your active range of motion. Furthermore, if your hamstrings are exceptionally tight, you will find it nearly impossible to keep your legs straight, forcing your body to default into an inefficient tuck.
When your hips and hamstrings lack flexibility, it forces your lower back to overcompensate, which can lead to frustrating training setbacks. Understanding how to train without injuries means listening to these mobility restrictions. If you struggle to fold your body in half comfortably, take a look at our full breakdown on hip flexor mobility exercises to unlock the flexibility required for flawless leg tracking.
Structured Workouts and Scaling Strategies
To put your strength to the test, you can integrate this movement into timed conditioning workouts. Below is a blueprint of how different fitness levels should approach a core-intensive training block:
The Conditioning Framework
Complete as many rounds as possible in 15 minutes of:
- 15 Box Jumps
- 12 Push Presses
- 9 Toes to Bars (Scaled by experience level)
| Athlete Level | Target Core Modification | Tactical Focus |
|---|---|---|
| Beginner | 9 Hanging Scapular Shrugs + 9 Alternating V-Ups | Building grip control and baseline hip flexor power on the floor. |
| Intermediate | 9 Alternating Single-Leg Toes to Bars | Practicing the lat press back without needing full bilateral strength. |
| Advanced | 9 Strict Snap-Down Toes to Bars | Complete core compression with a rapid, controlled descent. |
Safety Note: When performing high-volume gymnastics variations near equipment like boxes or weights, ensure your grip endurance is fully intact to prevent slips or accidental falls.
The Ultimate Accessory Drill Vault
If you want to achieve this skill faster, dedicate 5 to 10 minutes before or after your main workouts to practice targeted accessory drills. Consistency outside of your main training sets is where real skills are forged.
1. Upper Body & Grip Accessories
- Scapular Pull-Ups: Hang with straight arms and practice pulling your shoulder blades down and back. This builds the foundational “active hang.”
- Banded Lat Pull-Downs: Anchor a resistance band overhead and pull it down to your thighs with straight arms to mimic the exact closing angle of the lats.
2. Core Compression Accessories
- Hollow Body Rock Holds: Lie on your back, press your lower back into the floor, lift your feet and shoulders slightly, and hold. This is the exact shape you need on the bar.
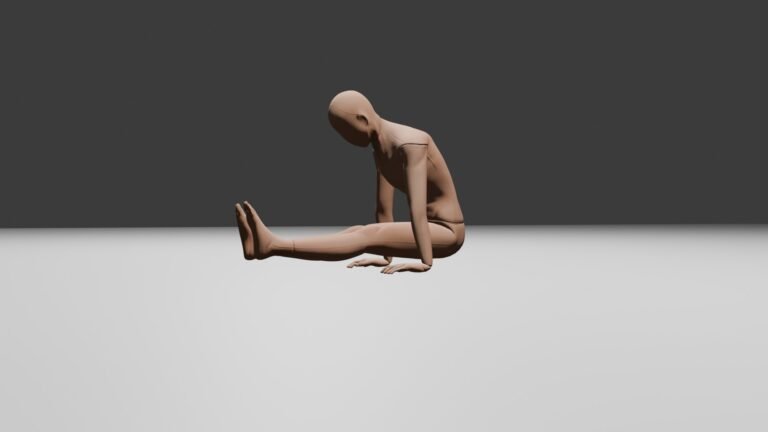
- Seated Compression Leg Raises: Sit on the floor with your legs straight out in front of you. Place your hands on the floor near your knees and lift your feet off the ground using purely your lower abs and hips.
Advanced Calisthenics: Beyond the Toes to Bar
Once you have built elite pulling strength and mastered strict technique, this exercise opens up a completely new world of advanced calisthenics variations.
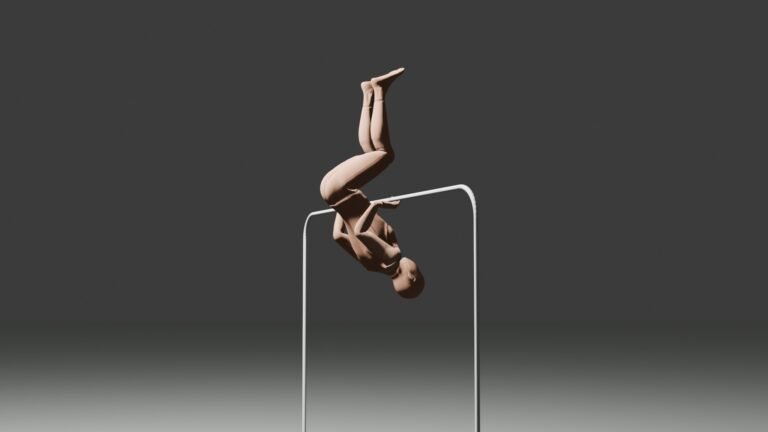
When your toes are at the bar, you are in a state of total body compression. With enough active lat pulling power, you can smoothly pull your hips up, swing your body around over the bar by performing a bar pull over, and transition into a support position on top. Mastering this transition makes it incredibly efficient to perform straight bar dips or catch the top half of muscle up negatives without having to jump on top of the bar every single time.
Ultimately, once strict sets feel easy, they transition into a world-class warm-up tool. Performing a few light, controlled reps at the start of your training session is an amazing way to fire up your deep core and get the blood flowing before moving into other calisthenics skills.