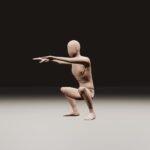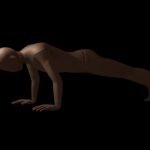

When it comes to building a rock-solid midsection, many fitness enthusiasts default to the standard plank. However, the hollow body hold is arguably the superior alternative.
Unlike the plank—where beginners frequently make mistakes like sagging their hips or arching their lower back—the hollow body hold makes it incredibly easy to target the exact abdominal region you want to train. It is a beginner-friendly core exercise that remains an absolute staple even at elite, intermediate, and advanced levels of fitness.
What is a Hollow Body Hold?
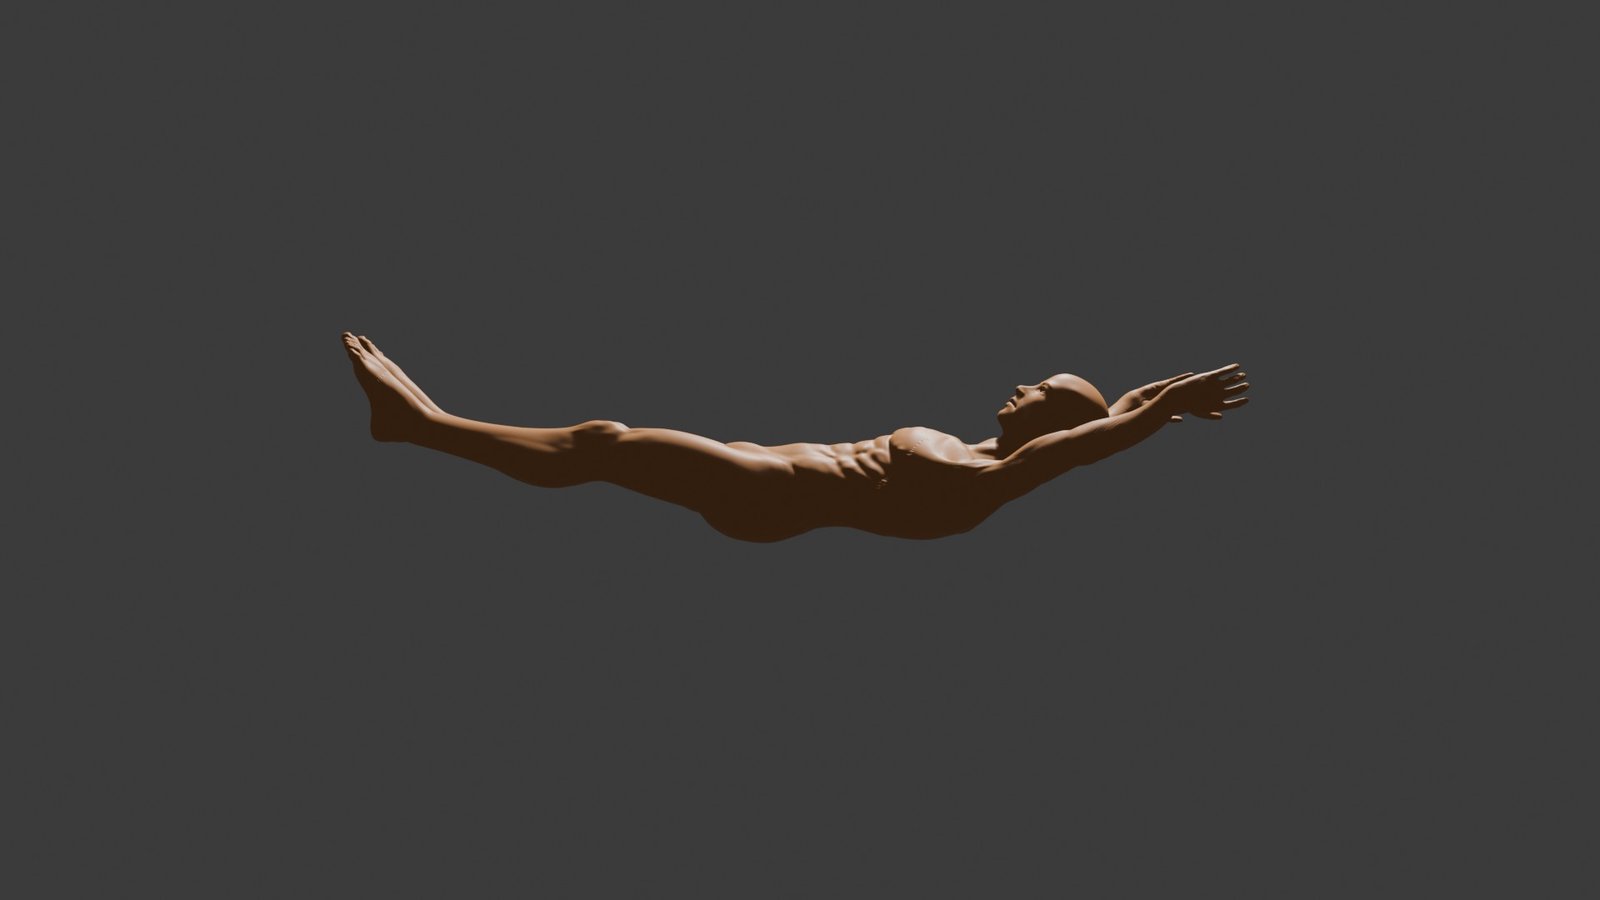
The hollow body hold is a foundational isometric calisthenics exercise where you lie on your back, elevate your legs and shoulder blades off the floor, and lock your body into a rigid, banana-shaped crescent.
The primary objective is to force your abdominal muscles to work under intense, continuous tension. The ultimate rule of the exercise is simple: your lower back must remain completely flat and pressed against the floor at all times.
What Muscles Does the Hollow Body Hold Work?
The hollow body hold is a true compound isometric movement. While you will feel the absolute most tension in your midsection, it recruits muscle groups across your entire body:
- Primary Muscles: Rectus Abdominis (upper and lower abs) and Transverse Ab abdominis (deep core wall).
- Secondary Muscles: Obliques (side abs), Hip Flexors (iliopsoas), and Quadriceps (from keeping the legs locked straight).
- Stabilizing Muscles: Latissimus Dorsi (lats) and Pectorals (chest), which fire continuously to keep your arms extended behind your head against gravity.
Why You Should Do Hollow Body Holds: The Main Benefits
The hollow body hold is far more than just a standard ab exercise; it is the ultimate movement for developing deep, functional midsection strength.
1. The Foundation for Advanced Calisthenics
If you want to progress to elite bodyweight skills like L-sits, handstands, front levers, dragon flags, and the human flag, you must master the hollow body position. It teaches your nervous system how to keep your torso perfectly rigid under high tension, preventing the energy leaks that cause people to fail at harder movements.
2. Better Posture and Spinal Alignment
Unlike traditional crunches that only target surface muscles for aesthetics, the hollow hold forces your entire deep core to act as a stabilized unit. Regularly performing this hold improves your posture, builds pelvic stability, and counteracts the stiffness caused by sitting all day.
3. Superior Compound Lift Performance
The hollow hold heavily activates the rectus abdominis, hip flexors, quadriceps, and lats simultaneously. Teaching these muscle groups to fire together builds intermuscular coordination. This creates a solid, unyielding “pillar” of core strength that protects your spine and prevents your torso from folding under heavy weights during squats, deadlifts, and overhead presses.
Step-by-Step Form Guide: How to Perfect the Hollow Hold
To get the most out of this movement, follow these step-by-step instructions:
- Lie Flat on Your Back: Start by lying flat on your back on an exercise mat.
- Tilt Your Pelvis: Actively press your lower back firmly into the floor. Imagine trying to squash a grape underneath your lower spine.
- Elevate Your Lower Body: Lift your straight legs off the floor at roughly a 20-to-30-degree angle. Squeeze your thighs and point your toes.
- Elevate Your Upper Body: Lift your shoulder blades completely off the floor. Reach your arms straight back behind your head at roughly a 30-to-45-degree angle.
- Contract and Hold: Squeeze your abs as hard as possible to keep your lower back glued to the floor. Hold this position for your target duration.
The Golden Rule: The very millisecond your lower back peels away from the floor, the exercise is over. Do not attempt to squeeze out a few extra seconds with broken form. Quality always beats quantity.
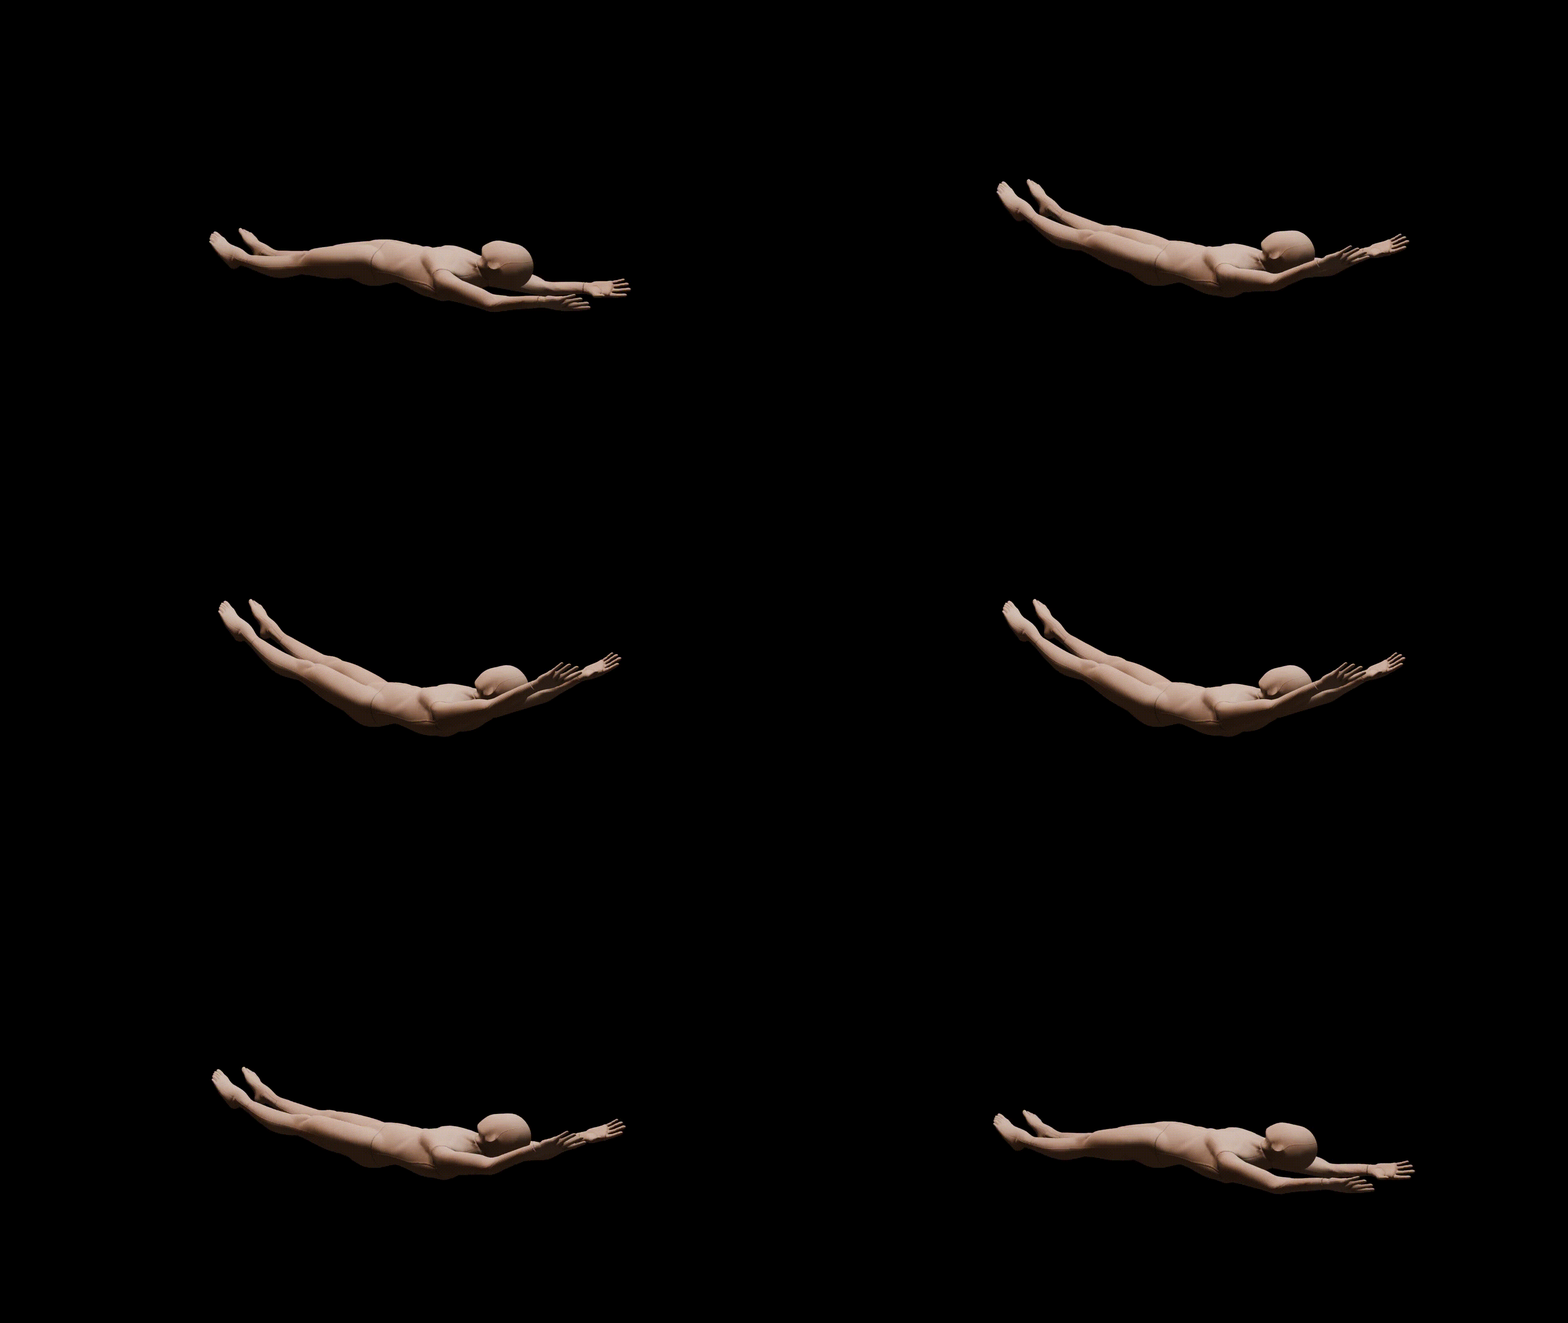
The Missing Link In Bodyweight Training
The hollow body hold teaches your core to brace correctly, which directly improves your performance in push-ups, dips, and pull-ups. To see how this essential gymnastics hold links up with all the other key bodyweight exercises, explore our ultimate bodyweight guide.
3 Critical Form Mistakes That Ruin Your Progress
Avoid these three common errors to protect your lower back and maximize your core engagement:
- 1. The Arching Lower Back: This is the most frequent error. If your form collapses and a gap forms between your lower back and the ground, the tension shifts away from your abs and onto your lumbar spine, risking injury.
- 2. The “Nerd Neck” (Goose Neck): Do not strain your neck forward or yank your chin toward your chest. Instead, keep a neutral cervical spine. Tuck your chin slightly (making a slight “double chin”) and look toward your feet.
- 3. Holding Your Breath: Many people freeze their breathing under tension. Instead, take deep, controlled breaths in and out of your stomach. This deep breathing forces a harder contraction from your deep core stabilizers.
Hollow Body Hold Progression Levels (From Beginner to Advanced)
If the full extension version feels impossible at first, don’t worry—you can scale the leverage of your body to match your current strength. Use these progressions to systematically build up to the full variation.
Level 1: The Tucked Hollow Hold (Absolute Beginner)
Lie on your back, lift your shoulder blades off the floor, and reach your hands straight ahead toward your feet. Instead of straightening your legs, bend your knees at a 90-degree angle and pull them toward your chest. This shortens the lever length, making it much easier to keep your lower back pressed down.
Level 2: The Half-Extended Hold
From the tucked position, keep your hands reaching forward toward your feet, but extend your legs straight up toward the ceiling at a 45-to-60-degree angle. The higher your legs are pointed toward the roof, the easier the hold will be.
Level 3: The High-Angle Arms-Back Hold
Keep your legs extended out at a 45-degree angle, but actively transition your straight arms from reaching forward to reaching completely back behind your head.
Level 4: The Full Hollow Body Hold
Lower your straight legs until they are hovering just 20 to 30 degrees above the floor, with your arms locked out completely behind your ears. Your body should form a continuous, rigid crescent shape.
Advanced: Dynamic Dumbbell Hollow Body Holds
Once you can cruise through the standard variation, hold a lightweight dumbbell in your hands. While maintaining the static hollow position, slowly move your arms from behind your head, up over your shoulders, down to your stomach, and back. This dynamic movement dramatically challenges your core stability and upper-body mobility.
Hollow Body Hold vs. Plank: Which is Better for Core Strength?
While both are phenomenal isometric exercises, they serve entirely different functions:
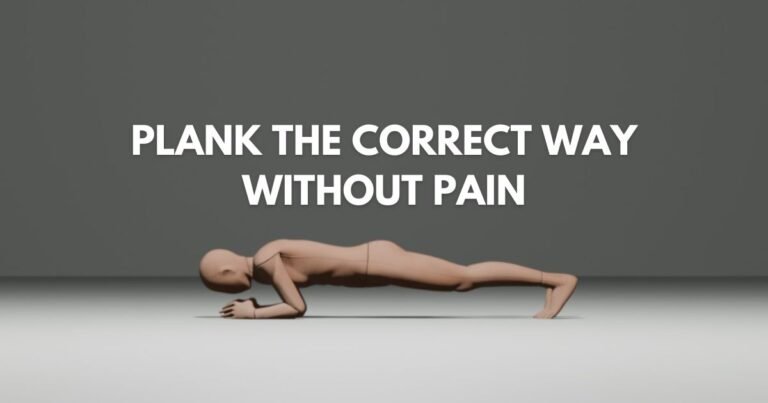
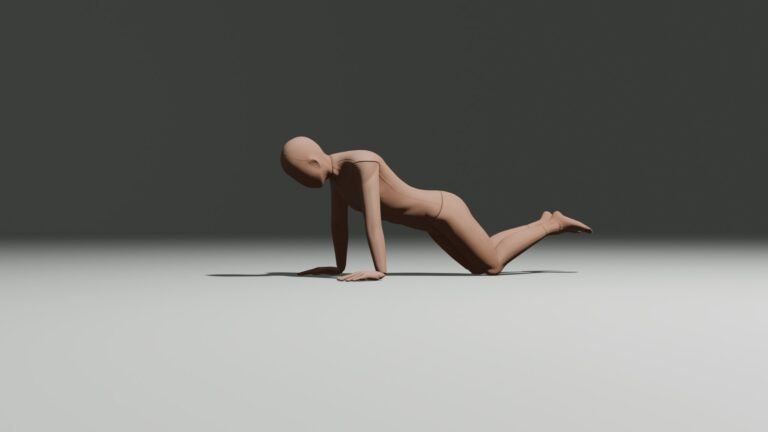
- The Standard Plank focuses heavily on the posterior chain, shoulders, and anti-extension core strength. However, it is incredibly easy for beginners to cheat by sagging their hips or shifting the load away from their abs.
- The Hollow Body Hold forces a posterior pelvic tilt, completely isolating the anterior core (your “six-pack” muscles and deep transverse abdominis). Because it is physically impossible to do this movement with an arched back, it provides a much safer and higher-quality abdominal contraction.
The Verdict: If your goal is general fitness, use planks. If your goal is maximizing pure abdominal hypertrophy or building up to advanced gymnastics skills, the hollow body hold is the clear winner.
How to Program the Hollow Hold Into Your Workouts
Aiming for 3 to 5 sets of 30-to-45-second holds with a 1-to-2-minute rest between sets is the ideal target for progression.
- For Beginners: Perform your hollow body holds as the first or second exercise of your ab workout when your core is completely fresh. This allows you to focus heavily on learning perfect form.
- For Intermediates/Advanced: Leave the hollow body holds for the absolute end of your workout. Using it as a final burnout finisher allows you to squeeze out every drop of remaining strength from your abdominal wall, guaranteeing deep muscular hypertrophy and a serious core burn for the next few days.
Hollow Body Hold Modifications for Pain and Limitations
The hollow body hold is an incredible exercise because it requires zero equipment and places no pressure on your wrists or shoulders—making it a fantastic alternative to planks if you are managing an upper-body injury. However, because it places intense demands on the core and neck, you may experience discomfort when starting out.
If you experience pain during this movement, use these modifications to keep training safely:
For Neck Pain or Strain
A weak deep core often forces the muscles in the front of the neck (sternocleidomastoid) to overwork, leading to strain.
- The Fix: Place a small, folded towel or a thin yoga block under your head. This supports the weight of your head while still allowing your shoulder blades to lift off the floor and your abs to contract.
- The Form Adjustment: Ensure you are making a slight “double chin” rather than craning your chin toward the ceiling.
For Lower Back Pain
If you feel a pinching, dull ache, or tightness in your lower back, your abdominal wall has stopped firing, and your hip flexors are pulling your spine out of alignment.
- The Fix: Instantly regress the exercise. Bend your knees and tuck them into your chest (Level 1: Tucked Hold), or raise your straight legs higher toward the ceiling (Level 2: High-Angle Hold). Elevating your legs mechanically forces your lower back flat against the floor, taking the pressure off your spine.
For Hip Flexor Pinching or Tightness
It is completely normal to feel your hip flexors (the muscles at the front of your hips) working during a hollow hold. However, if they burn or pinch so intensely that your abs stop working, they are dominating the movement.
- The Fix: Turn your toes slightly outward (external hip rotation) and squeeze your glutes as tightly as possible. Actively engaging your glutes relaxes the hip flexors through a process called reciprocal inhibition, shifting the workload back to your core.
Train Smart! In general, you should always train with care and with proper form. Read our full Comprehensive Guide on How to Prevent Injuries While Training to ensure your long-term progression remains completely pain-free.
Why Do I Shake During a Hollow Body Hold?
If your entire torso starts vibrating violently within five seconds of holding this position, don’t panic—this is completely normal.
This shaking is caused by your motor units (the nerves that tell your muscles to contract) rapidly firing on and off. Because the hollow body hold keeps your muscle fibers under continuous, intense tension without a break, your nervous system experiences rapid fatigue. The shaking is simply a sign that your deep stabilizing muscles are weak and actively adapting to the new stimulus. As your core strength improves over the next few weeks, the shaking will naturally decrease.
Hollow Body Holds FAQ
Q: How long should I hold a hollow body hold?
- A: Aim to build up to 3 to 5 sets of 30 to 45 seconds with perfect form before moving to a harder progression.
Q: Why does my lower back hurt during a hollow body hold?
- A: If your lower back hurts, it means your core has fatigued and your lower back has arched off the floor. Drop to an easier regression, like the tucked hold, to protect your spine.
Q: Can beginners do hollow body holds?
- A: Yes! Beginners should start with the Tucked Hollow Hold (knees bent at 90 degrees) to build foundational core strength safely.