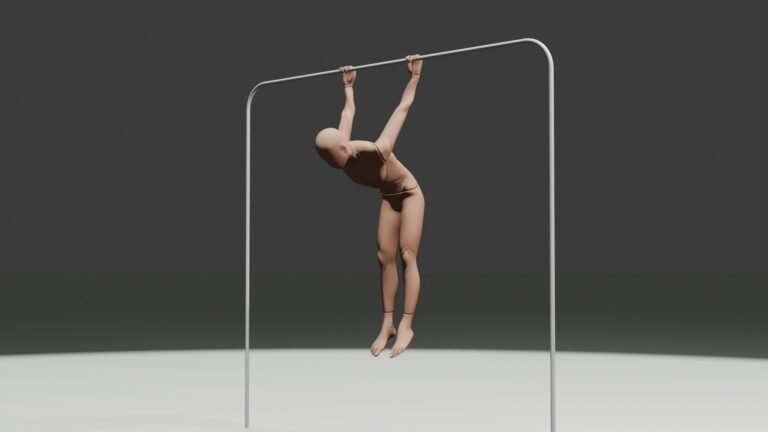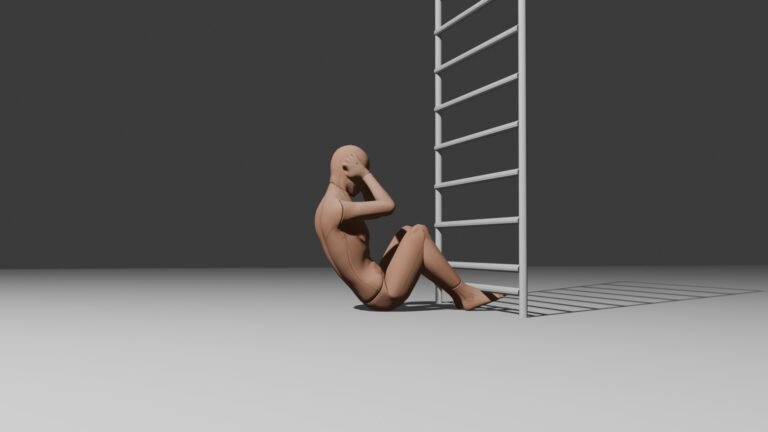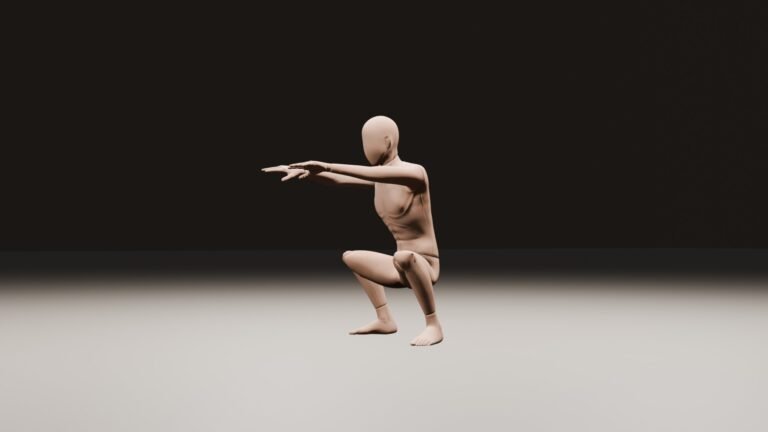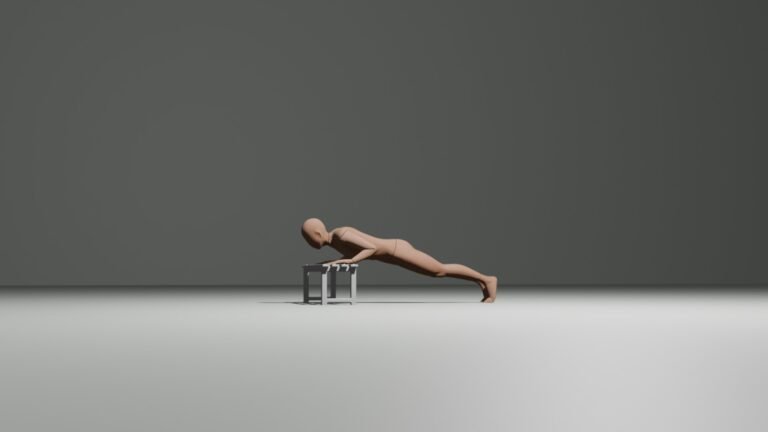

The wall push-up is the absolute starting point for building upper-body pressing strength. By standing upright and using a wall for support, you reduce your body weight load to just ~9% of your total weight. This minimal loading makes it the safest, most accessible entry point for beginners, seniors, or anyone recovering from a wrist or shoulder injury.
Standing close to vertical takes the strain off your joints while allowing you to learn proper shoulder position, elbow angles, and core engagement before adding significant resistance.
Targeted Muscle Groups
Even at a steep angle, wall push-ups train the exact same muscle groups used in full floor push-ups:
- Pectoralis Major (Chest): Primary driver for pushing your body away from the wall.
- Anterior Deltoids (Front Shoulders): Controls the movement and stabilizes the shoulder joint.
- Triceps Brachii: Extends the arms to lock out each repetition at the top.
- Serratus Anterior & Core: Stabilizes the shoulder blades against your ribs and maintains upright posture.
Step-by-Step Technique & Form
1. The Setup
- Stand facing a smooth, clear wall about arm’s length away.
- Place your palms flat on the wall at chest height, slightly wider than shoulder-width apart.
- Point your fingers straight up or slightly outward to keep your wrists comfortable.
2. Aligning Your Body
- Step your feet back slightly so your body is at a slight forward incline.
- Keep your feet hip-width apart and your heels slightly lifted or flat.
- Engage your core and squeeze your glutes so your body forms a straight line from your head to your heels.
3. The Descent
- Inhale as you bend your elbows to bring your chest and nose toward the wall.
- Keep your elbows tucked at roughly a 45-degree angle relative to your torso (forming an arrow shape, not a T-shape).
- Lower down under control until your forehead or chest nearly touches the wall.
4. The Press
- Exhale as you press firmly through the heels of your hands to push back to the starting position.
- Keep your body rigid so your shoulders, hips, and ankles move together as one unit.
- Pause briefly at full arm extension without violently locking your elbows.
Common Errors & Fixes
- Standing Too Close or Too Far: Standing too close offers zero resistance; standing too far places excessive strain on your calves and lower back. Aim for a comfortable 12 to 18 inches away from the baseboard.
- Flaring Elbows Wide: Flare angles at 90 degrees compress the shoulder joints. Keep your elbows tracking back toward your ribs.
- Bending at the Waist: Letting your hips stay back while your upper body leans in ruins the plank mechanics. Lock your glutes and keep your hips aligned with your shoulders.
How to Integrate and Progress
- Beginner Protocol: Perform 3 sets of 12 to 15 repetitions, resting 60 seconds between sets. Focus on slow, controlled tempos (2 seconds down, 2 seconds up).
- Progression Threshold: Once you can complete 3 sets of 20 clean repetitions, you have built the baseline shoulder stability needed to move down to an incline.
Transition to a countertop push-up (~20% body weight load) to increase the challenge. Check out our complete guide to push-ups to see how wall push-ups kick off the entire strength-building progression.