
Why Most Beginners Fail at Pull-Ups
Getting your first strict bodyweight pull-up is a milestone, but jumping straight to the bar without a plan is a quick path to frustration or shoulder strain.
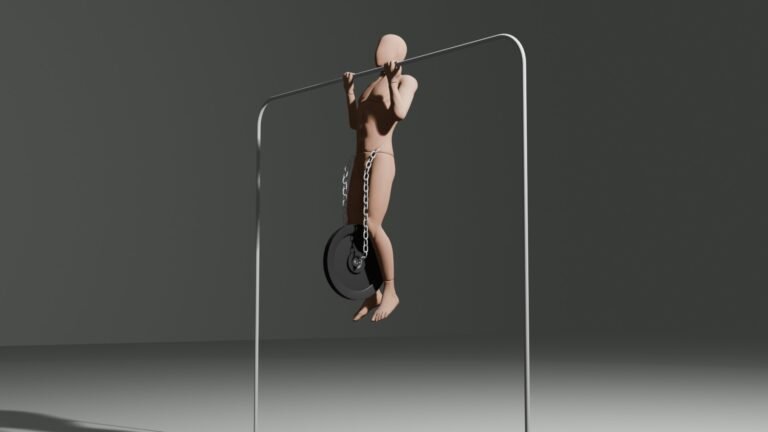
Most beginners fail because they lack grip endurance, haven’t developed scapular control, or try to lift 100% of their body mass before conditioning their tendons.
If you don’t have access to a pull-up bar at home or in your gym, start with our guide to the best pull-up alternatives and substitutes to build baseline back strength.
The Solution: Rather than forcing failed attempts, you need a systematic progression that scales the movement down while strengthening your back, arms, and core.
Note: This guide is part of our comprehensive Ultimate Pull-Up Guide. Make sure to check the main hub for form mechanics, anatomy breakdowns, and long-term programming.
The 5-Step Pull-Up Progression Pathway
Follow this linear pathway. Do not move to the next level until you hit the target benchmark for your current step.
Level 1: Active Dead Hangs
Benchmark: Hold for 3 sets of 45 seconds.
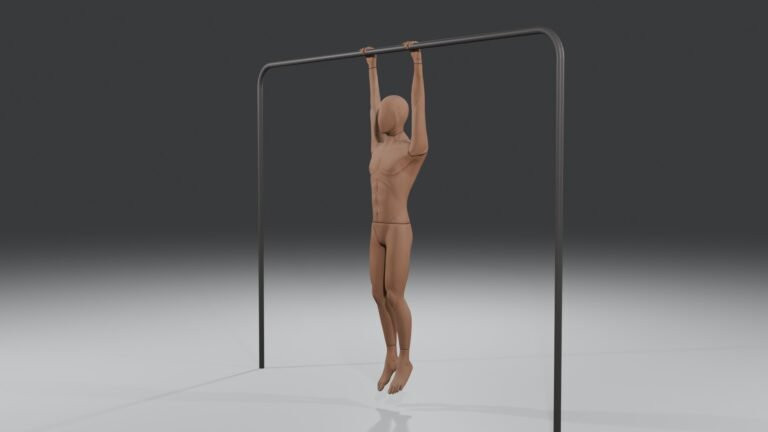
- How to do it: Grab a bar with an overhand grip, slightly wider than shoulder-width. Lift your feet off the ground. Instead of hanging like a sack of potatoes (passive hang), pull your shoulder blades down and away from your ears while engaging your core.
- Why it matters: Builds the forearm flexor strength and grip endurance needed just to stay on the bar, while decompressing the spine.
Level 2: Scapular Pull-Ups
Benchmark: Perform 3 sets of 12 smooth reps.
- How to do it: Start in an active dead hang with completely straight arms. Without bending your elbows, pull your shoulder blades down and together to lift your body up slightly. Pause for 1 second at the top, then lower under control.
- Why it matters: Teaches your brain how to initiate a pull-up using the upper back (traps and rhomboids) rather than pulling solely with the arms.
Level 3: Inverted Bodyweight Rows
Benchmark: Perform 3 sets of 10 clean reps.
- How to do it: Set a barbell in a squat rack at waist height (or use gymnastics rings). Hang underneath the bar with your heels on the floor and body in a straight line. Pull your chest up to meet the bar, squeezing your shoulder blades.
- Why it matters: Builds horizontal pulling strength and conditions the lats while reducing the total percentage of body weight you are lifting.
Level 4: Eccentric Pull-Up Negatives
Benchmark: Perform 3 sets of 5 reps with 6-second lowers.
- How to do it: Use a box or jump up so your chest starts at the top of the bar. Hold for 1 second, then lower your body down as slowly as humanly possible (aim for 5 to 6 seconds) until your arms are fully extended.
- Why it matters: Your muscles can handle roughly 20-30% more weight in the lowering phase than in the lifting phase. Negatives build raw strength faster than almost any other exercise.
Level 5: Resistance Band-Assisted Pull-Ups
Benchmark: Perform 3 sets of 8 reps with a thin band.
- How to do it: Loop a heavy-duty resistance band over the bar and place one foot inside the loop. Perform full-range pull-ups with the band helping you out of the bottom dead stop.
- Why it matters: Allows you to practice the exact neurological motor pattern of a full pull-up. As you grow stronger, switch to thinner bands with less elasticity.
The Beginner Progression Workout Plan
Train 3 days per week (e.g., Monday, Wednesday, Friday) with at least 1 rest day between workouts. Rest 2 to 3 minutes between sets.
| Phase | Main Focus | Exercise 1 | Exercise 2 | Exercise 3 |
| Weeks 1–2 | Grip & Base | Active Dead Hangs: 3 sets x Max Hold | Inverted Rows: 3 sets x 8-10 reps | Plank Hold: 3 sets x 30 sec |
| Weeks 3–4 | Initiation & Negative Strength | Scapular Pull-Ups: 3 sets x 10 reps | Eccentric Negatives: 4 sets x 4 reps (5s lowering) | Inverted Rows: 3 sets x 8 reps |
| Weeks 5–6 | Full Pattern Assistance | Band Pull-Ups: 4 sets x 6 reps | Eccentric Negatives: 3 sets x 3 reps (6s lowering) | Active Dead Hangs: 2 sets x Max Hold |
| Week 7+ | Testing | Unassisted Pull-Up Attempt: 1-2 Max Sets | Band-Assisted Finisher: 3 sets x 8 reps | Inverted Rows: 3 sets x 10 reps |
Frequently Asked Questions (FAQ)
Q: How long will it take to get my first pull-up using this progression?
A: Most dedicated beginners hit their first unassisted pull-up in 4 to 12 weeks. Timelines vary depending on starting body composition, baseline upper-body strength, and training consistency.
Q: Should I lose weight to make pull-ups easier?
A: Body mass directly impacts pull-up performance since you are lifting 100% of your own weight. While building upper-back strength is the primary goal, reducing excess body fat makes every rep noticeably easier by lowering the total load you have to pull against gravity.
Q: Is it better to use resistance bands or the assisted pull-up machine at the gym?
A: Both work, but resistance bands are superior for calisthenics. The machine uses a rigid platform or knee pad that eliminates the need for your core and glutes to stabilize your body in mid-air. Bands force you to maintain a tight hollow-body position throughout the full range of motion.
Q: Should I use an overhand or underhand grip for my first rep?
A: An underhand grip (chin-up) is generally 15–20% easier for beginners because it recruits your biceps more heavily to assist your lats. If you are struggling with a pronated (overhand) pull-up, building baseline strength with chin-ups or neutral-grip pulls is a great stepping stone.
Q: How many days a week should a beginner train for pull-ups?
A: Aim for 3 non-consecutive days per week (e.g., Monday, Wednesday, Friday). Your back muscles, forearms, and connective tendons need at least 48 hours to rest and adapt between high-intensity pulling sessions.
Q: Why do my hands hurt and feel like they are slipping off the bar?
A: Grip fatigue and painful skin pinching are extremely common for beginners. To fix this, place the bar across the base of your fingers (where your fingers meet your palm) rather than deep in your palm. To prevent your hands from slipping due to sweat, consider using liquid chalk.
Q: Should I do full-range pull-ups or partial reps if I can’t go all the way up?
A: Always prioritize full range of motion. Partial reps (doing “half pull-ups” in the middle range) create muscle imbalances and miss out on crucial scapular strength at the bottom and lat contraction at the top. Use lighter assistance bands or eccentric negatives to complete every rep through a full dead-hang to chest-to-bar motion.
Q: Should I use a lat pulldown machine instead of bands or negatives?
A: Lat pulldowns are useful for building raw back muscle, but sitting under a knee pad eliminates core and glute stabilization. To get a real pull-up fast, prioritize free-hanging movements like negatives and band pull-ups.
Q: What if my wrists or elbows hurt during negatives?
A: Joint strain often occurs when pulling strictly with forearm flexors or using a rigid steel bar. Switching to a neutral grip (palms facing each other) or using gymnastics rings allows your joints to rotate naturally.
Where to Go From Here:
Once you land your first strict rep, explore our guide on Chin-Ups vs. Pull-Ups vs. Neutral Grip to learn how shifting hand position targets different muscle groups, or return to the Ultimate Pull-Up Guide Hub to plan your long-term training strategy.