When you move past bodyweight, you have three main ways to load the movement. Here is my expert hierarchy:
- The Dip Belt (Gold Standard): Best for “infinite” loading. It places the center of gravity directly below your hips, which is the most natural path.
- The Weighted Vest: Great for “tactical” or high-rep conditioning, but limited once you want to add more than 50 lbs.
- The Dumbbell (Beginner): Squeezing a dumbbell between your feet works for light weights, but it creates a “broken kinetic chain” that distracts you from the pull.
How to Use a Dip Belt
Using a dip belt seems straightforward, but doing it wrong can lead to the weight swinging into your shins or, worse, pulling your hips out of alignment.
- The High-Back Placement: Position the padded part of the belt against your lower back/lumbar, just above the glutes. It should sit snugly on your hip bones.
- The Feed: Thread the chain through the center of your weight plates (iron plates are thinner and better for this than bumper plates).
- The Hook-Up: Loop the chain back through the D-ring on the opposite side of the belt. Expert Tip: If the chain is too long and the plates hit the floor when you stand, loop the chain through the ring twice to shorten the “hang.”
- The Walk-Out: Step up to the bar carefully. Ensure the weight is centered between your legs. Squeeze the plates with your inner thighs slightly to prevent the “pendulum swing” during the first rep.
The Weighted Vest Is A Great Alternative
If a dip belt feels too cumbersome, or if you are training in a park with limited equipment, the Weighted Vest is your best friend.
- Center of Mass: Unlike the belt, a vest keeps the load close to your torso. This makes the movement feel more like a “heavy bodyweight” pull rather than a “loaded” pull.
- Progressive Loading: Most vests allow you to add small 1–2 lb increments. This is perfect for micro-loading when you hit a plateau.
- The Downside: Once you can pull more than 60–80 lbs, most vests become too bulky and restrict your shoulder mobility. Transition to the belt for “Elite” strength levels.
Proper Form: Avoiding the “Swing”
Adding weight changes the physics of the move. If you don’t control the load, it will act like a pendulum, throwing you off balance.
- The “Pack”: Before you pull, depress your scapula. Pull your shoulders away from your ears.
- The “Hollow Body”: Do not let your back arch excessively. Squeeze your glutes and point your legs slightly forward. This turns your body into a single rigid unit.
- The Controlled Negative: Do not just drop. Gravity is pulling you and the plates. Control the descent to save your bicep tendons and elbows from “the snap” at the bottom.
World Records & Human Potential
To understand how far the human body can be pushed in this movement, you have to look at the competitive world of Street Lifting.
- The All-Time Record: As of early 2026, the world record for a single Weighted Chin-Up (Maximum Added Weight) is held by athletes like Mathew Zlat (who has pulled over 230 lbs / 104.5 kg of added weight).
- The Goal for You:
- Level 1 (Strong): +25% of your body weight for 5 reps.
- Level 2 (Advanced): +50% of your body weight for 1 rep.
- Level 3 (Elite): +100% of your body weight (The “Bodyweight-on-Bodyweight” Pull).
Why the Chin Up Over the Pull Up?
While the “Pull-Up” (overhand) is the gold standard for back width, the Chin-Up (underhand/supinated) is arguably superior for total mass.
- Bicep Leverage: By turning your palms toward you, you put the biceps in a mechanically advantageous position.
- Range of Motion: Most lifters can pull higher in a chin-up, often touching the bar to their upper chest, which leads to better lat contraction.
- Loading Potential: Because you have more muscle mass (lats + biceps) working together, you can generally move more weight. More weight = more tension = more growth.
Safety Warnings
The “Elbow Flare”
When the weight gets heavy, your body will try to cheat by flaring the elbows out to the sides.
- Don’t let it. Keep your elbows tucked in front of your ribs. Flaring under heavy load is a one-way ticket to ‘Golfer’s Elbow’ (medial epicondylitis). If your joints start to ache, drop the weight by 10% and focus on a slower 3-second negative descent.
The “Dead Hang” Pitfall
When the weight gets heavy, there is a temptation to let the plates “crash” at the bottom, putting immense stress on the bicep tendons and shoulder capsules.
- Maintain an active hang the bottom. The arms are straight, but the shoulders stay “packed” (scapula pulled down). Never let the weight literally yank your humerus out of the socket.
Grip Width Precision
Many beginners think “the narrower the better” for biceps.
- A grip that is too narrow actually restricts the lats and can cause wrist pain. The “sweet spot” is exactly shoulder-width. This allows the elbows to tuck naturally and the chest to reach the bar.
Improve Your Results With Proper Training
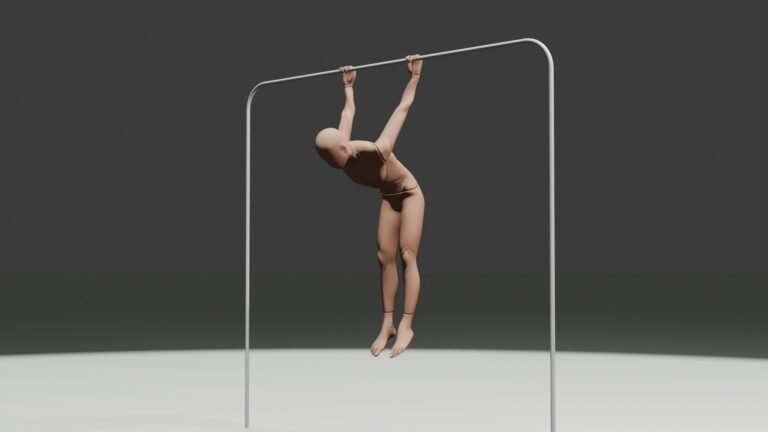
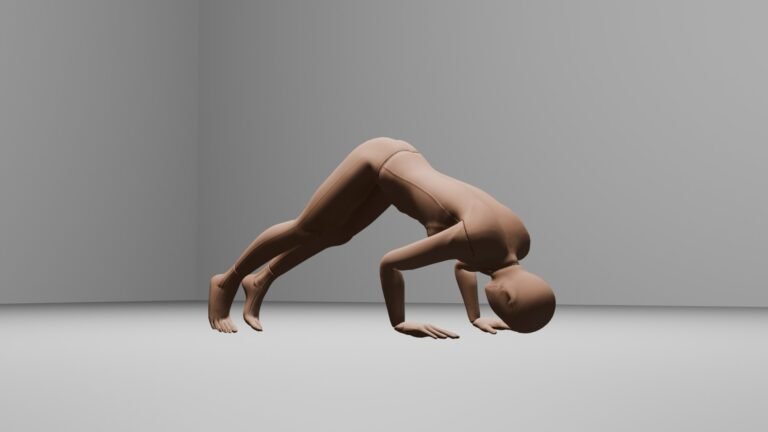
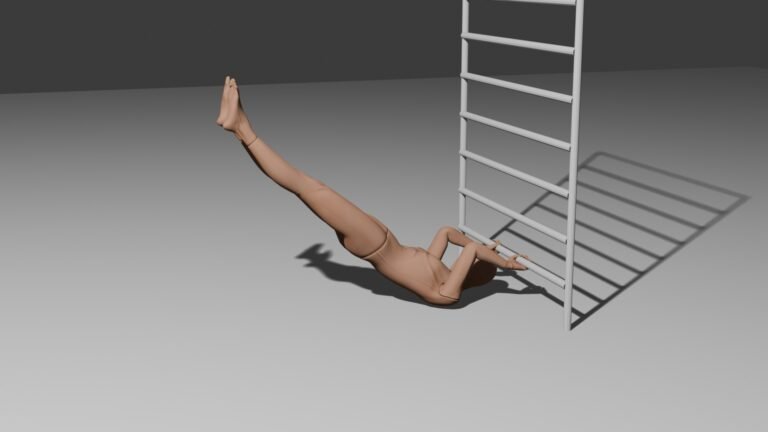
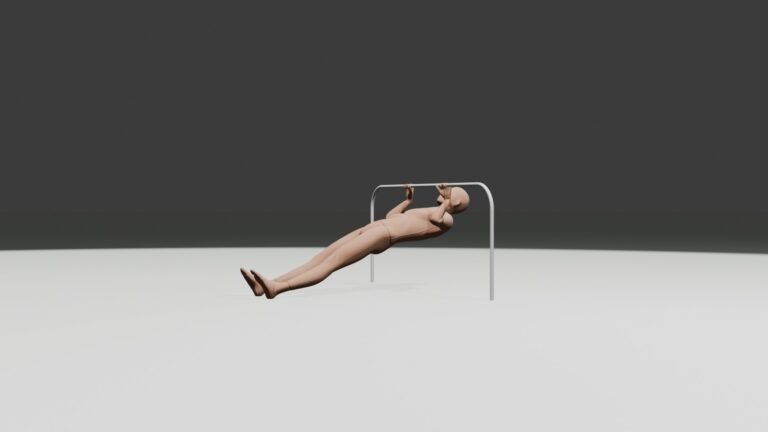
If you’re doing weighted chin ups as part of your training, make sure you’re also focusing on proper form, progression, and consistency. Typical progression path for pull-exercises would look something like this: Dead Hang 🠖 Inverted Rows 🠖 Chin Ups 🠖 Pull Ups 🠖 Weighted Chin Ups 🠖 Bar Pullovers 🠖 Muscle Up 🠖 Front Lever
Most beginners struggle not because the exercise is bad, but because they’re missing the basics. If you are just starting out and looking to learn the basics of bodyweight training without equipment, this Beginner No Equipment Bodyweight Training Guide will get your started easily and you will make your workouts so much better and see result in no time!
Once you have the basics down, you can try this very simple Beginner Bodyweight Workout Plan to stay on track until you want to move onto some more advanced exercises.
If you are struggling with bad form, injuries or lack of motivation, you can also check these: