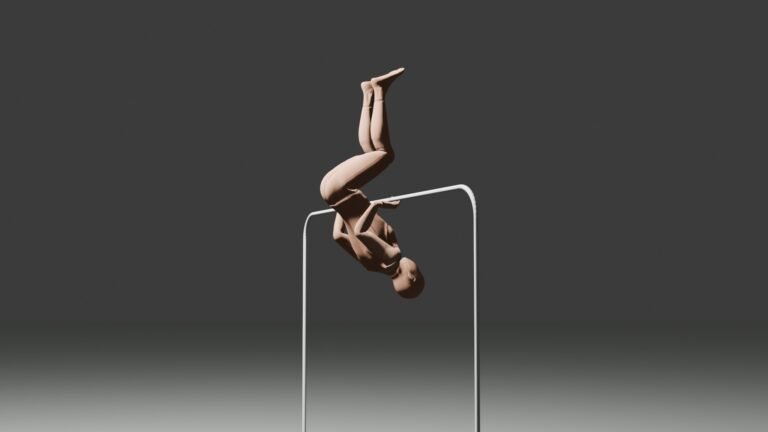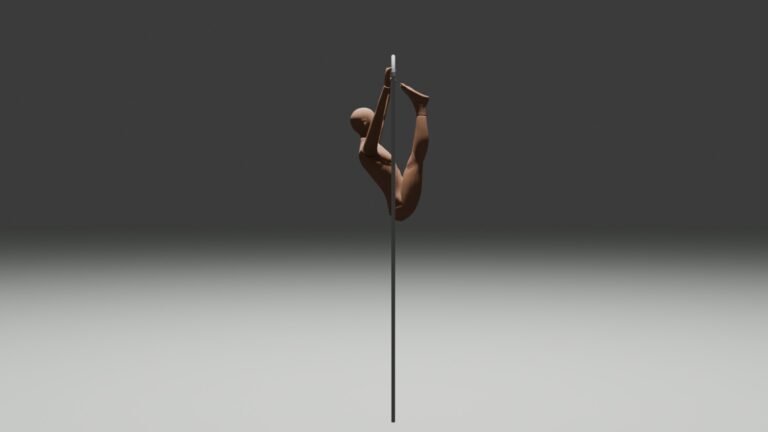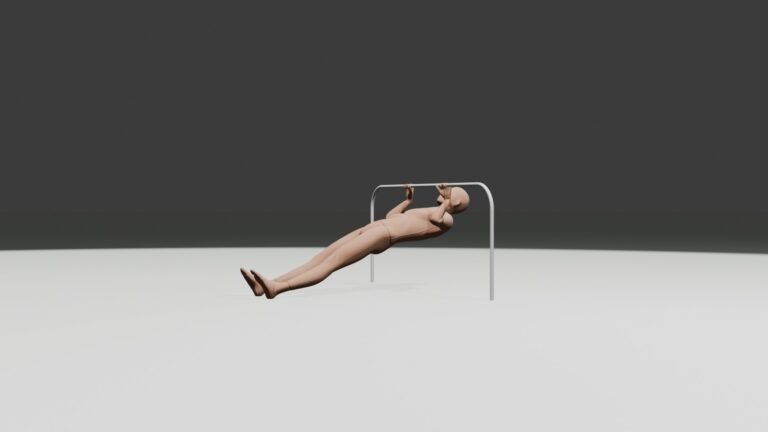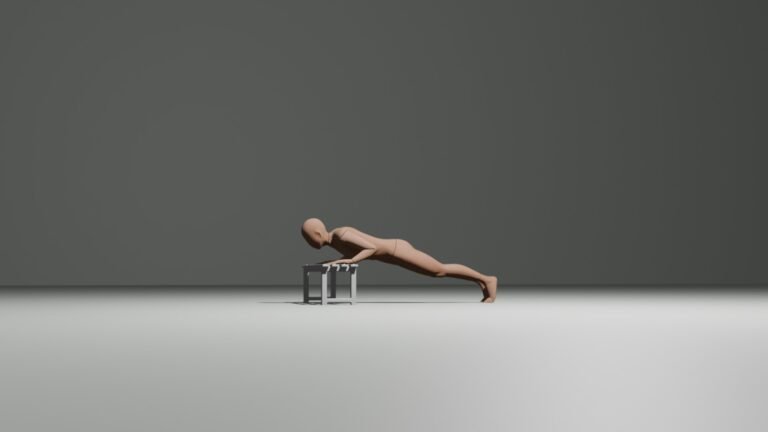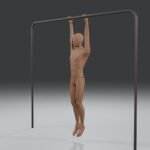

If you are looking for a simple, zero-equipment exercise that delivers massive returns for your upper body health, mobility, and functional strength, look no further than the dead hang. Also widely known as the passive hang, this foundational calisthenics movement is often overlooked because it looks effortless. However, spending just a few minutes a week hanging from a bar can completely transform your physique, grip strength, and joint health.
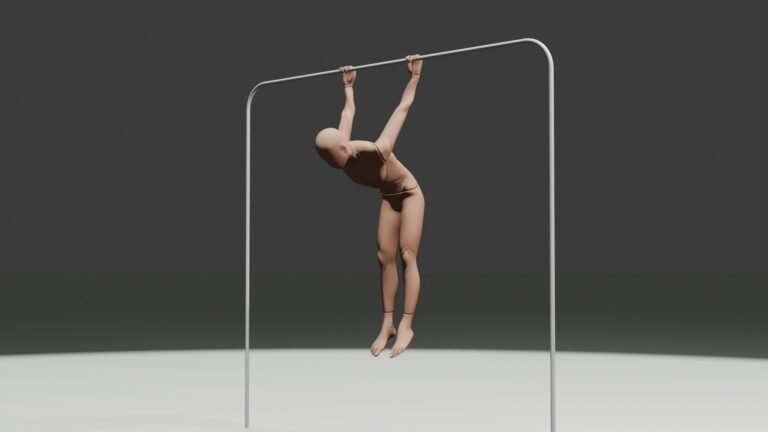
Unlike an active hang, where you consciously engage your scapula and upper back muscles to lift your body, a passive hang requires you to let your entire body hang completely loose. Your grip strength is the only line of defense keeping you on the bar.
Dead Hang vs. Active Hang: What’s the Difference?
Before grabbing the bar, it is vital to understand that there are two distinct ways to hang, each serving a different purpose in calisthenics.
- The Passive Hang (Dead Hang): In this variation, your muscles from the shoulders down are completely relaxed. Your shoulders will ride up toward your ears, and your body weight relies entirely on your grip, tendons, and ligaments. This is the ultimate variation for spine decompression, deep stretching, and pure grip endurance.
- The Active Hang: In an active hang, you actively depress your scapula—meaning you pull your shoulder blades down and back, creating space between your ears and your shoulders. This engages your lats, traps, and core, serving as the starting position for pull-ups and advanced hanging core work.
Both have their place, but the passive dead hang is the undisputed king for daily recovery and joint longevity.
How to Perform the Passive Hang with Perfect Form
While it may seem as simple as grabbing a bar and letting go, executing a dead hang with correct form ensures you reap all the therapeutic and strength benefits without placing unnecessary strain on your connective tissues.
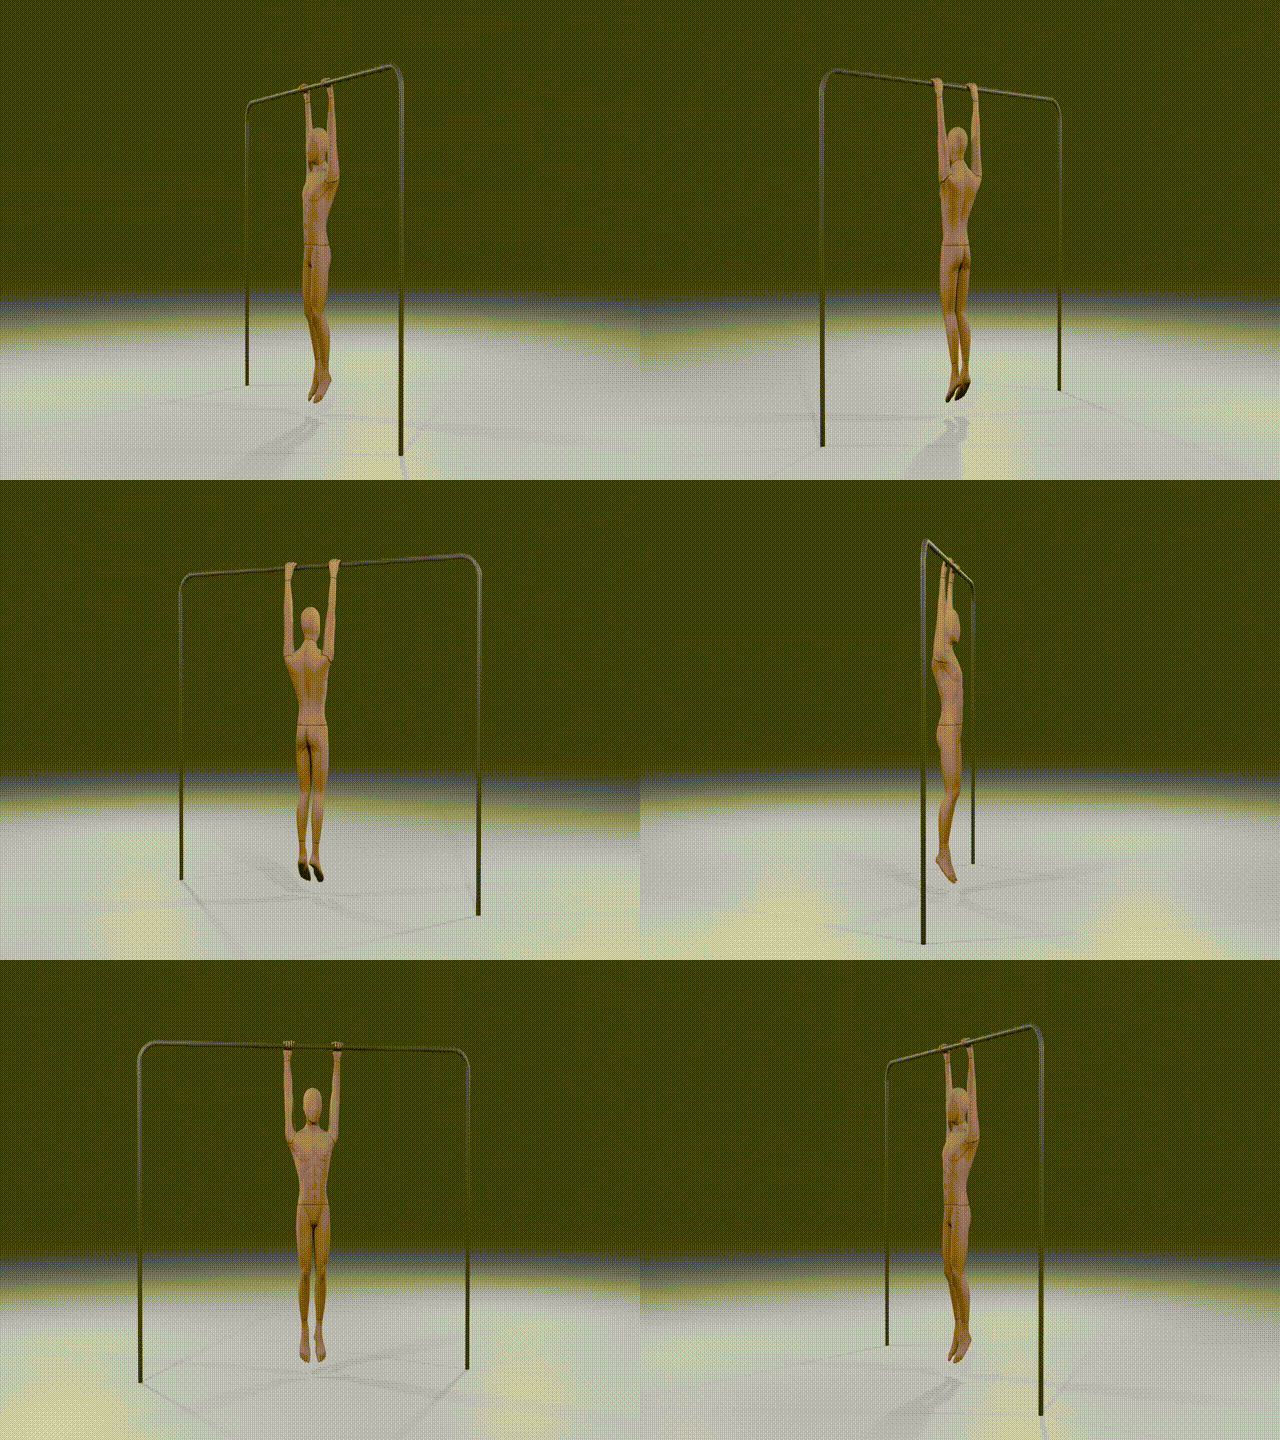
- The Setup: Find a secure pull-up bar. Reach up and grip the bar with an overhand grip (pronated), placing your hands roughly shoulder-width apart.
- The Release: Lift your feet off the ground (or bend your knees if the bar is low). Let your shoulders relax completely, allowing them to travel upward toward your ears.
- The Decompression: Try to relax every single muscle from your chest down to your toes. Avoid engaging your core, back, or glutes. Your arms should remain completely straight.
- The Focus: Breathe deeply. You will know you are doing passive hangs correctly when you literally feel your body getting longer as your joints open up.
How Long Should a Beginner Hold a Dead Hang?
If you are just starting out, don’t worry about staying up for minutes at a time. As a beginner, you should aim for cumulative time rather than one long, painful set. Start by trying to hold the hang for 10 to 15 seconds at a time, repeating this 3 to 4 times. As your grip strength adapts over the weeks, you can gradually work your way up to a single, continuous 60-second hold.
The Top Physical Benefits of the Dead Hang Exercise
The beauty of the dead hang lies in its dual nature: it acts as both a grueling endurance builder for your forearms and a deeply restorative therapy for your upper body.
1. Instant Spine Decompression and Back Pain Relief
Modern life forces most of us into seated, hunched positions that compress the intervertebral discs in our spine over time, increasing the risk of training setbacks. The dead hang utilizes gravity to create natural traction, serving as a highly effective tool to help you train without injuries. As you relax into the hang, the space between your vertebrae widens, relieving pressure on compressed discs, stretching the lower back muscles, and mitigating chronic stiffness.
2. Radical Improvements in Shoulder Mobility and Posture
By allowing your body weight to pull against your hands, you actively stretch the latissimus dorsi (lats), pectorals, and the deep tissues surrounding the shoulder girdle. This overhead traction opens up the shoulder joints and restores a healthy range of motion.
Because it actively stretches these tight chest and back muscles, people frequently ask: can dead hangs fix bad posture? The answer is a resounding yes. Hanging helps pull the shoulders back into their natural overhead alignment, making it highly effective at correcting “forward head” and rounded shoulder postures caused by staring at screens.
3. Rapid Development of Structural Grip Strength
You cannot build a strong upper body if your hands cannot support your weight. Passive hangs demand intense, prolonged isometric contractions from your forearms and fingers. Regular hanging thickens the tendons in your hands and builds the raw endurance needed to hold onto heavy objects for extended periods.
How the Dead Hang Powerfully Boosts Your Other Exercises
Mastering the passive hang creates a massive carryover effect, upgrading your performance across a wide variety of compound movements and calisthenics skills.
Pull-Ups and Chin-Ups
The most common bottleneck holding people back from earning their first rep or breaking through a plateau isn’t actually their back strength, it is their grip. If your forearms give out after just a few repetitions, your mind-muscle connection suffers, and your lats never get fully stimulated. By building a rock-solid foundation with dead hangs, your hands become the least of your worries during high-volume workouts.
This sustained grip endurance allows you to focus entirely on pulling mechanics. It ensures you have the foundational hand strength required to master the strict vertical pulling form detailed in our ultimate pull-up guide.
Furthermore, it provides the precise wrist and forearm stability needed to transition seamlessly into underhand pulling variations, allowing you to maximize bicep activation using our step-by-step chin-up guide
Advanced Calisthenics (Front Levers and Hanging Leg Raises)
To perform advanced core and back movements like the front lever or hanging leg raises, your body needs to feel completely stable while suspended. If your mind is preoccupied with your hands slipping off the bar, you won’t be able to generate the intense total-body tension these exercises demand. Dead hangs train your nervous system to remain comfortable and controlled while hanging, allowing you to focus 100% of your neural energy on activating the core and back muscles required for these elite skills.
Developing this passive comfort on the bar is the exact launchpad you need to tackle targeted abdominal training. It allows you to maintain a steady torso without swinging, which is crucial when following the progressions in our hanging leg raises guide. Over time, this foundational hanging endurance builds the absolute scapular and grip stability necessary to keep your body perfectly horizontal when training for elite calisthenics milestones using our front lever progression guide.
Integrating the Dead Hang Into a Full Program
While dead hangs are an incredible standalone tool for joint health, they deliver the best results when paired with a structured training program. If you want to see how hanging fits alongside essential pushing, pulling, and core movements, check out our simple bodyweight workout guide that actually works. It breaks down exactly how to arrange your weekly training split, manage your recovery, and progress each exercise safely as you get stronger.
Heavy Compound Lifting (Deadlifts and Rows)
If you practice traditional weightlifting, your deadlift max is often limited by how long your hands can hold the barbell. The pure isometric endurance gained from passive hanging directly translates to a more secure grip on heavy barbells, dumbbells, and kettles, unlocking immediate strength gains in your pulls.
How to Scale the Exercise If You Can’t Hang Yet
If you try a full dead hang and find that your grip slips immediately, or if the stretch feels too intense for your shoulders, do not worry. You can easily scale the movement down using these regressions:
- The Toe-Assisted Hang: Place a sturdy box or bench beneath the pull-up bar. Keep your feet firmly planted on the box while gripping the bar, allowing your legs to support 20% to 50% of your body weight. As you get stronger, press less weight through your feet.
- The Band-Assisted Hang: Loop a heavy resistance band around the bar and place it under your feet or knees. The band will take a significant portion of your body weight off your grip, allowing you to build up tolerance safely.
Common Dead Hang Mistakes to Avoid
Even though the dead hang is a minimalist exercise, making these common rookie mistakes can limit your results or lead to unnecessary strain:
- Bending the Elbows: Keep your arms completely locked out. Bending the elbows shifts the workload to your biceps and forearms, defeating the purpose of a passive stretch.
- Holding Your Breath: The spine cannot decompress if your core is tense and your breath is shallow. Focus on deep, diaphragmatic belly breathing to force your nervous system to relax.
- Tensing the Lower Body: Avoid squeezing your glutes or bracing your abs. Let your legs hang like dead weight to allow gravity to pull your lower back downward.
Dealing with Hand Pain: Managing Calluses and Bar Friction
When you start practicing dead hangs daily, you will quickly notice that the bottleneck isn’t just your muscular endurance, it is the skin on your palms. You will likely develop hard, thickened patches of skin right at the base of your fingers. These are calluses. While calluses are a natural defense mechanism your body creates to protect your hands, they can easily pinch, blister, and cause significant pain during a hang if they are not managed correctly.
If your hands are hurting, use these three strategies to protect your skin and stay on the bar longer:
- Adjust Your Grip Placement: Most beginners mistakenly grab the bar deep in the middle of their palms. As you hang, gravity pulls your body down, causing the bar to fold and pinch the flesh at the base of your fingers. Instead, try to grip the bar higher up—right at the proximal joints where your fingers meet your palms. This eliminates the “skin pinch” and dramatically reduces friction pain.
- Vary Your Grip Style (Switch to Chin-Up Grip): If an overhand pull-up grip (palms facing away) is tearing up your hands, switch to an underhand chin-up grip (palms facing you), or a neutral grip (palms facing each other) if your bar has side handles. Changing the angle shifts the pressure to different parts of your hands, allowing your skin to recover without you having to skip a day of training.
- Build Up Volume Gradually (The “Quit Before It Rips” Rule): Hand pain is usually a sign of friction overload. Don’t force yourself to hang until your hands literally tear. If you feel a burning sensation or a severe pinch, drop from the bar, rest, and finish your remaining hanging time later in the day. Giving your skin short breaks allows it to naturally toughen up into smooth, protective skin rather than painful, blistering calluses.
How to Program Dead Hangs Daily Into Your Routine
Given how restorative this exercise is, you might wonder: is it safe to do dead hangs every day? For most healthy individuals, doing a few short dead hangs every day is not only perfectly safe, but highly recommended for joint longevity. However, if you experience sharp shoulder impingement pain, it is best to start with the toe-assisted variation mentioned above.
As for timing, should you do dead hangs before or after a workout? The truth is they can be utilized for both:
- Before a workout: Hanging acts as an excellent dynamic warm-up to open up the shoulder joints and prime the nervous system.
- After a workout: It functions as a wonderful cooldown tool to decompress the spine and stretch out tight muscles after heavy lifting or intense bodyweight training.
Example Calisthenics Workout with Dead Hangs
To give you an idea of how easily this fits into a standard bodyweight routine, here is a well-rounded upper body calisthenics workout that incorporates dead hangs for both performance and recovery:
| Exercise Block | Exercise | Sets x Reps / Time | Rest | Purpose |
| Warm-Up | Dead Hang (Passive) | 2 sets x 20 seconds | 45 sec | Opens up shoulders & decompresses spine |
| Strength A | Pull-Ups (or Inverted Rows) | 3 sets x 6-10 reps | 2 min | Primary vertical pulling strength |
| Strength B | Push-Ups (or Dips) | 3 sets x 8-12 reps | 2 min | Primary pushing strength |
| Core & Grip | Hanging Leg Raises (or Knee Raises) | 3 sets x 8-10 reps | 90 sec | Direct core and active grip training |
| Cooldown | Dead Hang (Passive) | 2 sets x Max Time | 60 sec | Spine decompression and grip burnout |
Expected Results: What Happens to Your Body After 30 Days of Hanging?
Commit to spending just 2 to 3 minutes hanging every single day, and you will notice profound changes in your body by the end of a month.
Within the first 7 to 10 days, the most immediate result is a massive reduction in daily lower back stiffness and upper back tension. By day 20, your overhead mobility will noticeably improve, your shoulders will feel looser, and your posture will naturally sit upright without conscious effort. By day 30, your forearm endurance will be noticeably higher; your hands will feel like iron vices on the bar, and your overall pull-up numbers will likely jump simply because your grip is no longer the weakest link in the chain.
Beyond the physical changes, the greatest result you will experience after 30 days is the habit itself. What started as a grueling test of grip endurance will become a deeply therapeutic part of your daily movement script. You will find that your upper body feels more resilient, your joints feel lubricated, and you have built the ultimate foundation for every other calisthenics skill on your radar.